DRYER INSTALLATION
ACCESSORIES
Vent Kit – standard – 4″ (10.16cm)
kit includes two elbows, three pipes and one vent hood
Vent Hood – 4″ (10.16cm) opening
Aluminum Pipe – 4″ x 24″ (10.16cm x 60.96cm)
Aluminum Elbow – 4″ (10.16cm)
Aluminum Window Plate – 15″ x 20″ (38.10cm x 50.80cm) – 4″ (10.16cm)
Flexible Vent Kit – contains wide opening vent hood, wall plate, two clamps and flexible aluminum vent duct
Flexible Aluminum Vent Duct – 4″ (10.16cm) diameter – 38″ (81.28cm) length stretches to 8′ (2.44m)
Clamp for Flexible Aluminum Duct
Exhaust Deflector Kit – inside exhaust kit
Natural to LPG Conversion Kit for Gas Valve
Dacron Lint Bag
Grounding Kit – contains ground wire, clamp, ground screw and washer
(Part No. 12001875)
INSTALL WASHER UNIT
1.Remove top cover shipping pads taped to washer top.
2.Remove fill hoses. Replace and leave tub block in place until installation is complete. Close lid.
3.Remove the crate base wires from crate base. Use pliers or screw- driver to pry from wood. Discard crate base.
4.Run washer rear legs all the way up into the rear corner brackets. Lock in place by tightening lock nuts up against base. Leave front legs loose for leveling later.
Install the vinyl feet on the front washer legs.
5.Move the washer into position in front of the dryer and stand. Use caution to avoid floor damage because of the minimum height of the rear legs.
NOTE: Before sliding washer back into position, connect fill hoses and insert drain hose in standpipe.
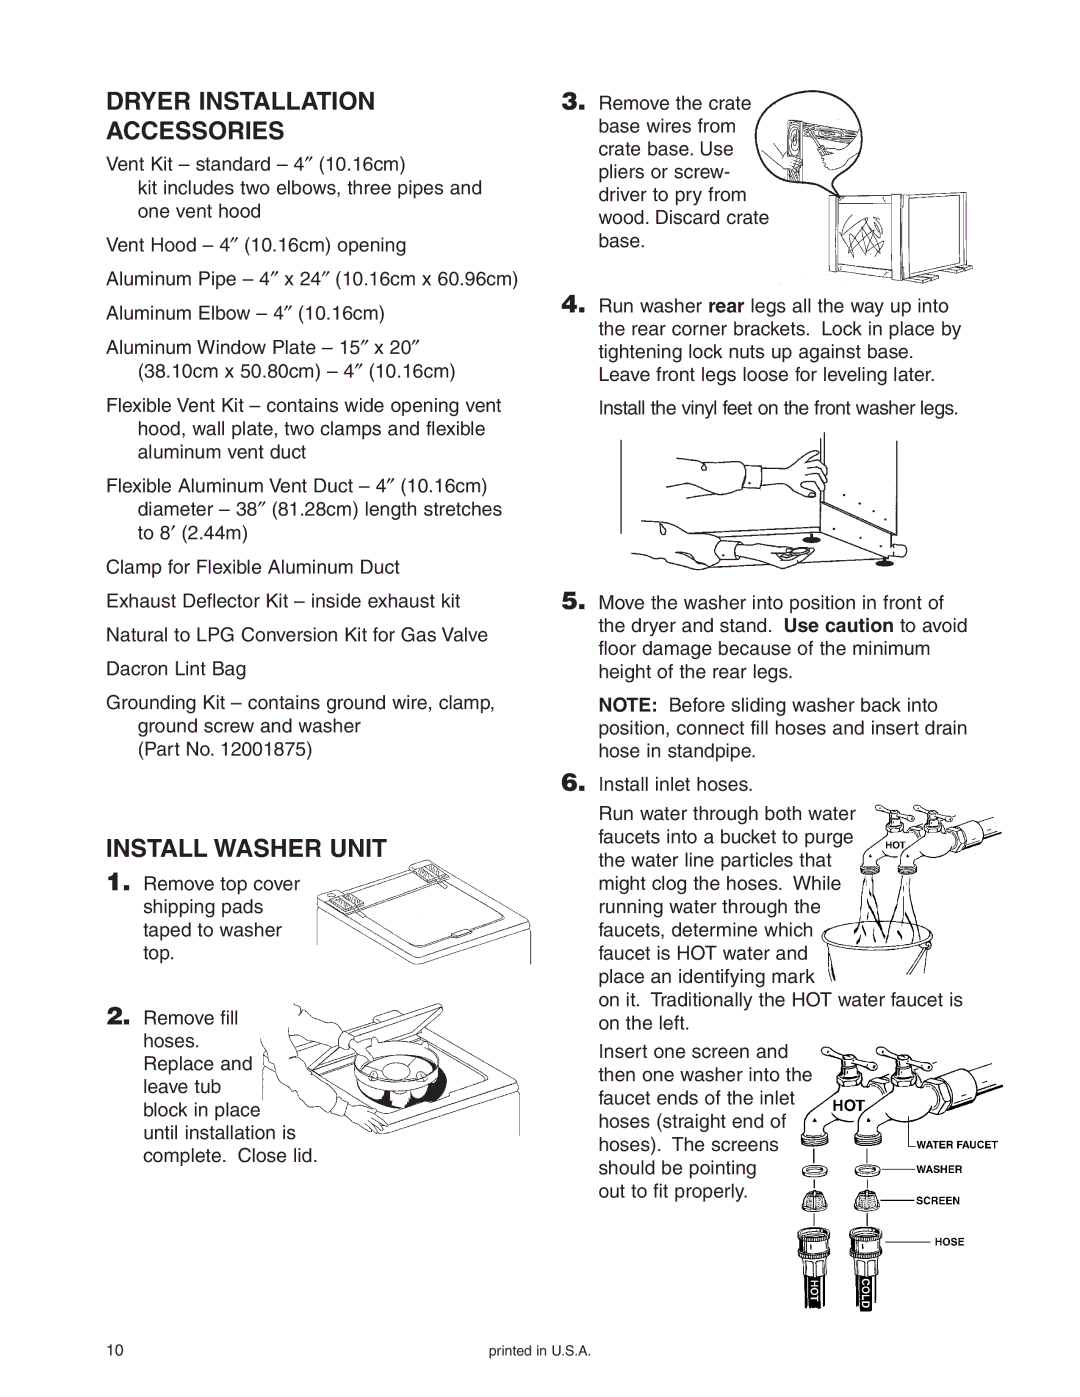
6.Install inlet hoses.
Run water through both water faucets into a bucket to purge the water line particles that might clog the hoses. While running water through the faucets, determine which faucet is HOT water and place an identifying mark
on it. Traditionally the HOT water faucet is on the left.
Insert one screen and then one washer into the faucet ends of the inlet hoses (straight end of hoses). The screens should be pointing
out to fit properly.
10 | printed in U.S.A. |