Thru-the-Wall Room Air Conditioner specifications
The Maytag Thru-the-Wall Room Air Conditioner is engineered to deliver efficient, powerful cooling for residential and commercial spaces alike. This unit is perfect for homes that lack a centralized air conditioning system or for those looking for a reliable supplemental cooling solution.One of the standout features of the Maytag Thru-the-Wall model is its energy efficiency. Designed to meet Energy Star standards, it operates with a high Energy Efficiency Ratio (EER), ensuring that you can stay comfortable without a hefty utility bill. This not only benefits the environment by lowering energy consumption but also saves homeowners and business owners a significant amount over time.
In addition to its energy-saving capabilities, this air conditioner boasts advanced cooling technologies. The unit features multiple cooling and fan speeds, allowing users to customize their comfort level according to the season or preference. The quiet operation is another highlight, as the Maytag model is built with sound-dampening technology, ensuring a peaceful indoor environment.
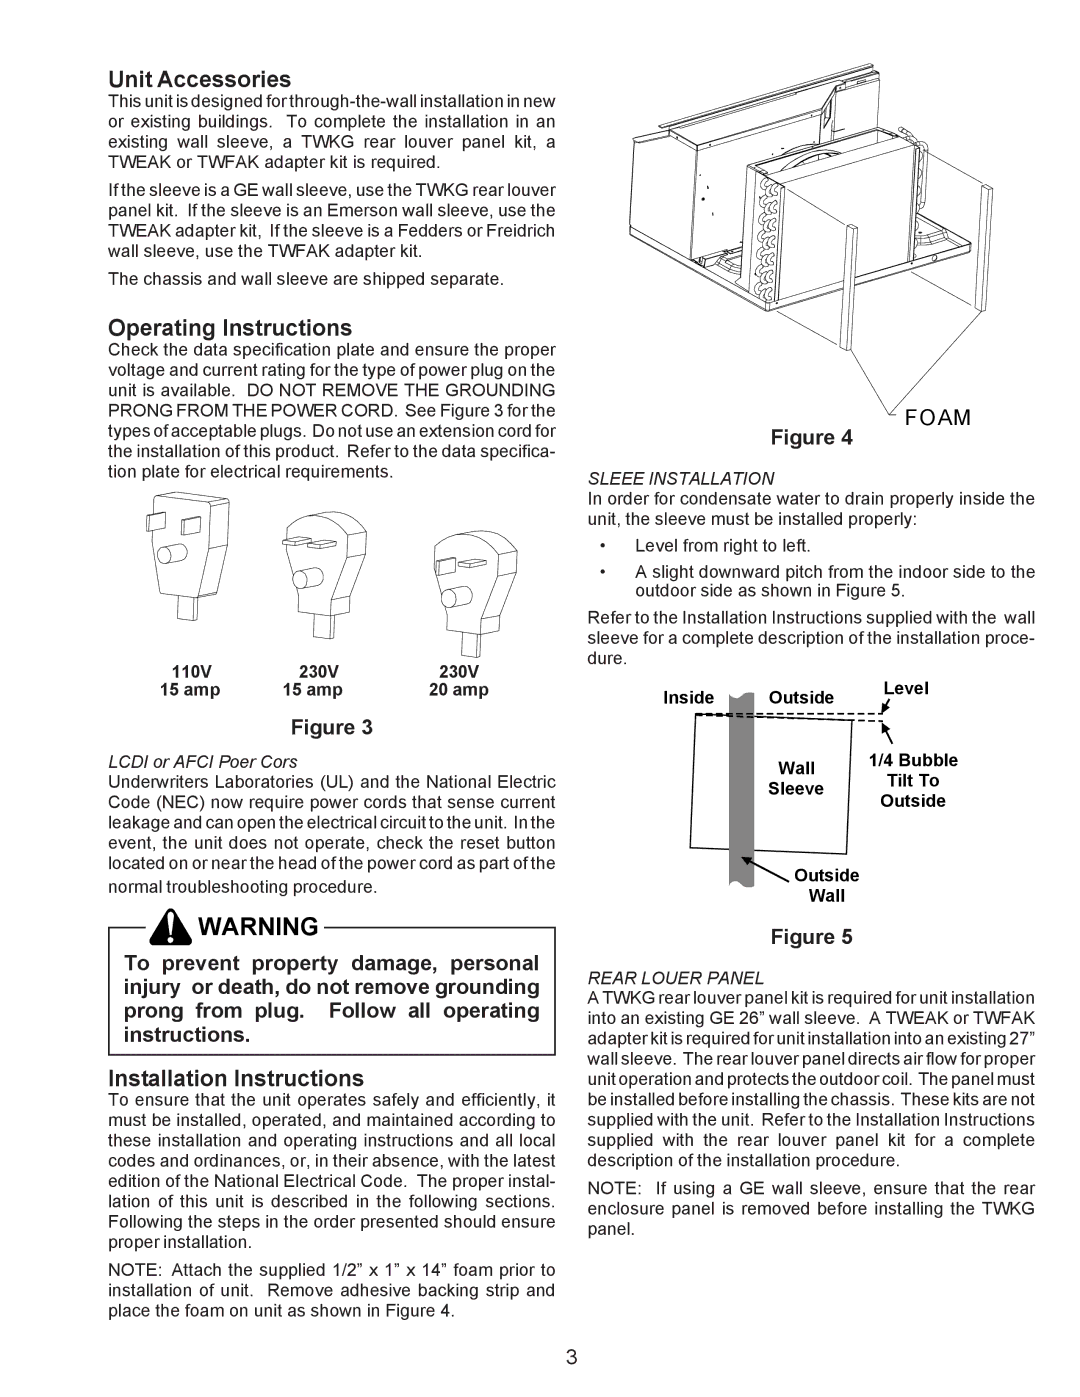
Installation is streamlined, as the Thru-the-Wall design is perfect for spaces where window units are impractical. The self-contained design allows for easy installation through a wall, providing a permanent cooling solution without sacrificing floor or window space.
The control options enhance user convenience. Many models come with a remote control, allowing users to adjust settings from across the room. Some versions even include digital displays and programmable timers, letting you schedule cooling cycles to match your lifestyle, ensuring ultimate comfort when you need it most.
Durability and longevity are also central to Maytag's design philosophy. The air conditioner features a robust construction with corrosion-resistant materials, designed to withstand varying weather conditions. Maintenance is simplified with easy-access filters that keep the air clean and fresh while ensuring optimal unit performance.
In summary, the Maytag Thru-the-Wall Room Air Conditioner stands out due to its energy efficiency, customizable cooling options, quiet operation, and durability, making it an excellent choice for anyone seeking a reliable air conditioning solution. Its thoughtful design and advanced technology ensure that you can enjoy both comfort and efficiency in your indoor environments.

