Why should I measure my blood pressure?
Blood pressure rises naturally with age. But high blood pressure can also be the first sign of illness, being overweight or of the arteries beginning to stiffen, which increases the risk of blood clots, among other things. It is therefore a good idea to keep an eye on your blood pressure and consult a doctor if it seems unusually high or low. You should write down your measurements so you can show them to your doctor.
Important! Do not use the appliance for medical diagnosis – only for reference purposes. Consult a doctor if your blood pressure readings seem abnormal. Always follow the procedure specified in these user instructions when taking readings.
PRIOR TO FIRST USE
Inserting the batteries
•Open the battery cover at the back of the appliance by pushing the cover in the direction of the arrow and removing it.
•Insert four batteries, size “AA”. Make sure the batteries are fitted with the correct polarity
(see the markings at the bottom of the battery compartment).
o Do not use rechargeable 1.2 V batteries for the appliance.
•Replace the cover.
•Replace the batteries when the battery symbol
(g) appears on the display (7).
Connecting the air hose
•Connect hose connector (10) to air hose hole (6).
•Check that the hose connector is inserted as far as possible into the appliance and is firmly in place.
USING THE APPARATUS
Preparing for a blood pressure reading
•Sit or lie down for
•Avoid eating, smoking, exercising, bathing or drinking alcohol, coffee or tea before taking the reading.
•Do not go to the toilet immediately before the reading.
•Do not take a blood pressure reading if you are excited, stressed or tense.
•Relax during the reading and do not talk.
Fitting the cuff on the arm
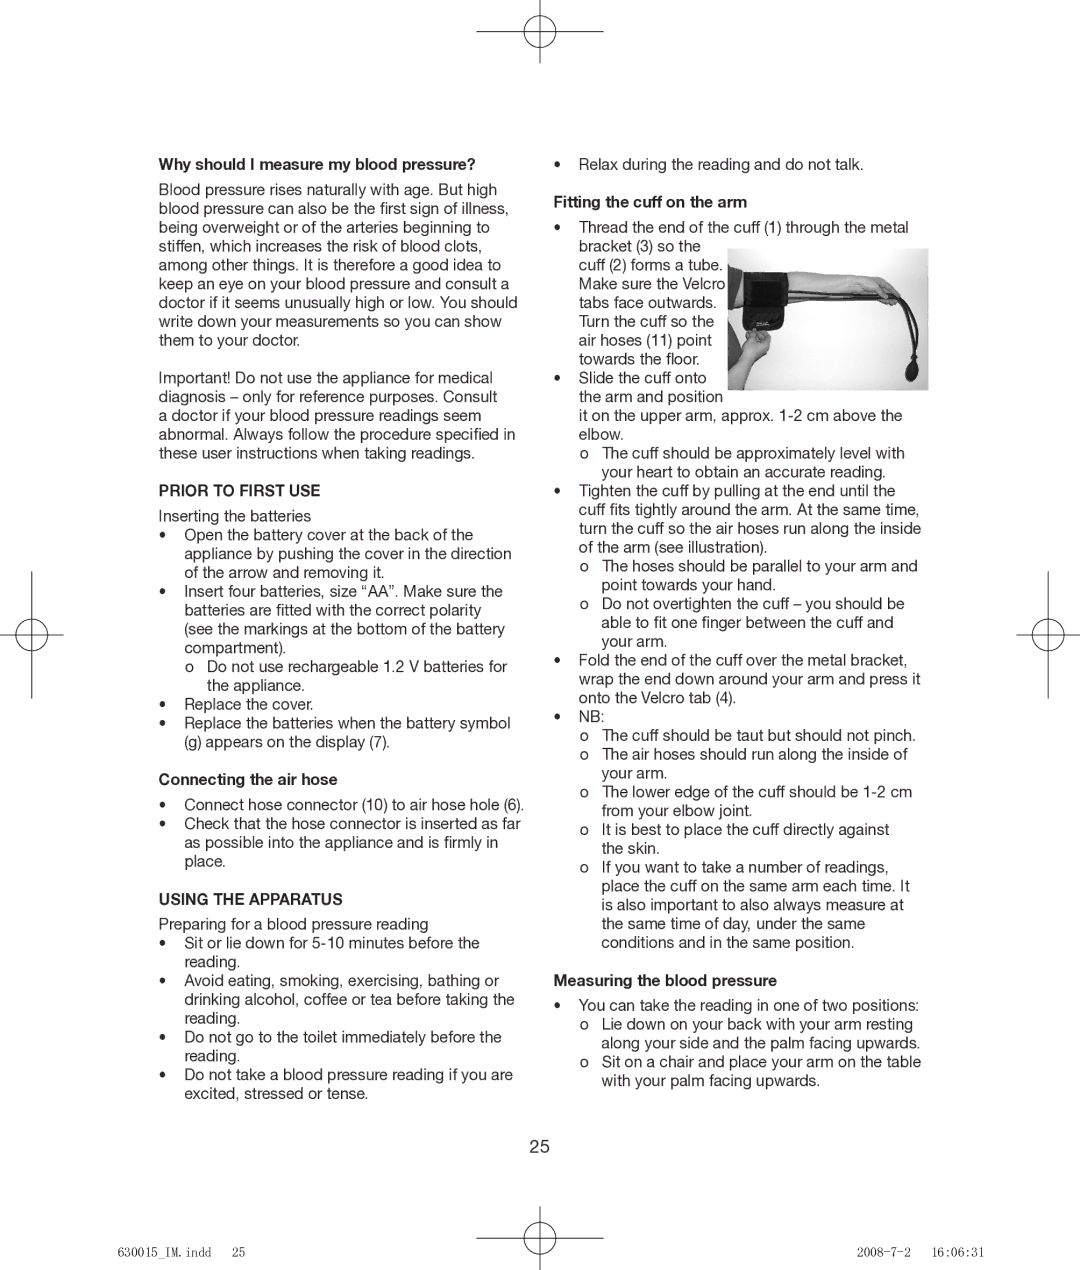
•Thread the end of the cuff (1) through the metal bracket (3) so the
cuff (2) forms a tube. Make sure the Velcro tabs face outwards. Turn the cuff so the air hoses (11) point towards the floor.
•Slide the cuff onto the arm and position
it on the upper arm, approx.
o The cuff should be approximately level with your heart to obtain an accurate reading.
•Tighten the cuff by pulling at the end until the cuff fits tightly around the arm. At the same time, turn the cuff so the air hoses run along the inside of the arm (see illustration).
o The hoses should be parallel to your arm and point towards your hand.
o Do not overtighten the cuff – you should be able to fit one finger between the cuff and your arm.
•Fold the end of the cuff over the metal bracket, wrap the end down around your arm and press it onto the Velcro tab (4).
•NB:
o The cuff should be taut but should not pinch. o The air hoses should run along the inside of
your arm.
o The lower edge of the cuff should be
o It is best to place the cuff directly against the skin.
o If you want to take a number of readings, place the cuff on the same arm each time. It is also important to also always measure at the same time of day, under the same conditions and in the same position.
Measuring the blood pressure
•You can take the reading in one of two positions: o Lie down on your back with your arm resting along your side and the palm facing upwards. o Sit on a chair and place your arm on the table
with your palm facing upwards.
25
