BATTERY INSTALLATION |
| ||
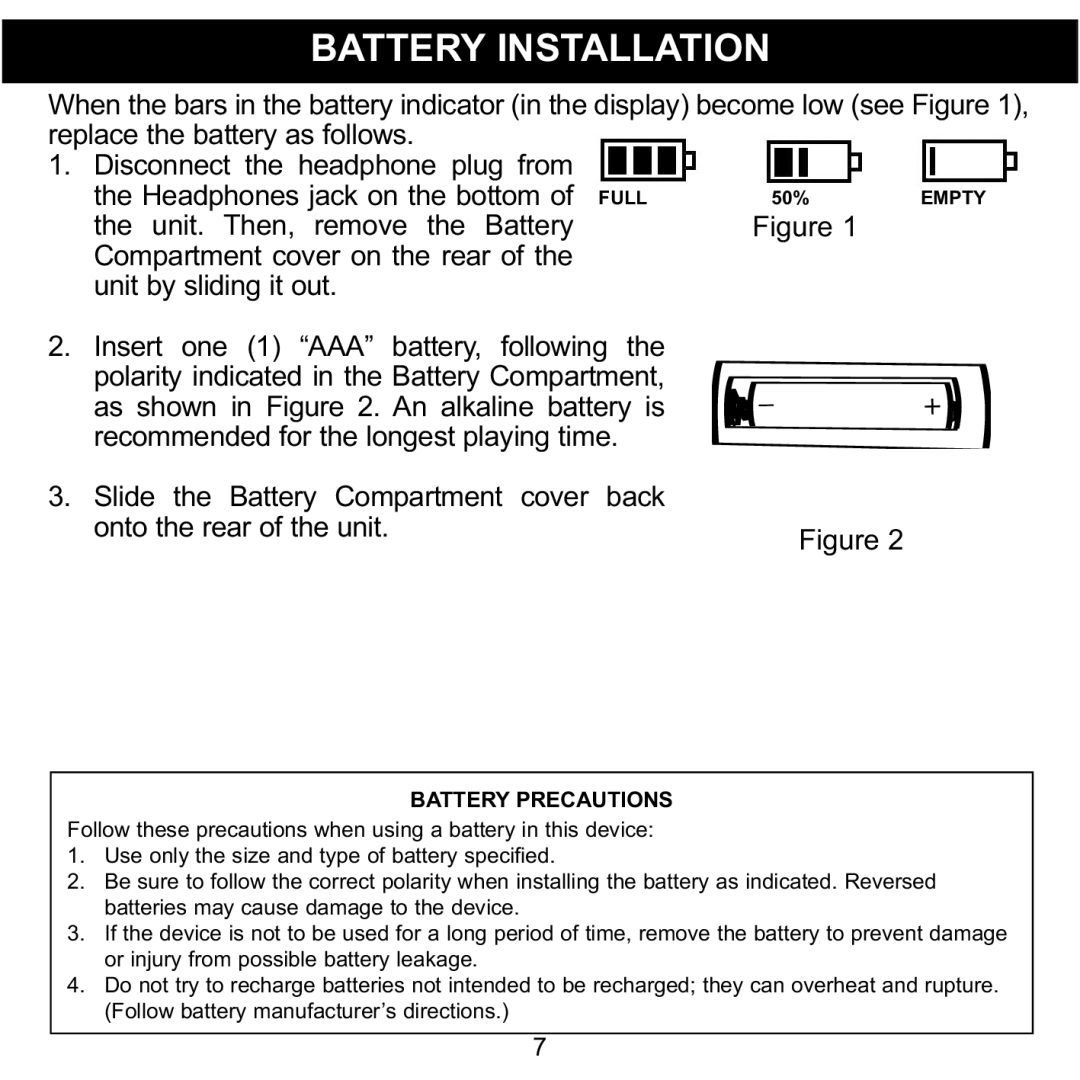
When the bars in the battery indicator (in the display) become low (see Figure 1), | |||
replace the battery as follows. |
|
| |
1. Disconnect the headphone plug from |
|
| |
the Headphones jack on the bottom of | FULL | 50% | EMPTY |
the unit. Then, remove the Battery |
| Figure 1 |
|
Compartment cover on the rear of the |
|
| |
unit by sliding it out. |
|
| |
2. | Insert one (1) “AAA” battery, following the |
|
| polarity indicated in the Battery Compartment, |
|
| as shown in Figure 2. An alkaline battery is |
|
3. | recommended for the longest playing time. |
|
Slide the Battery Compartment cover back | Figure 2 | |
| onto the rear of the unit. |
|
|
| |
| BATTERY PRECAUTIONS |
| |
Follow these precautions when using a battery in this device: |
| ||
1. | Use only the size and type of battery specified. |
| |
2. | Be sure to follow the correct polarity when installing the battery as indicated. Reversed |
| |
3. | batteries may cause damage to the device. |
|
|
If the device is not to be used for a long period of time, remove the battery to prevent damage |
| ||
4. | or injury from possible battery leakage. |
|
|
Do not try to recharge batteries not intended to be recharged; they can overheat and rupture. |
| ||
| (Follow battery manufacturer’s directions.) | 7 |
|
|
|
| |