Mark IV Amplifier specifications
The Mesa/Boogie Mark IV amplifier stands as a landmark in the world of guitar amplification, boasting a rich history that intertwines with the evolution of rock music. Launched in the 1990s, the Mark IV embodies the hallmark traits of Mesa/Boogie’s innovative spirit, delivering versatility, power, and an extensive range of tonal options.At the core of the Mark IV is its three-channel configuration, which includes Clean, Rhythm, and Lead channels. Each channel offers varying degrees of distortion and gain that can be tailored to the player's distinct preferences. The Clean channel produces a pristine sound, ideal for jazz or blues, while the Rhythm channel steps up with a compelling crunch for rock tones. The Lead channel takes it further, providing a high-gain saturation, perfect for heavier genres. The ability to switch seamlessly between these channels enables musicians to transition effortlessly during performances.
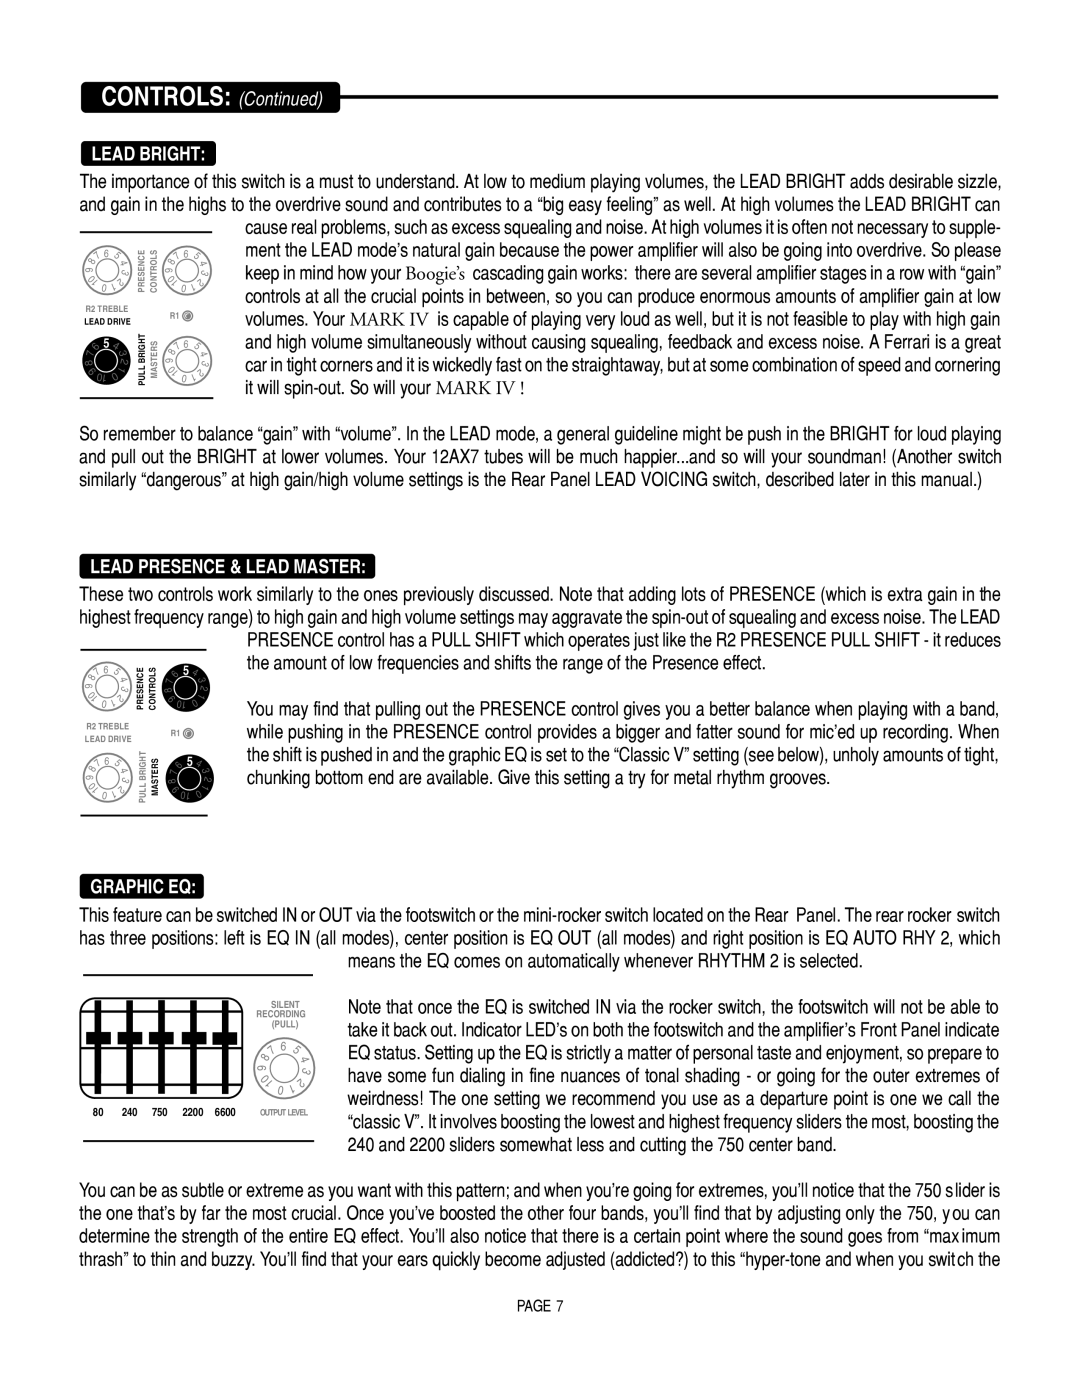
One notable feature of the Mark IV is the onboard graphic equalizer. This 5-band EQ allows guitarists to sculpt their sound intricately, enhancing or attenuating frequencies to achieve a desired tone. Coupled with its patent-pending Gain structure, the amp provides an unparalleled range of tonal shaping ability, making it a favorite among professionals and hobbyists alike.
The Mark IV also benefits from the innovative Dyna-Watt technology. This feature ensures that players can harness full power from the amp, regardless of volume levels. Dyna-Watt adjusts the output stage to produce dynamic responsiveness, allowing for a richness of sound that stands out without needing excessive volume. This feature is particularly useful for studio recording and smaller venues, where loud amplification can be an issue.
Mesa/Boogie amplifiers are renowned for their build quality, and the Mark IV is no exception. Crafted with precision, it features a rugged chassis and high-quality components designed to withstand the rigors of touring. The amp’s tube-driven design, utilizing powerful 6L6 or EL34 tubes, contributes to its warm tone and dynamic response, appealing to a wide array of musicians.
In conclusion, the Mesa/Boogie Mark IV amplifier is a cornerstone piece of gear for guitarists seeking a powerful, versatile, and richly infused tonal experience. With its three-channel architecture, graphic equalizer, Dyna-Watt technology, and robust construction, it meets and exceeds the demands of contemporary musicians across genres. Whether on stage or in the studio, the Mark IV remains a potent tool for expression, earning its place in the pantheon of iconic amplifiers.