 ENGLISH
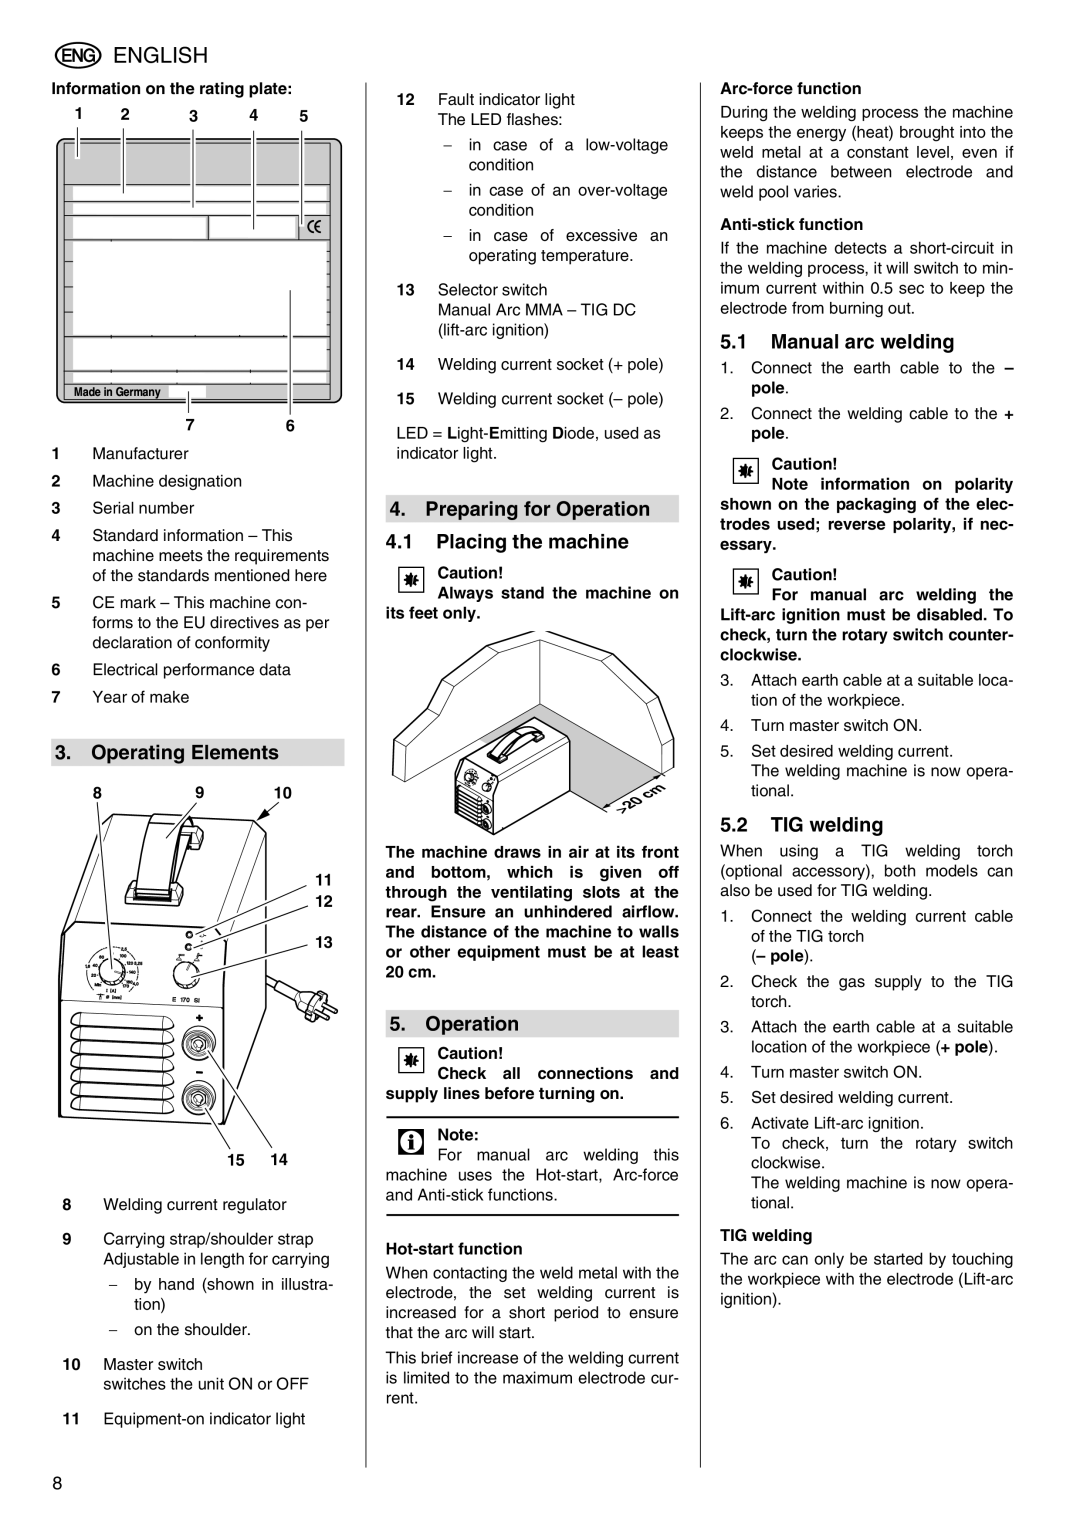
Information on the rating plate:
1 | 2 | 3 | 4 | 5 | ||||||
|
|
|
|
|
|
|
|
|
|
|
|
|
|
|
|
|
|
|
|
|
|
|
|
|
|
|
|
|
|
|
|
|
|
|
|
|
|
|
|
|
|
|
|
|
|
|
|
|
|
|
|
|
|
|
|
|
|
|
|
|
|
|
|
|
|
|
|
|
|
|
|
|
|
|
|
|
| 7 | 6 |
1 | Manufacturer |
|
2Machine designation
3Serial number
4Standard information – This machine meets the requirements of the standards mentioned here
5CE mark – This machine con- forms to the EU directives as per declaration of conformity
6Electrical performance data
7Year of make
3.Operating Elements
8 | 9 | 10 |
11
12
![]() 13
13
15 14
8Welding current regulator
9Carrying strap/shoulder strap Adjustable in length for carrying
−by hand (shown in illustra- tion)
−on the shoulder.
10Master switch
switches the unit ON or OFF
11
12Fault indicator light The LED flashes:
−in case of a
−in case of an
−in case of excessive an operating temperature.
13Selector switch
Manual Arc MMA – TIG DC
14Welding current socket (+ pole)
15Welding current socket (– pole)
LED =
4. Preparing for Operation
4.1Placing the machine
A Caution!
Always stand the machine on its feet only.
The machine draws in air at its front and bottom, which is given off through the ventilating slots at the rear. Ensure an unhindered airflow. The distance of the machine to walls or other equipment must be at least
20cm.
5.Operation
A Caution!
Check all connections and supply lines before turning on.
3 Note:
For manual arc welding this machine uses the
Hot-start function
When contacting the weld metal with the electrode, the set welding current is increased for a short period to ensure that the arc will start.
This brief increase of the welding current is limited to the maximum electrode cur- rent.
Arc-force function
During the welding process the machine keeps the energy (heat) brought into the weld metal at a constant level, even if the distance between electrode and weld pool varies.
Anti-stick function
If the machine detects a
5.1Manual arc welding
1.Connect the earth cable to the – pole.
2.Connect the welding cable to the + pole.
A Caution!
Note information on polarity shown on the packaging of the elec- trodes used; reverse polarity, if nec- essary.
A Caution!
For manual arc welding the
3.Attach earth cable at a suitable loca- tion of the workpiece.
4.Turn master switch ON.
5.Set desired welding current.
The welding machine is now opera- tional.
5.2TIG welding
When using a TIG welding torch (optional accessory), both models can also be used for TIG welding.
1.Connect the welding current cable of the TIG torch
(– pole).
2.Check the gas supply to the TIG torch.
3.Attach the earth cable at a suitable location of the workpiece (+ pole).
4.Turn master switch ON.
5.Set desired welding current.
6.Activate
To check, turn the rotary switch clockwise.
The welding machine is now opera- tional.
TIG welding
The arc can only be started by touching the workpiece with the electrode
8
