BATTERY PACK
In order to charge the Battery Pack, there is no need to use a cradle. It can be
The Battery Pack can’t be recharged while inserted into the Voyager. Therefore it is recommended that two battery packs are used. One can be in use with the scanner while the other one is being recharged.
Once the Voyager RF gives a “Low Battery” warning, the user should remove the Battery Pack from Voyager by pressing the two side clips and pulling the pack vertically from the scanner.
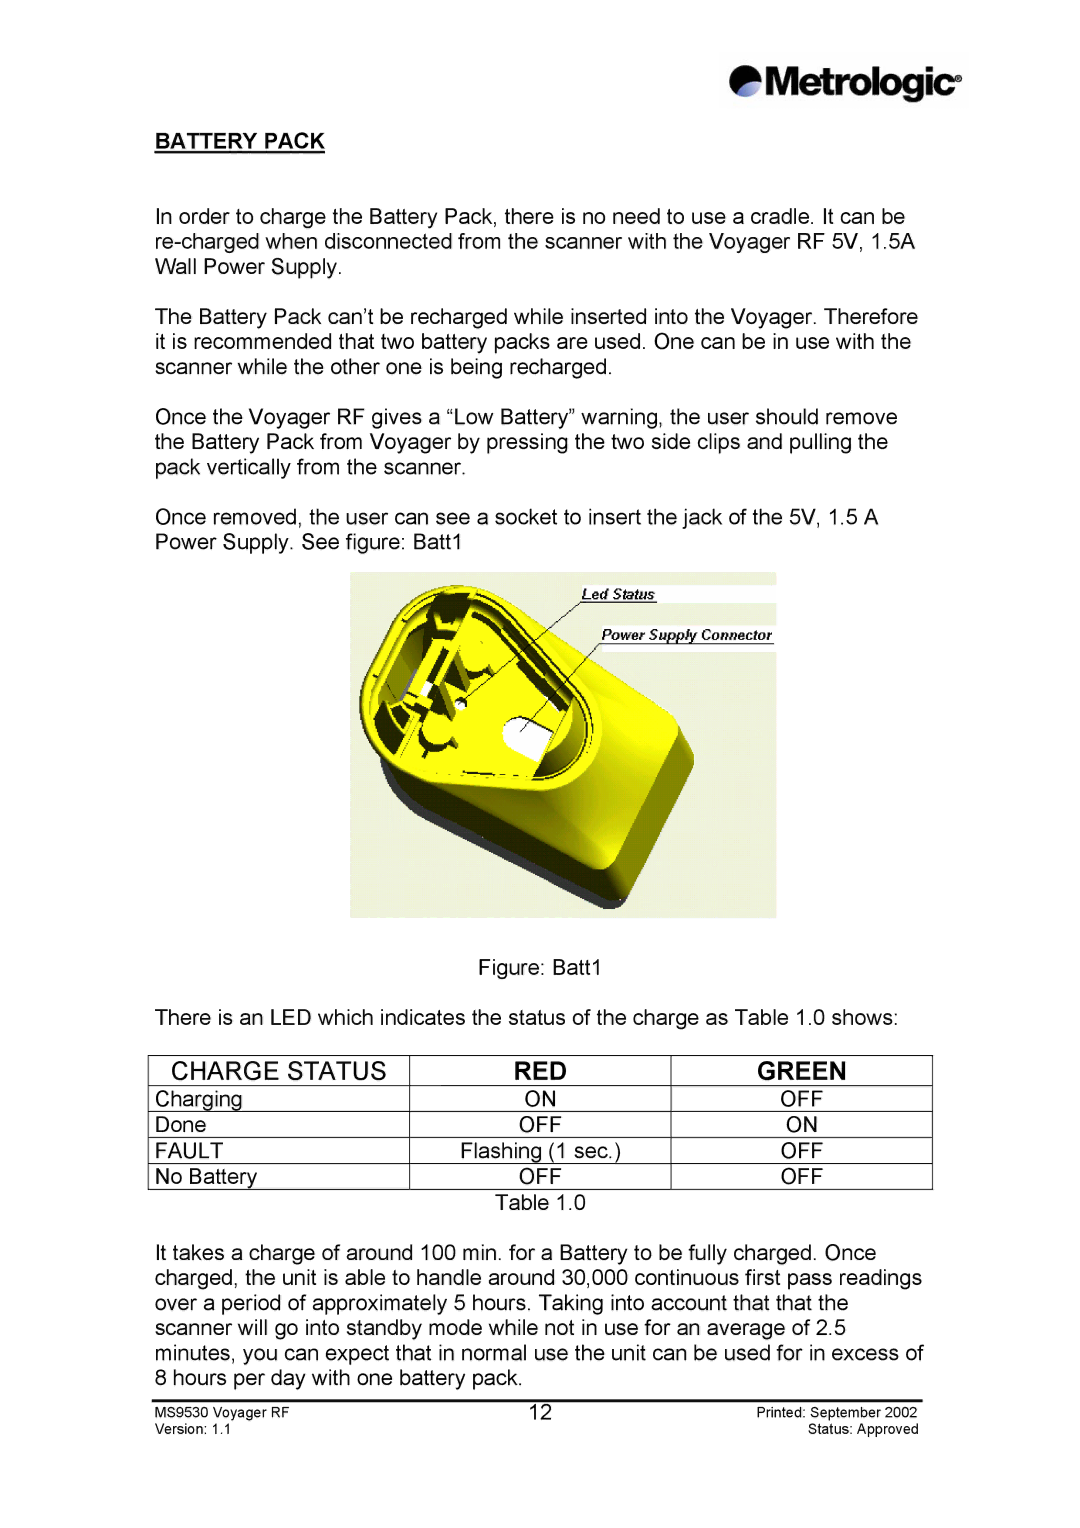
Once removed, the user can see a socket to insert the jack of the 5V, 1.5 A Power Supply. See figure: Batt1
Figure: Batt1
There is an LED which indicates the status of the charge as Table 1.0 shows:
CHARGE STATUS | RED | GREEN |
Charging | ON | OFF |
Done | OFF | ON |
FAULT | Flashing (1 sec.) | OFF |
No Battery | OFF | OFF |
| Table 1.0 |
|
It takes a charge of around 100 min. for a Battery to be fully charged. Once charged, the unit is able to handle around 30,000 continuous first pass readings over a period of approximately 5 hours. Taking into account that that the scanner will go into standby mode while not in use for an average of 2.5 minutes, you can expect that in normal use the unit can be used for in excess of 8 hours per day with one battery pack.
MS9530 Voyager RF | 12 | Printed: September 2002 |
Version: 1.1 |
| Status: Approved |
