3-5. Sensitivity Control
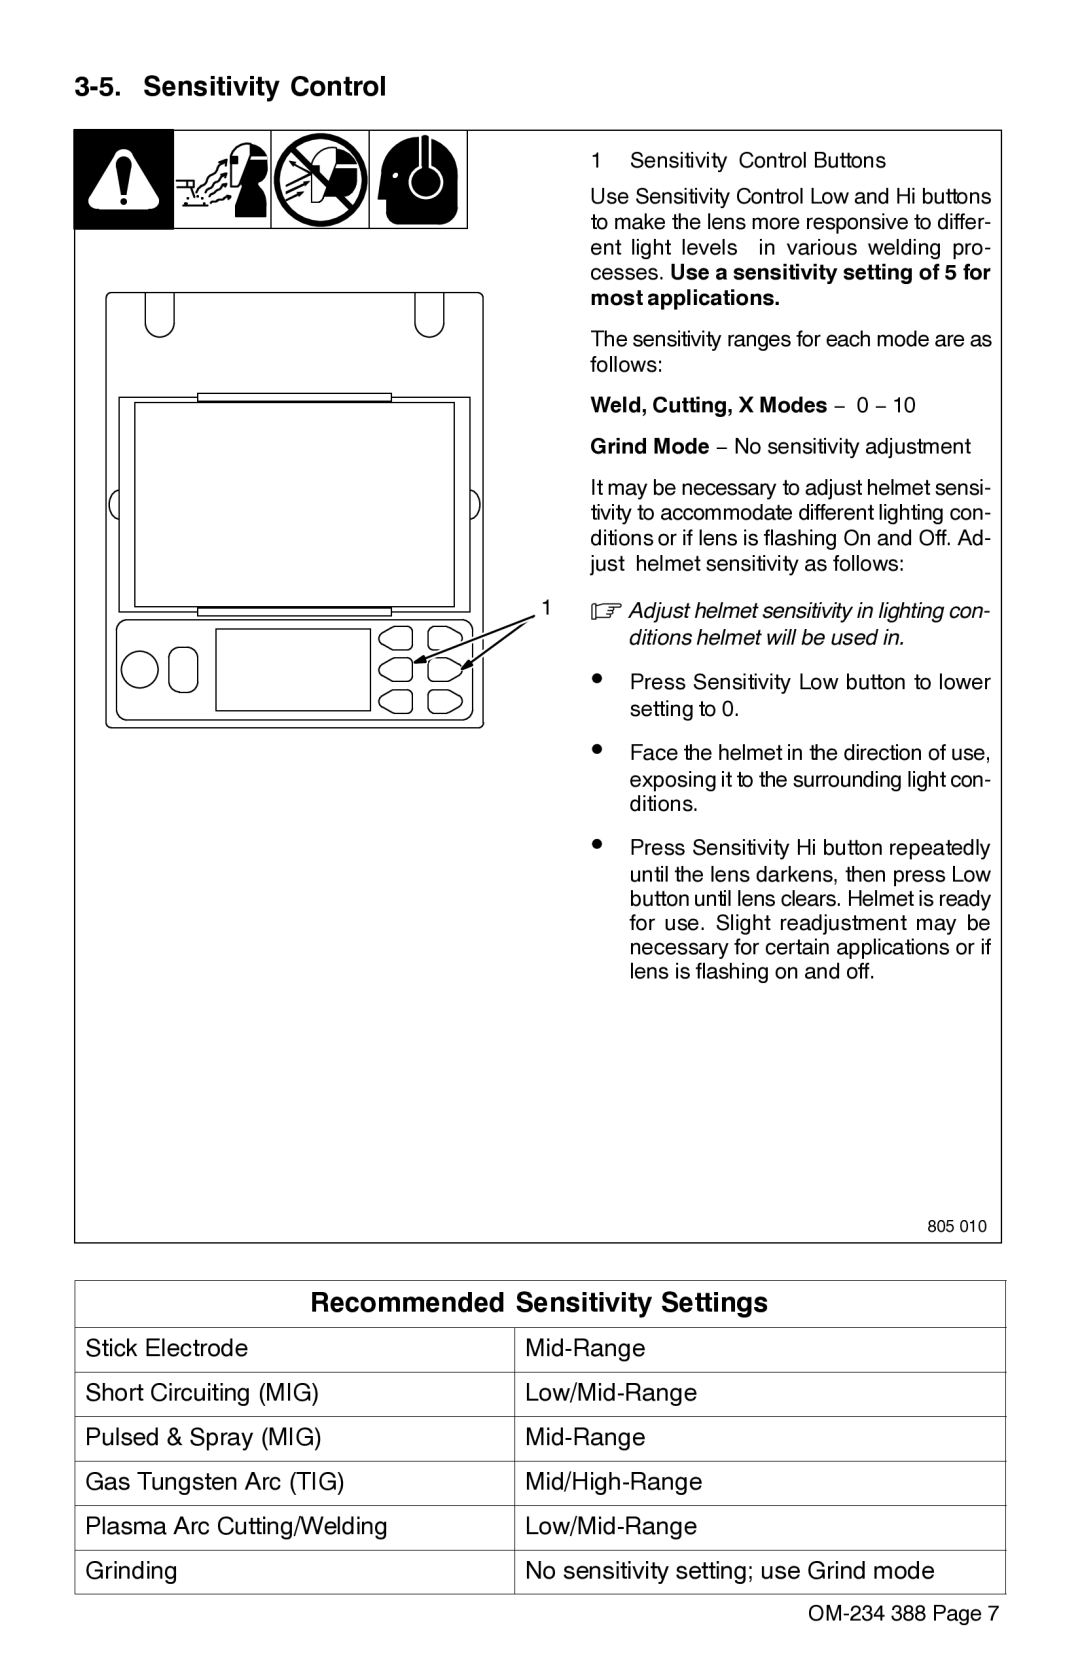
1 Sensitivity Control Buttons
Use Sensitivity Control Low and Hi buttons to make the lens more responsive to differ- ent light levels in various welding pro- cesses. Use a sensitivity setting of 5 for most applications.
The sensitivity ranges for each mode are as follows:
Weld, Cutting, X Modes − 0 − 10
Grind Mode − No sensitivity adjustment
It may be necessary to adjust helmet sensi- tivity to accommodate different lighting con- ditions or if lens is flashing On and Off. Ad- just helmet sensitivity as follows:
1 .
S
S Face the helmet in the direction of use,
exposing it to the surrounding light con- ditions.
S Press Sensitivity Hi button repeatedly
until the lens darkens, then press Low button until lens clears. Helmet is ready for use. Slight readjustment may be necessary for certain applications or if lens is flashing on and off.
805 010
Recommended Sensitivity Settings
Stick Electrode | |
|
|
Short Circuiting (MIG) | |
|
|
Pulsed & Spray (MIG) | |
|
|
Gas Tungsten Arc (TIG) | |
|
|
Plasma Arc Cutting/Welding | |
|
|
Grinding | No sensitivity setting; use Grind mode |
|
|