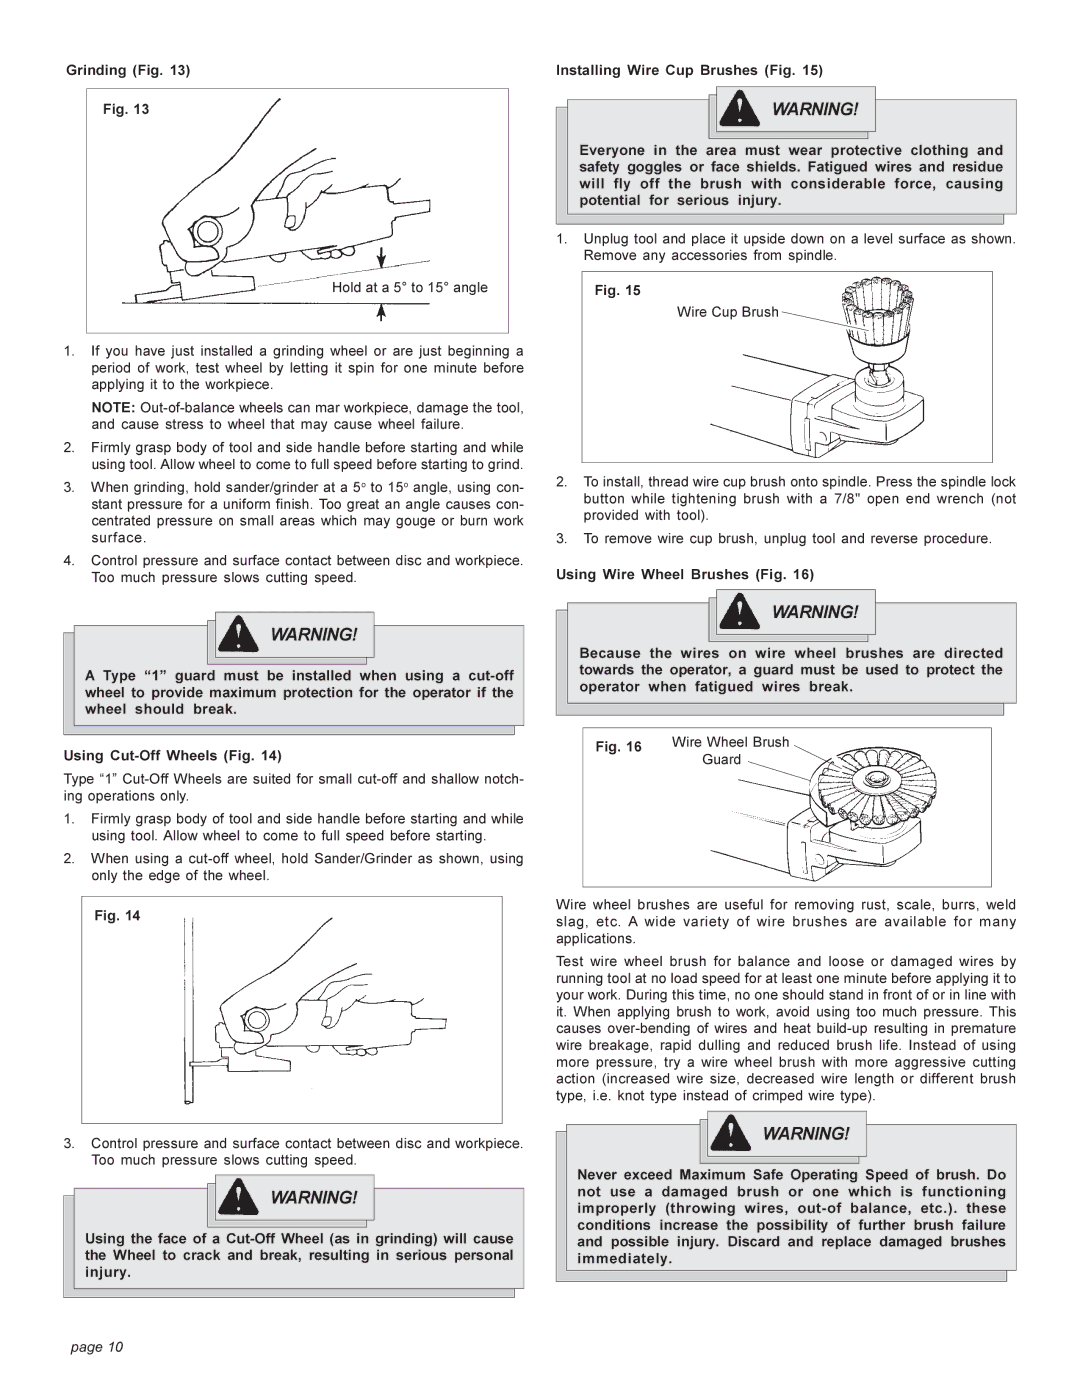
Grinding (Fig. 13)
Fig. 13
Hold at a 5° to 15° angle
1.If you have just installed a grinding wheel or are just beginning a period of work, test wheel by letting it spin for one minute before applying it to the workpiece.
NOTE:
2.Firmly grasp body of tool and side handle before starting and while using tool. Allow wheel to come to full speed before starting to grind.
3.When grinding, hold sander/grinder at a 5o to 15o angle, using con- stant pressure for a uniform finish. Too great an angle causes con- centrated pressure on small areas which may gouge or burn work surface.
4.Control pressure and surface contact between disc and workpiece. Too much pressure slows cutting speed.
![]()
![]()
![]() WARNING!
WARNING!
A Type “1” guard must be installed when using a
Using
Type “1”
1.Firmly grasp body of tool and side handle before starting and while using tool. Allow wheel to come to full speed before starting.
2.When using a
Fig. 14
3.Control pressure and surface contact between disc and workpiece. Too much pressure slows cutting speed.
![]()
![]()
![]() WARNING!
WARNING!
Using the face of a
Installing Wire Cup Brushes (Fig. 15)
![]()
![]()
![]() WARNING!
WARNING!
Everyone in the area must wear protective clothing and safety goggles or face shields. Fatigued wires and residue will fly off the brush with considerable force, causing potential for serious injury.
1.Unplug tool and place it upside down on a level surface as shown. Remove any accessories from spindle.
Fig. 15
Wire Cup Brush
2.To install, thread wire cup brush onto spindle. Press the spindle lock button while tightening brush with a 7/8" open end wrench (not provided with tool).
3.To remove wire cup brush, unplug tool and reverse procedure.
Using Wire Wheel Brushes (Fig. 16)
![]()
![]()
![]() WARNING!
WARNING!
Because the wires on wire wheel brushes are directed towards the operator, a guard must be used to protect the operator when fatigued wires break.
Fig. 16 | Wire Wheel Brush | |
Guard | ||
|
Wire wheel brushes are useful for removing rust, scale, burrs, weld slag, etc. A wide variety of wire brushes are available for many applications.
Test wire wheel brush for balance and loose or damaged wires by running tool at no load speed for at least one minute before applying it to your work. During this time, no one should stand in front of or in line with it. When applying brush to work, avoid using too much pressure. This causes
![]()
![]()
![]() WARNING!
WARNING!
Never exceed Maximum Safe Operating Speed of brush. Do not use a damaged brush or one which is functioning improperly (throwing wires,
page 10