Setting the ID number of this unit
Setting the ID number of this unit
Step 1 Turn OFF the MAIN switch on the rear of this unit.
Step 2 Remove the cover of this unit according to steps 1 to 3 of “Removing the HDD” on page 14.
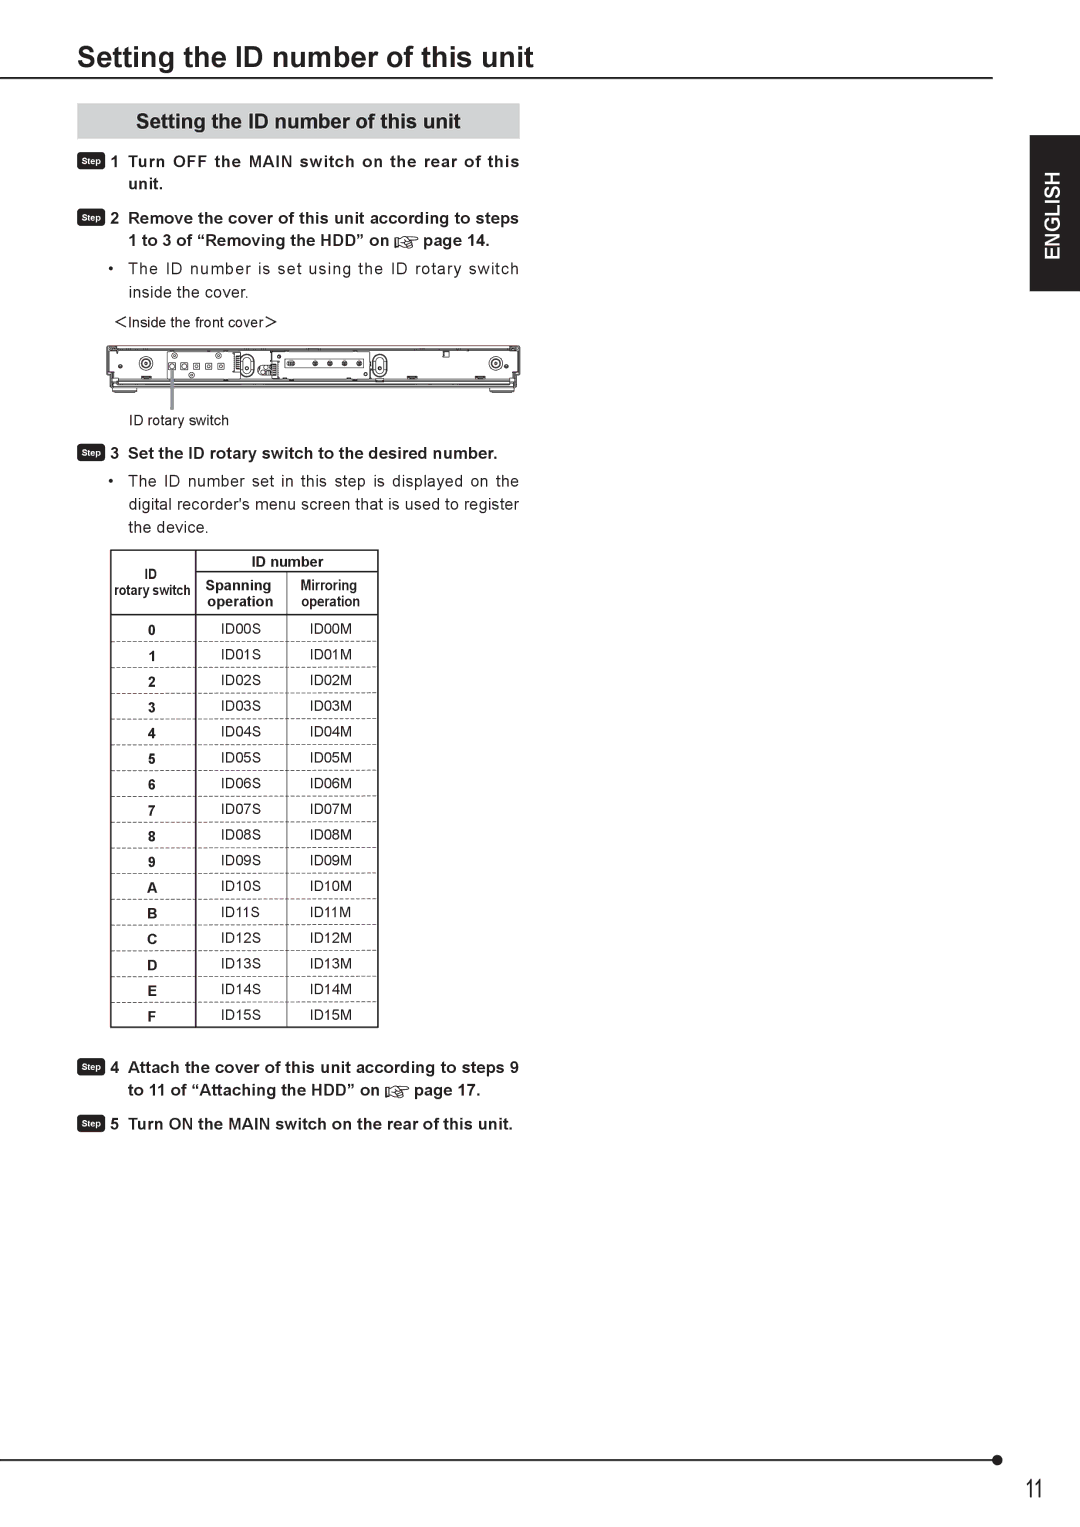
•The ID number is set using the ID rotary switch inside the cover.
<Inside the front cover>
ID rotary switch
Step 3 Set the ID rotary switch to the desired number.
•The ID number set in this step is displayed on the digital recorder's menu screen that is used to register the device.
ID | ID number | ||
Spanning | Mirroring | ||
rotary switch | |||
| operation | operation | |
|
|
| |
0 | ID00S | ID00M | |
1 | ID01S | ID01M | |
2 | ID02S | ID02M | |
3 | ID03S | ID03M | |
4 | ID04S | ID04M | |
5 | ID05S | ID05M | |
6 | ID06S | ID06M | |
7 | ID07S | ID07M | |
8 | ID08S | ID08M | |
9 | ID09S | ID09M | |
A | ID10S | ID10M | |
B | ID11S | ID11M | |
C | ID12S | ID12M | |
D | ID13S | ID13M | |
E | ID14S | ID14M | |
F | ID15S | ID15M | |
|
|
| |
Step 4 Attach the cover of this unit according to steps 9 to 11 of “Attaching the HDD” on page 17.
Step 5 Turn ON the MAIN switch on the rear of this unit.
ENGLISH
11