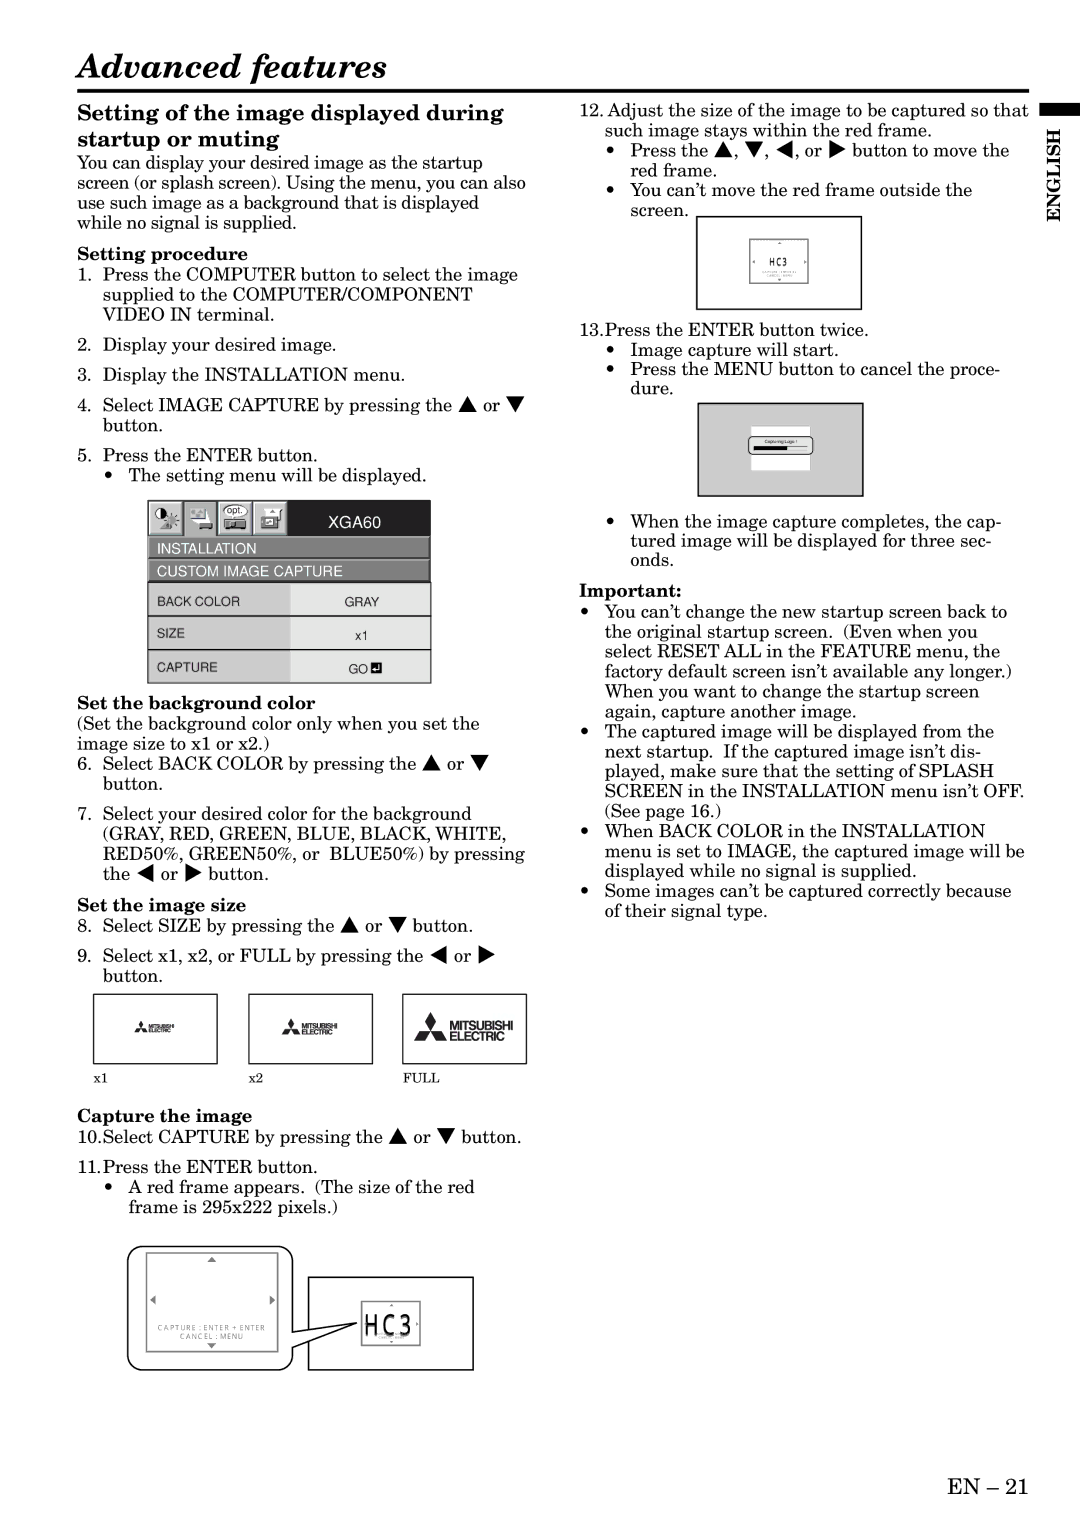
Advanced features

Setting of the image displayed during startup or muting

You can display your desired image as the startup screen (or splash screen). Using the menu, you can also use such image as a background that is displayed while no signal is supplied.

Setting procedure

1.Press the COMPUTER button to select the image supplied to the COMPUTER/COMPONENT VIDEO IN terminal.

2.Display your desired image.

3.Display the INSTALLATION menu.

4.Select IMAGE CAPTURE by pressing the { or } button.

5.Press the ENTER button.

• The setting menu will be displayed.

opt.

XGA60

INSTALLATION

CUSTOM IMAGE CAPTURE

12.Adjust the size of the image to be captured so that such image stays within the red frame.

Press the {, }, $, or % button to move the red frame.

You can’t move the red frame outside the screen.

HC3

CAPTURE : ENTER X2

CANCEL : MENU

13.Press the ENTER button twice.

Image capture will start.

Press the MENU button to cancel the proce- dure.

Capturing Logo !

LVP-XD300

When the image capture completes, the cap- tured image will be displayed for three sec- onds.

ENGLISH

BACK COLOR

GRAY


SIZE

x1


CAPTURE

GO


Set the background color

(Set the background color only when you set the image size to x1 or x2.)

6.Select BACK COLOR by pressing the { or } button.

7.Select your desired color for the background (GRAY, RED, GREEN, BLUE, BLACK, WHITE,

RED50%, GREEN50%, or BLUE50%) by pressing the $ or % button.

Set the image size

8.Select SIZE by pressing the { or } button.

9.Select x1, x2, or FULL by pressing the $ or % button.

Important:

You can’t change the new startup screen back to the original startup screen. (Even when you select RESET ALL in the FEATURE menu, the factory default screen isn’t available any longer.) When you want to change the startup screen again, capture another image.

The captured image will be displayed from the next startup. If the captured image isn’t dis- played, make sure that the setting of SPLASH SCREEN in the INSTALLATION menu isn’t OFF. (See page 16.)

When BACK COLOR in the INSTALLATION menu is set to IMAGE, the captured image will be displayed while no signal is supplied.

Some images can’t be captured correctly because of their signal type.

HC3


HC3


HC3


x1

x2

FULL

Capture the image

10.Select CAPTURE by pressing the { or } button.

11.Press the ENTER button.

A red frame appears. (The size of the red frame is 295x222 pixels.)

CAPTURE : ENTER + ENTER

CANCEL : MENU

HC3CAPTURE : ENTER X2 CANCEL : MENU

EN – 21

Page 21
Image 21
Mitsubishi Electronics HC3 user manual Advanced features, Setting of the image displayed during startup or muting

HC3 specifications

Mitsubishi Electronics HC3 is an advanced home entertainment system that exemplifies cutting-edge technology and user-friendly design. Designed for those who appreciate high-quality audio and video experiences, the HC3 blends functionality with aesthetic appeal, making it an ideal choice for modern living spaces.

One of the standout features of the HC3 is its superior display technology. The system integrates a high-definition LCD screen, providing a stunning resolution that allows viewers to experience their favorite movies and shows in vibrant detail. Coupled with advanced image processing capabilities, the HC3 ensures that colors are rich and true to life while minimizing motion blur, making it perfect for action-packed films and sports.

Audio performance is another focal point of the HC3. It is equipped with a multi-channel sound system that delivers immersive surround sound, creating a captivating audio environment. This system supports various sound formats, including Dolby Digital and DTS, enabling viewers to fully appreciate the audio depth and nuance of their media. The HC3 also features built-in equalization settings, allowing users to customize their audio experience according to their preferences and room acoustics.

Connectivity is critical in today’s digital landscape, and the HC3 excels in this regard. The system comes with multiple HDMI ports, USB inputs, and wireless connectivity options, including Bluetooth and Wi-Fi. This extensive connectivity enables users to easily link their smartphones, tablets, or other devices, facilitating seamless media playback from various sources. Additionally, the HC3 supports popular streaming services, offering users access to a universe of content without the need for extra equipment.

Ease of use is another hallmark of the Mitsubishi Electronics HC3. The intuitive interface simplifies navigation, allowing users to access their favorite shows and settings quickly. The remote control is thoughtfully designed, featuring backlit buttons for easy operation even in low-light conditions.

In terms of energy efficiency, the HC3 doesn’t disappoint. The system incorporates energy-saving technology that minimizes power consumption while maintaining high performance. This eco-friendly design not only benefits the environment but also helps reduce utility bills.

In summary, the Mitsubishi Electronics HC3 is a sophisticated entertainment solution that combines state-of-the-art display and audio technologies with user-friendly features. Its attention to connectivity and energy efficiency further establishes it as a premier choice for those seeking an immersive home theater experience while being mindful of their ecological footprint.