Menu Items

Caution

Do not switch off the main power after setting the

SCHEDULE.

Specify the correct date and time. (See pages 14 and 19.) SCHEDULE does not function unless the date and time are specified.

Check regularly that the set date and time are correct.

TIPS

Up to 8 SCHEDULE items can be registered.

Setting the SCHEDULE flashes the power LED alternately in red and orange in standby mode.

A SCHEDULE that has a large number has precedence over that of a small number when schedules overlap.

nADVANCED items (AV input) (See page 18.)

FLESH TONE

Adjust the hue control.

3D-NR

Reduce the noise of playback images on video.

Setting a higher level reduces more noise. However, it may cause blurring on an image.

MPEG-NR

Reduce block noise caused by digital compression.

3D-Y/C (AV3)

Specify whether to perform 3-dimension Y/C separation.

If dot interference or cross-colour is occurring in fast-motion scenes, selecting “OFF” may improve the image quality.

Adjustments for PC screen display

nAutomatic adjustment

When you use the PC2 input terminal or PC3 input terminals to display a PC screen for the first time, or when you change the setting of the PC, use the automatic screen adjustment.

1.Switch the input to PC2 or to PC3 and display the adjustment pattern. (See the description below.)

2.Press MENU and use or to display the SCREEN menu.

3.Press and select “AUTO”.

4.Press .

The automatic adjustment is complete in several seconds.

5.Press MENU twice to close the menu screen.

TIPS

If the screen cannot be adjusted properly with one automatic adjustment, repeat the automatic adjustment two or three times. Try manual adjustment if necessary.

nScreen display for adjustment

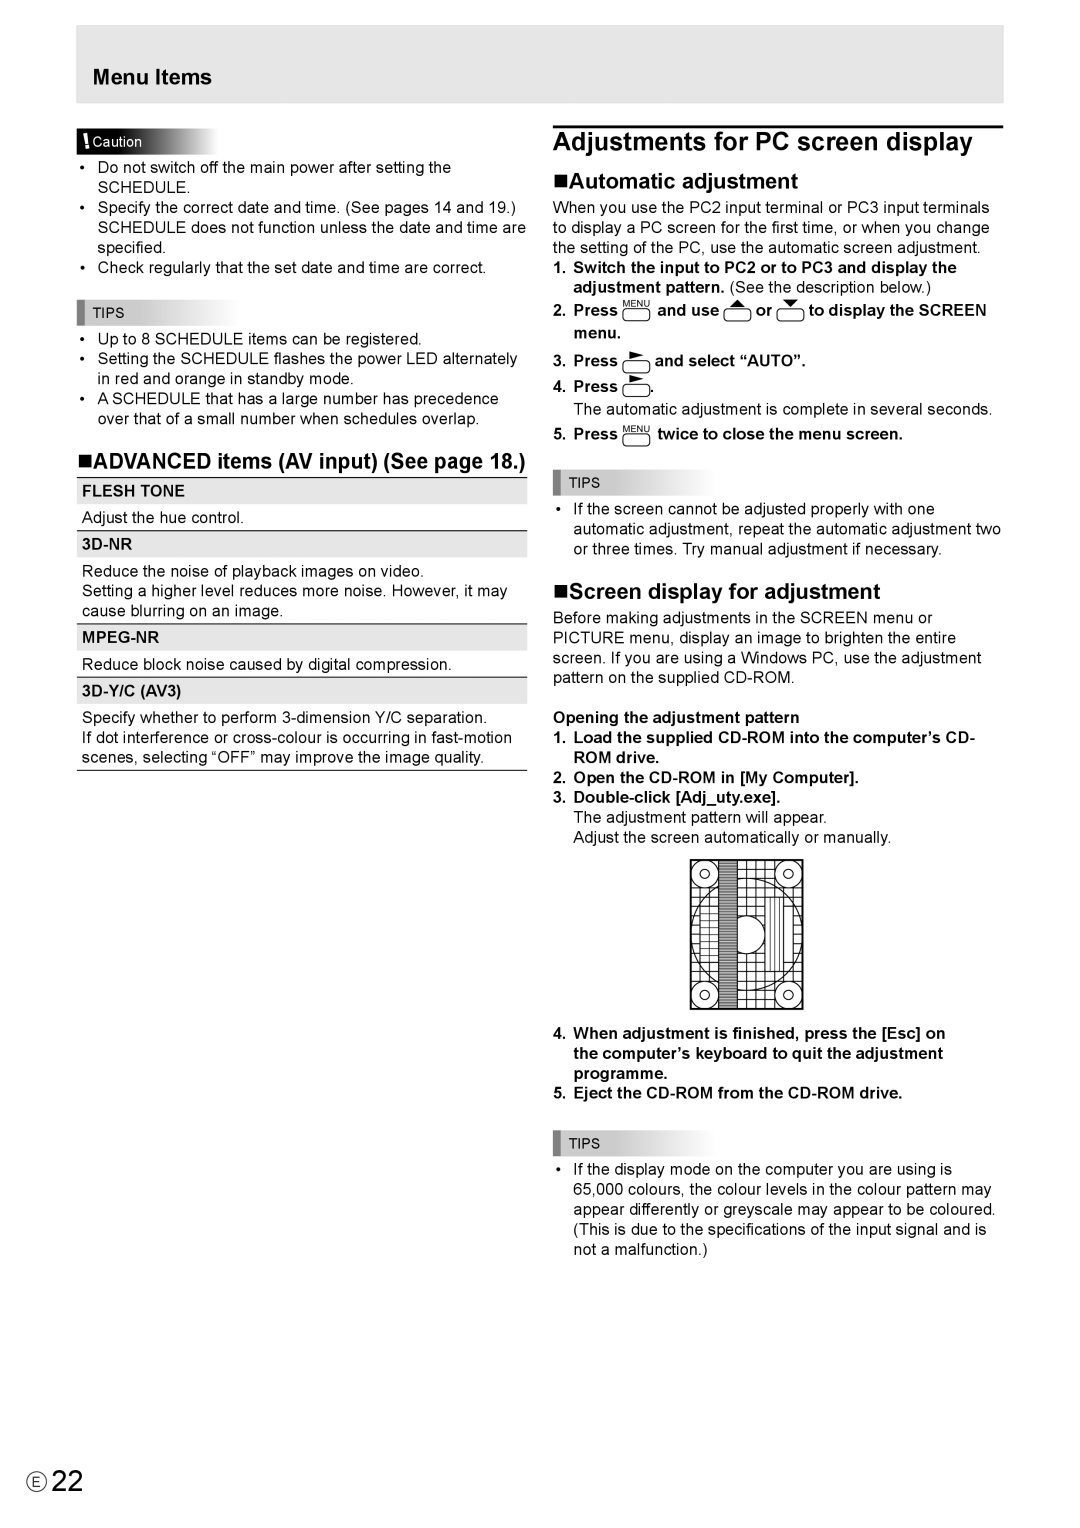
Before making adjustments in the SCREEN menu or PICTURE menu, display an image to brighten the entire screen. If you are using a Windows PC, use the adjustment pattern on the supplied CD-ROM.

Opening the adjustment pattern

1.Load the supplied CD-ROM into the computer’s CD- ROM drive.

2.Open the CD-ROM in [My Computer].

3.Double-click [Adj_uty.exe].

The adjustment pattern will appear.

Adjust the screen automatically or manually.

4.When adjustment is finished, press the [Esc] on the computer’s keyboard to quit the adjustment programme.

5.Eject the CD-ROM from the CD-ROM drive.

TIPS

If the display mode on the computer you are using is 65,000 colours, the colour levels in the colour pattern may appear differently or greyscale may appear to be coloured. (This is due to the specifications of the input signal and is not a malfunction.)

E22

Page 24
Image 24
Mitsubishi Electronics LDT651P Adjustments for PC screen display, NADVANCED items AV input See, NAutomatic adjustment

LDT651P specifications

The Mitsubishi Electronics LDT651P is a state-of-the-art 65-inch professional display that is designed to meet the diverse needs of various commercial applications. This model stands out with its superior picture quality, advanced technology, and robust build, making it an excellent choice for environments like retail spaces, corporate settings, and public venues.

One of the main features of the LDT651P is its stunning 4K Ultra HD resolution, providing a crisp and vibrant display that maximizes visual clarity. With a resolution of 3840 x 2160 pixels, this display is capable of conveying intricate details across a wide range of content, from high-definition videos to detailed images, ensuring that every piece of information is presented in the best possible light.

The LDT651P utilizes advanced LED backlighting technology, which enhances brightness and contrast while maintaining energy efficiency. This results in a display that is not only bright and eye-catching but also economical, an essential characteristic in commercial settings where displays are often left on for extended periods. The incorporation of high dynamic range (HDR) support further elevates the viewing experience, allowing for deeper blacks and brighter whites, thus providing a more lifelike image.

Equipped with multiple input options, including HDMI, DisplayPort, and USB ports, the LDT651P offers versatility for content connectivity. This flexibility enables seamless integration with a variety of devices, including computers, media players, and broadcasting equipment, making it easy for businesses to adapt the display to their specific needs.

The LDT651P is also designed with durability in mind. Its robust construction ensures that the display can withstand the rigors of daily use in busy environments, contributing to a longer lifespan. In addition, the display features a wide viewing angle, ensuring that content is visible from various positions, making it ideal for larger spaces where audiences gather.

Moreover, Mitsubishi has embedded remote management capabilities within the LDT651P, making it easier for operators to control multiple displays from a centralized location. This feature is particularly advantageous for businesses managing digital signage networks, as it enhances operational efficiency and reduces the need for manual adjustments.

In conclusion, the Mitsubishi Electronics LDT651P is a powerful display solution that combines unmatched picture quality, robust design, and versatile connectivity options. Its advanced technology makes it an ideal choice for commercial applications, ensuring engaging content delivery in any setting.