Picture adjustment
Adjusting the image
You can adjust the picture by using the IMAGE menu.
EXAMPLE: USER setting of COLOR TEMP.
1.Select COLOR TEMP in IMAGE menu.
2.Press the $ or % button to select 4 2.
3.Press the ENTER button.
COLOR TEMP.
CONTRAST R | 0 |
|
|
CONTRAST B | 0 |
|
|
BRIGHTNESS R | 0 |
|
|
BRIGHTNESS B | 0 |
|
|
4.Press the { or } button to select the desired item.
5.Press the $ or % button to adjust the item.
6.Repeat steps 4 and 5 for more adjusting.
7.Exit the menu system by pressing the MENU but- ton several times.
Opt
PICTURE
|
| CONTRAST | 0 |
|
|
|
|
|
|
|
|
|
| BRIGHTNESS | 0 |
|
|
|
|
|
|
|
|
|
| COLOR TEMP. | 1 / 2 / 3 / 4 |
|
|
|
|
|
|
|
|
|
| SHARPNESS | 0 |
|
|
|
|
|
|
|
|
|
| TINT | 0 |
|
|
|
|
|
|
|
|
|
| COLOR | 0 |
|
|
|
|
|
|
|
|
To control the level of white-to-black in the image :
Adjust CONTRAST in IMAGE menu. Press the % button to increase the contrast and the $ button to reduce it.
To control the light level of the image :
Adjust BRIGHTNESS in IMAGE menu. Press the % button to lighten the image and the $ button to darken the image.
To adjust the detail and clarity of the image : Adjust SHARPNESS in IMAGE menu. Press the % button to make the picture seem sharper and the $ button to make it softer.
To determine the intensity of the color :
Adjust COLOR in IMAGE menu. Press the % button to increase the amount of color in the image and the $ button to decrease it.
To adjust the red-green color balance of the image :
Adjust TINT in IMAGE menu. Press the % button to increase the amount of red in the image and the $ button to increase the amount of green in the image.
Adjustment from personal computer
Although this projector sets proper signal systems automatically for the image signal from personal computers, it cannot be applied to some of personal computers. In this case, press the AUTO POSITION button. If the images are still not projected correctly, use the MENU display to adjust the projected im- ages.
Adjusting the images form personal computers in MENU display
Adjust as below for the following symptoms.
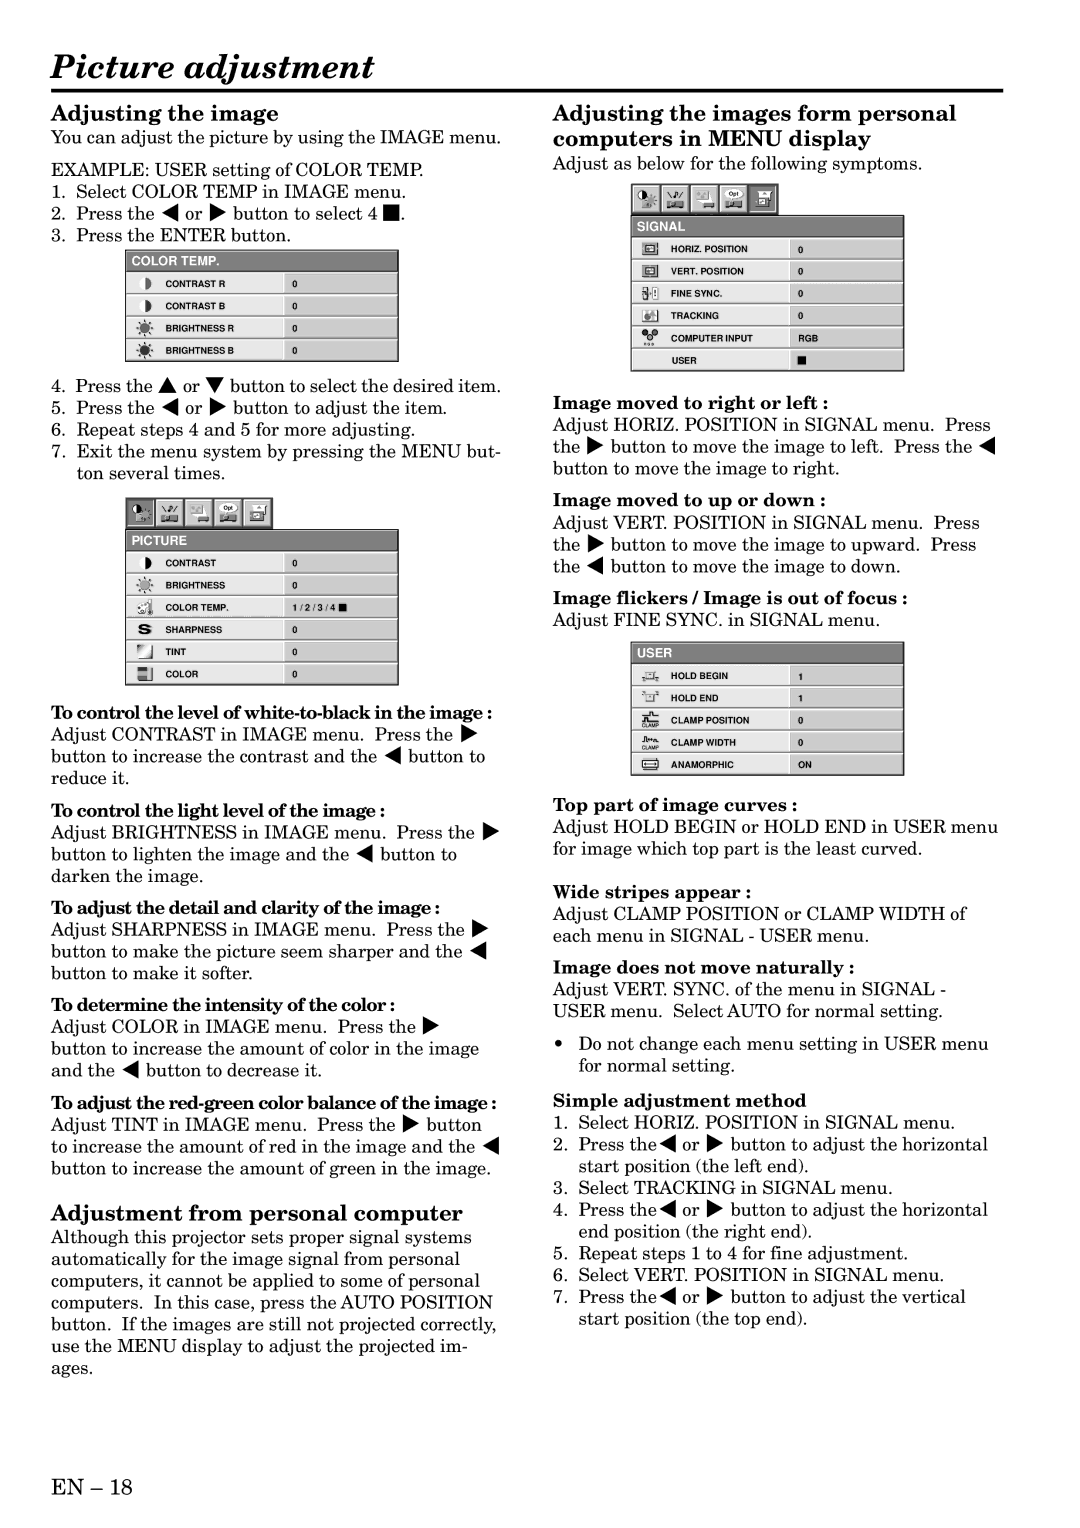
Opt
SIGNAL
|
| HORIZ. POSITION | 0 |
|
|
|
|
|
| VERT. POSITION | 0 |
|
|
|
|
|
| FINE SYNC. | 0 |
|
|
|
|
|
| TRACKING | 0 |
|
| COMPUTER INPUT | RGB |
R G B
USER
Image moved to right or left :
Adjust HORIZ. POSITION in SIGNAL menu. Press the % button to move the image to left. Press the $ button to move the image to right.
Image moved to up or down :
Adjust VERT. POSITION in SIGNAL menu. Press the % button to move the image to upward. Press the $ button to move the image to down.
Image flickers / Image is out of focus :
Adjust FINE SYNC. in SIGNAL menu.
USER
|
| HOLD BEGIN | 1 |
|
|
|
|
|
| HOLD END | 1 |
|
|
|
|
|
| CLAMP POSITION | 0 |
|
| ||
|
|
|
|
|
|
|
|
|
| CLAMP WIDTH | 0 |
|
|
|
|
|
| ANAMORPHIC | ON |
|
|
|
|
Top part of image curves :
Adjust HOLD BEGIN or HOLD END in USER menu for image which top part is the least curved.
Wide stripes appear :
Adjust CLAMP POSITION or CLAMP WIDTH of each menu in SIGNAL - USER menu.
Image does not move naturally :
Adjust VERT. SYNC. of the menu in SIGNAL - USER menu. Select AUTO for normal setting.
•Do not change each menu setting in USER menu for normal setting.
Simple adjustment method
1.Select HORIZ. POSITION in SIGNAL menu.
2.Press the$ or % button to adjust the horizontal start position (the left end).
3.Select TRACKING in SIGNAL menu.
4.Press the$ or % button to adjust the horizontal end position (the right end).
5.Repeat steps 1 to 4 for fine adjustment.
6.Select VERT. POSITION in SIGNAL menu.
7.Press the$ or % button to adjust the vertical start position (the top end).
EN – 18