Manuals
/
Mitsubishi Electronics
/
Computer Equipment
/
Projector
Mitsubishi Electronics
XD110 Preparation for projection, Adjustment of the projection angle
Models:
SD110
XD110
1
12
30
30
Download
30 pages
10.92 Kb
9
10
11
12
13
14
15
16
Troubleshooting
Specification
Install
Signal
Password
Indicators
Dimension
Maintenance
Battery installation
Image adjustment
Page 12
Image 12
Page 11
Page 13
Page 12
Image 12
Page 11
Page 13
Contents
Please read it before using your projector
MODEL
This User Manual is important to you
ENGLISH
When using the projector in Europe COMPLIANCE NOTICE
CAUTION TO REDUCE THE RISK OF ELECTRIC
SHOCK DO NOT REMOVE COVER OR BACK NO USER-SERVICEABLE PARTS INSIDE
REFER SERVICING TO QUALIFIED SERVICE PERSONNEL
Contents
Important safeguards
Declaration of Conformity
Trademark, Registered trademark
Important safeguards
Do not keep using the damaged projector
Do not look into the lens when the projector is oper- ating
Do not unplug the power cord during operation
Do not look into the air outlet grilles when projector is operating
Overview
Control panel
Terminal board
10 11
Remote control
Bottom side
Remote control
Battery installation
Operation range of the remote control
Reception angle vertical
Installation
Layout of the projector
Front projection
Front projection, ceiling mounting
Basic connections
Projector + AV device
Projector + DVD player or HDTV decoder
Projector + Computer
For computer with Mini D-SUB
For Macintosh
About DDC
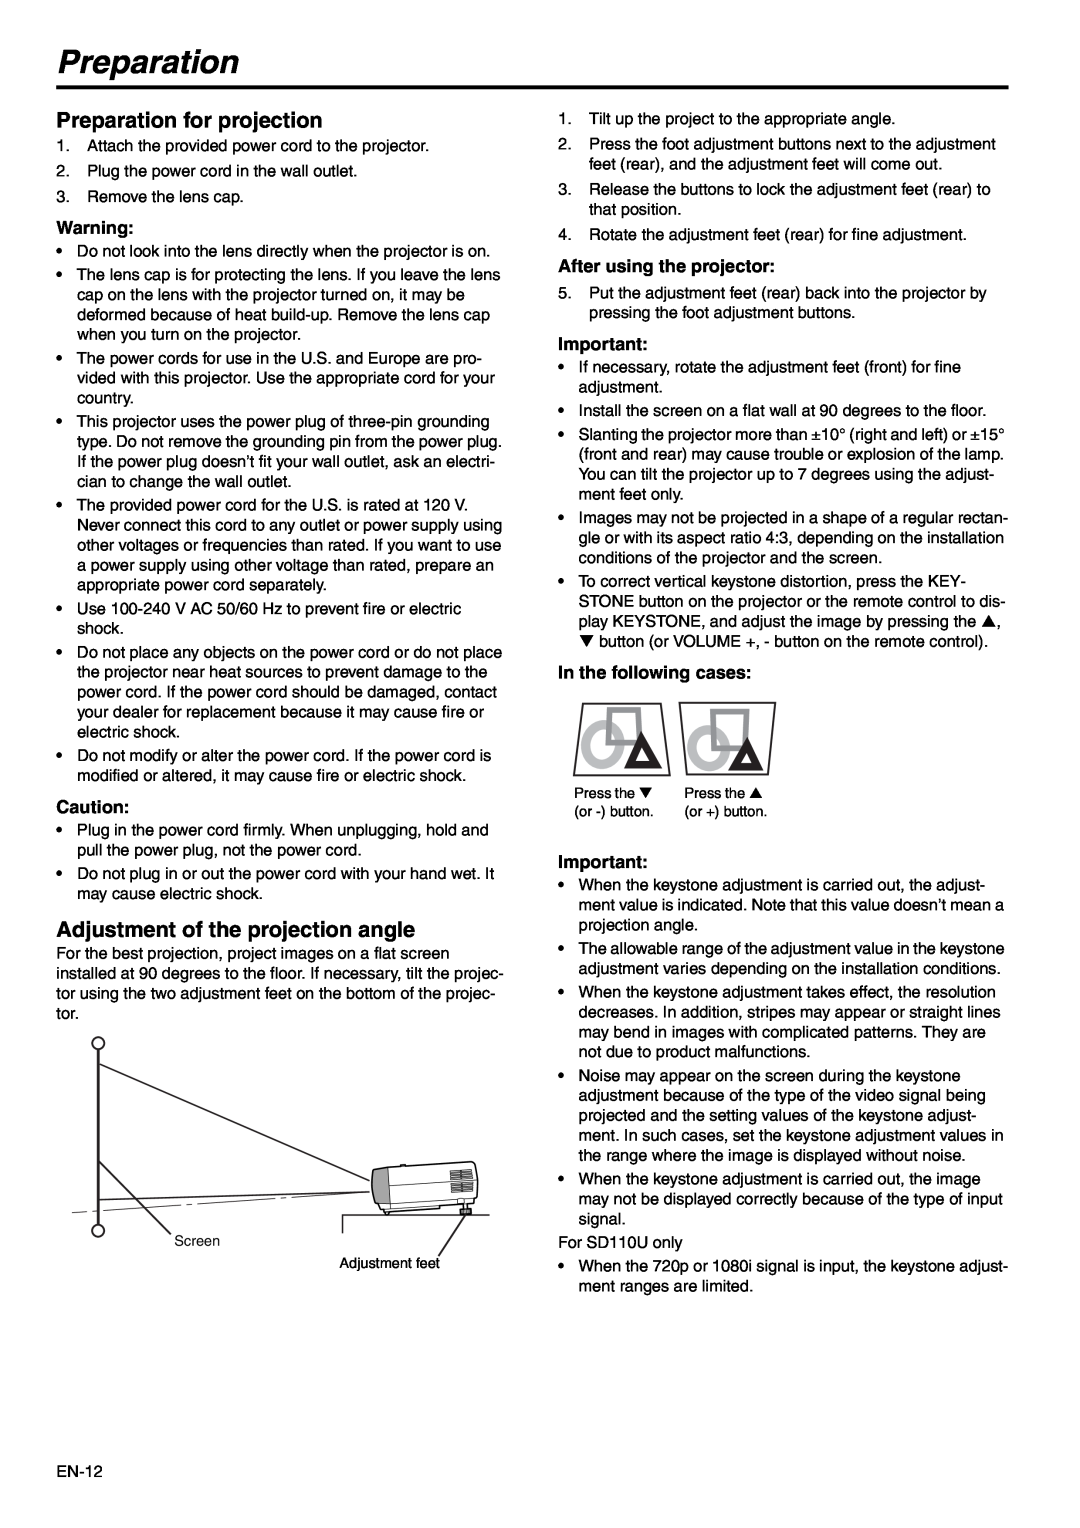
Adjustment of the projection angle
After using the projector
Preparation
Preparation for projection
Power-on
Basic operation
3, 1
Power-off
Volume from the speaker
Basic operation continued
AUTO POSITION button
Menu operation
Basic operation
XGA60
2 INSTALLATION
Menu operation continued
1 IMAGE
3 FEATURE
4 SIGNAL
5 SIGNAL - USER No need to adjust in normal use
Image adjustment
Image adjustment
To adjust the red-green color balance of the image
To adjust the detail and clarity of the image
Adjustment of the image from the computer
Simple adjustment method
When the image flickers or the image is out of focus
When the top part of the image flags
Advanced feature
Still
To resume the motion in the image
Page-up and page-down
Password function
To cancel the password function
To enable the password function
Lamp replacement
Interval of lamp replacement
Reset of the lamp operation time
Troubleshooting
Images aren’t projected on the screen
Problem
Cause and solution
Troubleshooting continued
Images aren’t projected correctly
Maintenance
Cleaning of the projector and the ventilation slots
Cleaning of the lens
Others
Indicators
Normal condition
Abnormal condition
Specifications
Kensington Lock
Kensington Technology Group 2855 Campus Drive
San Mateo, CA 94403, U.S.A
Specifications continued
Connectors
Dimensional drawings unit mm
What’s included in the box
Specification of RGB signals in each computer mode of the projector
Some computers aren’t compatible with the projector
MITSUBISHI Projector Contact Information
MITSUBISHI ELECTRIC CORPORATION
North America
Europe
Top
Page
Image
Contents