Adjustment from personal computer
This projector should automatically display the full computer image on the projection screen. However, with some computers signals this may not occur, in this case press the AUTO POSITION button. If the images are still not projected correctly, use the MENU display to adjust the projected images.
opt.
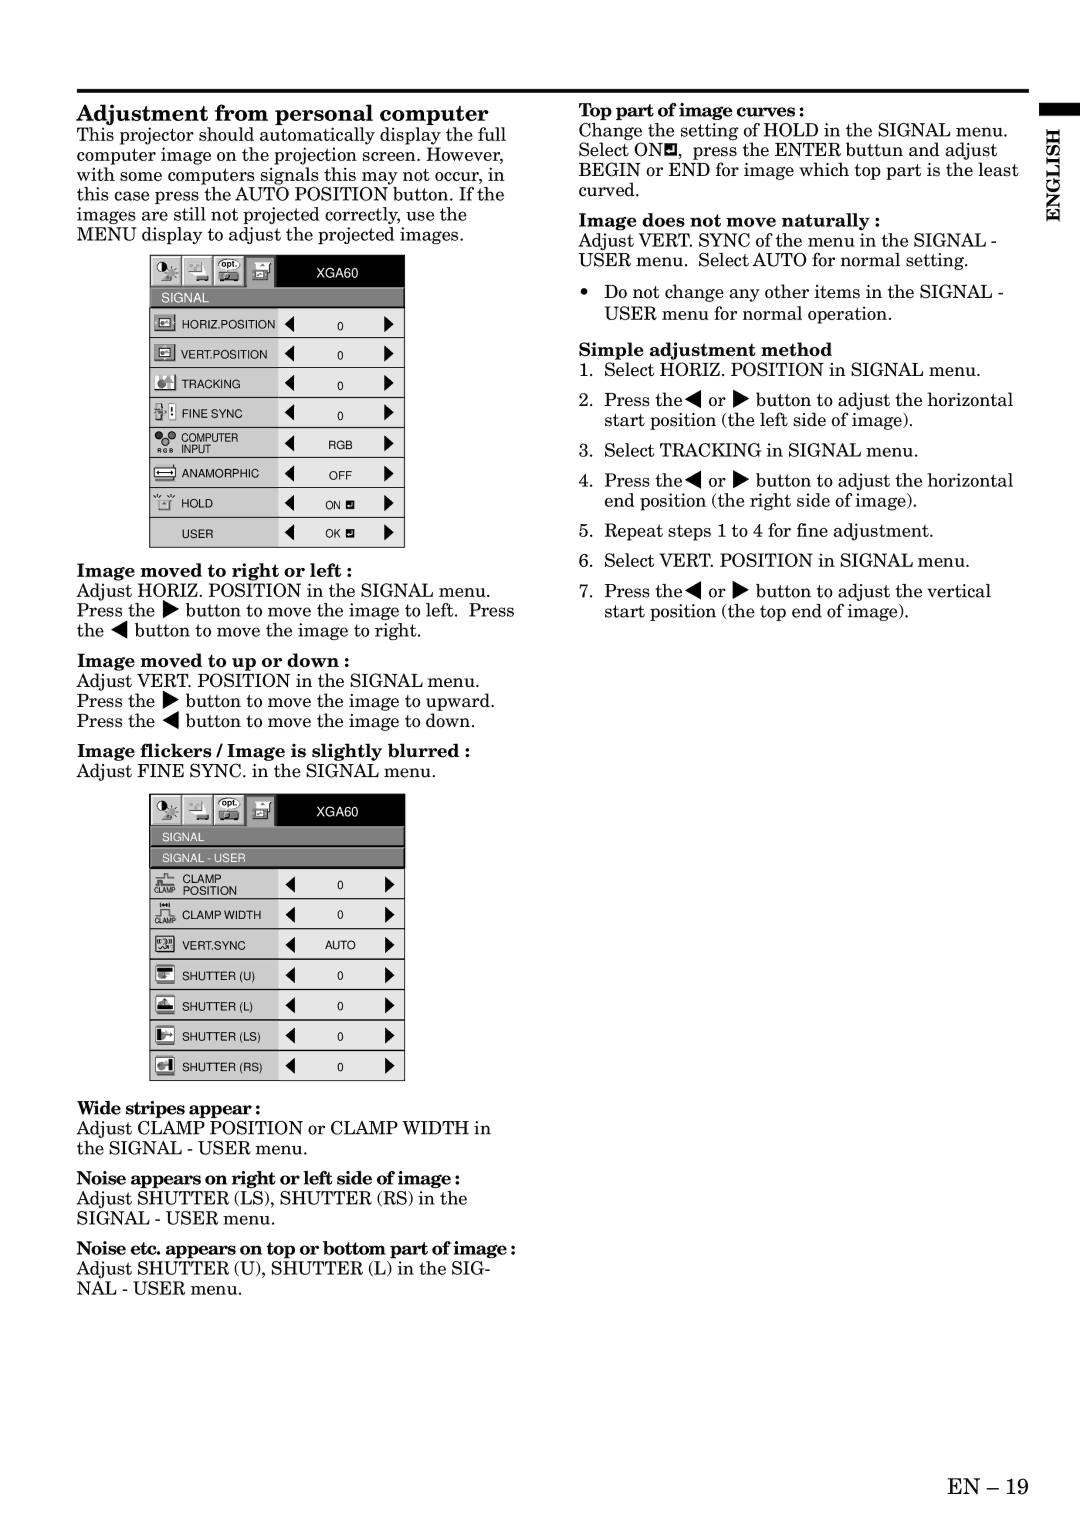
XGA60
SIGNAL
|
|
| HORIZ.POSITION | 0 |
|
|
|
|
|
|
| ||
|
|
|
|
|
|
|
|
|
| VERT.POSITION | 0 |
|
|
|
|
|
|
| ||
|
|
|
|
|
|
|
|
|
| TRACKING | 0 |
|
|
|
|
|
|
| ||
|
|
| FINE SYNC | 0 |
|
|
|
|
|
|
| ||
|
|
|
|
|
|
|
|
|
| COMPUTER | RGB | ||
| RRGGBB INPUT | |||||
|
|
| ANAMORPHIC | OFF | ||
|
|
| ||||
|
|
|
|
|
|
|
|
|
| HOLD | ON |
|
|
|
|
|
| |||
|
|
|
|
|
|
|
|
|
| USER | OK | ||
|
|
|
|
|
|
|
Image moved to right or left :
Adjust HORIZ. POSITION in the SIGNAL menu. Press the % button to move the image to left. Press the $ button to move the image to right.
Image moved to up or down :
Adjust VERT. POSITION in the SIGNAL menu. Press the % button to move the image to upward. Press the $ button to move the image to down.
Image flickers / Image is slightly blurred : Adjust FINE SYNC. in the SIGNAL menu.
opt.
XGA60
SIGNAL
SIGNAL - USER
CLAMP0
CLAMP POSITION
|
|
| CLAMP WIDTH | 0 |
|
|
| ||
CLAMP | ||||
|
|
|
|
|
? | VERT.SYNC | AUTO |
| SHUTTER (U) | 0 |
|
| SHUTTER (L) | 0 |
|
| ||
|
|
|
|
|
| SHUTTER (LS) | 0 |
|
| ||
|
|
|
|
|
| SHUTTER (RS) | 0 |
|
| ||
|
|
|
|
Wide stripes appear :
Adjust CLAMP POSITION or CLAMP WIDTH in the SIGNAL - USER menu.
Noise appears on right or left side of image : Adjust SHUTTER (LS), SHUTTER (RS) in the SIGNAL - USER menu.
Noise etc. appears on top or bottom part of image : Adjust SHUTTER (U), SHUTTER (L) in the SIG- NAL - USER menu.
Top part of image curves :
Change the setting of HOLD in the SIGNAL menu. Select ON![]() , press the ENTER buttun and adjust BEGIN or END for image which top part is the least curved.
, press the ENTER buttun and adjust BEGIN or END for image which top part is the least curved.
Image does not move naturally :
Adjust VERT. SYNC of the menu in the SIGNAL - USER menu. Select AUTO for normal setting.
•Do not change any other items in the SIGNAL - USER menu for normal operation.
Simple adjustment method
1.Select HORIZ. POSITION in SIGNAL menu.
2.Press the$ or % button to adjust the horizontal start position (the left side of image).
3.Select TRACKING in SIGNAL menu.
4.Press the$ or % button to adjust the horizontal end position (the right side of image).
5.Repeat steps 1 to 4 for fine adjustment.
6.Select VERT. POSITION in SIGNAL menu.
7.Press the$ or % button to adjust the vertical start position (the top end of image).
ENGLISH
EN – 19