Installation
Orientation of the projector
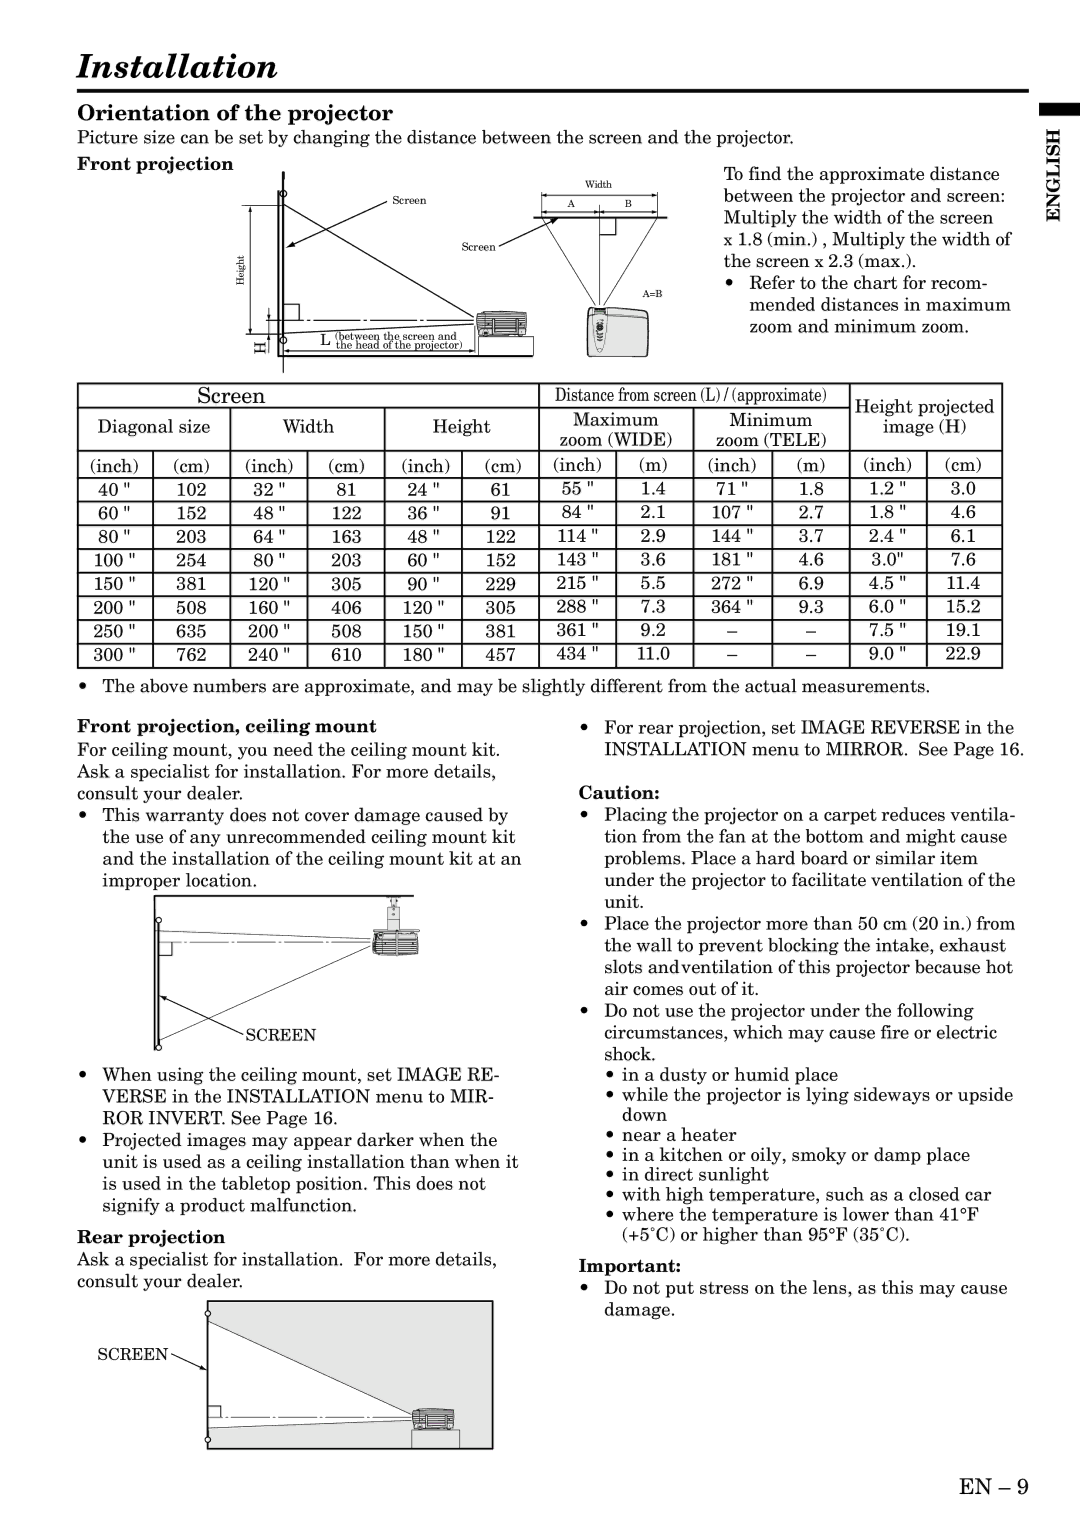
Picture size can be set by changing the distance between the screen and the projector.
Front projection
Height
H
|
|
| Width |
|
Screen |
|
|
| |
A | B |
| ||
|
|
| ||
|
|
|
|
|
|
|
|
|
|
Screen ![]()
A=B
L (between the screen and the head of the projector)
To find the approximate distance between the projector and screen: Multiply the width of the screen x 1.8 (min.) , Multiply the width of the screen x 2.3 (max.).
•Refer to the chart for recom- mended distances in maximum zoom and minimum zoom.
ENGLISH
| Screen |
|
|
| Distance from screen (L) / (approximate) | Height projected | ||||||
Diagonal size | Width | Height | Maximum | Minimum | ||||||||
image (H) | ||||||||||||
zoom (WIDE) | zoom (TELE) | |||||||||||
|
|
|
|
|
|
|
| |||||
(inch) | (cm) | (inch) | (cm) | (inch) | (cm) | (inch) | (m) | (inch) | (m) | (inch) | (cm) | |
40 " | 102 | 32 " | 81 | 24 " | 61 | 55 " | 1.4 | 71 " | 1.8 | 1.2 " | 3.0 | |
60 " | 152 | 48 " | 122 | 36 " | 91 | 84 " | 2.1 | 107 " | 2.7 | 1.8 " | 4.6 | |
80 " | 203 | 64 " | 163 | 48 " | 122 | 114 " | 2.9 | 144 " | 3.7 | 2.4 " | 6.1 | |
100 " | 254 | 80 " | 203 | 60 " | 152 | 143 " | 3.6 | 181 " | 4.6 | 3.0" | 7.6 | |
150 " | 381 | 120 " | 305 | 90 " | 229 | 215 " | 5.5 | 272 " | 6.9 | 4.5 " | 11.4 | |
200 " | 508 | 160 " | 406 | 120 " | 305 | 288 " | 7.3 | 364 " | 9.3 | 6.0 " | 15.2 | |
250 " | 635 | 200 " | 508 | 150 " | 381 | 361 " | 9.2 | – | – | 7.5 " | 19.1 | |
300 " | 762 | 240 " | 610 | 180 " | 457 | 434 " | 11.0 | – | – | 9.0 " | 22.9 | |
•The above numbers are approximate, and may be slightly different from the actual measurements.
Front projection, ceiling mount
For ceiling mount, you need the ceiling mount kit. Ask a specialist for installation. For more details, consult your dealer.
•This warranty does not cover damage caused by the use of any unrecommended ceiling mount kit and the installation of the ceiling mount kit at an improper location.
![]() SCREEN
SCREEN
•When using the ceiling mount, set IMAGE RE- VERSE in the INSTALLATION menu to MIR- ROR INVERT. See Page 16.
•Projected images may appear darker when the unit is used as a ceiling installation than when it is used in the tabletop position. This does not signify a product malfunction.
Rear projection
Ask a specialist for installation. For more details, consult your dealer.
SCREEN ![]()
•For rear projection, set IMAGE REVERSE in the INSTALLATION menu to MIRROR. See Page 16.
Caution:
•Placing the projector on a carpet reduces ventila- tion from the fan at the bottom and might cause problems. Place a hard board or similar item under the projector to facilitate ventilation of the unit.
•Place the projector more than 50 cm (20 in.) from the wall to prevent blocking the intake, exhaust slots andventilation of this projector because hot air comes out of it.
•Do not use the projector under the following circumstances, which may cause fire or electric shock.
•in a dusty or humid place
•while the projector is lying sideways or upside down
•near a heater
•in a kitchen or oily, smoky or damp place
•in direct sunlight
•with high temperature, such as a closed car
•where the temperature is lower than 41° F (+5˚C) or higher than 95° F (35˚C).
Important:
•Do not put stress on the lens, as this may cause damage.
EN – 9