| ENGLISH | | ESPAÑOL | | FRANÇAIS | |
| | | | | | |
| MAINTENANCE | | MANTENIMIENTO | | ENTRETIEN | |
| | | |
Flushing | Enjuague | Rinçage | |
IMPORTANT: Before closing all wall openings, | IMPORTANTE: Antes de cerrar todas las aberturas | IMPORTANT: Avant de fermer toutes les ouvertures | |
pressure test valve and complete system | en la pared, pruebe la presión de la mezcladora y del | murales, effectuer un test de pression sur la | |
using flushing instructions. | sistema completo utilizando las instrucciones de | soupape et suivre les directives de rinçage pour | |
enjuague. | terminer l’installation. | |
IMPORTANT: | |
IMPORTANTE: | IMPORTANT: | |
Pipe chips, sand, stones and other solids found in | |
Las rebabas, arena, piedras y otros sólidos presentes | Des débris de tuyauterie, du sable, de la pierraille et | |
new and renovated plumbing can damage the | |
en las tuberías nuevas o renovadas pueden dañar las | d’autres solides, qui se trouvent dans toute plomberie | |
sealing surface of the cartridge and cause a leak. | superficies de sellado del cartucho y causar fugas. | nouvelle et rénovée, peuvent endommager les surfaces | |
To avoid damage, DO NOT OPERATE VALVE | Para evitar daños, NO ABRA LAS VÁLVULAS DE | étanches de la cartouche et causer des fuites. Pour éviter | |
unit until you have followed these instructions: | SUMINISTRO hasta que se indique a continuación: | tout dommage, NE PAS UTILISER LA SOUPAPE avant | |
1. | If the showerhead has been installed, remove | 1. | Si la regadera ha sido instalada, | d’avoir suivi les directives ci-dessous: | |
1. | Si la pomme de douche est déjà installée, l’enlever | |
| it before flushing. | | retírela antes de enjuagar. | |
| 2. | CIERRE las válvulas de cierre integradas de agua | | avant de rincer la plomberie. | |
2. | Turn OFF hot and cold water at the integral | | |
2. | FERMER l’eau chaude et l’eau froide aux robinets | |
| fría y caliente y abra el monomando para aliviar la | |
| stops and open the handle to relieve pressure | | |
| | presión y asegurar un cierre completo. | | d’arrêt intégrés et faire pivoter la poignée pour | |
| and ensure complete shut-off. | 3. | Retire el tope ajustable de límite de temperatura, | | éliminer la pression et s’assurer que l’alimentation | |
3. | Remove adjustable temperature limit stop, | | en eau a bien été coupée. | |
| la presilla retenedora y el cartucho y la bobina | | |
| 3. | Enlever le limiteur de température réglable, l’étrier et | |
| retainer clip and cartridge and balance spool | | de compensación (destornille la bobina de | |
| | | la cartouche ainsi que la bobine d’équilibrage | |
| (unscrew balance spool with a wide-bladed | | compensación con un destornillador de punta | | |
| | | (dévisser la bobine d’équilibrage à l’aide d’un gros | |
| screwdriver and pull straight out of the valve). | | ancha y tírelo fuera de la válvula). | | tourne-vis à tête plate et tirer droit vers soi pour la | |
4. | At the integral stops, slowly turn both hot and | 4. | En las válvulas de cierre, abra lentamente el agua fría y la | | sortir de la soupape.). | |
| caliente y enjuague bien el cuerpo y las líneas. | 4. | Aux robinets d’arrêt intégrés, ouvrir l’eau chaude et | |
| cold water on and thoroughly flush out the | | |
| 5. | Cierre el agua fría y la caliente usando las válvulas | | l’eau froide et bien rincer toute la plomberie et le | |
| body and lines. | | |
| | de cierre integradas. | | corps de soupape. | |
5. | Turn off both hot and cold water using the | | | |
6. | Instale la bobina de compensación, la presilla | 5. | Fermer l’eau chaude et l’eau froide à l'aide | |
| integral stops. | | des robinets d’arrêt intégrés. | |
| | retenedora del cartucho y el monomando. | | |
6. | Install balance spool, cartridge retainer clip | 7. | Abra la válvula en posición mezclada y abra ambas | 6. | Installer la bobine d’équilibrage, la cartouche, | |
| and handle. | | válvulas de cierre. | | l’étrier et la poignée. | |
| | 7. | Ouvrir la soupape à la position combinée et ouvrir | |
7. | Turn the valve on in the mix position and | 8. | Derive el agua a la regadera y enjuague la subi da de agua. | |
| les robinets d’arrêt d’eau chaude et d’eau froide. | |
| open both hot and cold stops. | 9. | Cierre la válvula e instale la regadera. | | |
| 8. | Faire couler l’eau par la douche et rincer | |
8. | Divert water to the shower and flush the riser. | 10. | Revise el sistema para ver si hay pérdidas. | |
| la colonne montante. | |
9. | Turn off the valve and install the showerhead. | 11. | Retire el monomando e instale las terminaciones | 9. | Fermer la soupape et installer la pomme de douche. | |
10. | Check the system for leaks. | | y accesorios restantes como se ilustra en las | 10. | Faire une vérification de la plomberie pour s’assurer | |
| instrucciones de armado. | |
| | qu’il n’y a pas de fuites. | |
11. | Remove handle, install the remaining trim and | | | | |
| | 11. | Retirer la poignée, installer le reste de la garniture et | |
| attaching parts as illustrated in assembly | | | |
| | | | fixer les pièces comme illustré dans les directives de | |
| instructions. | | | | montage. | |
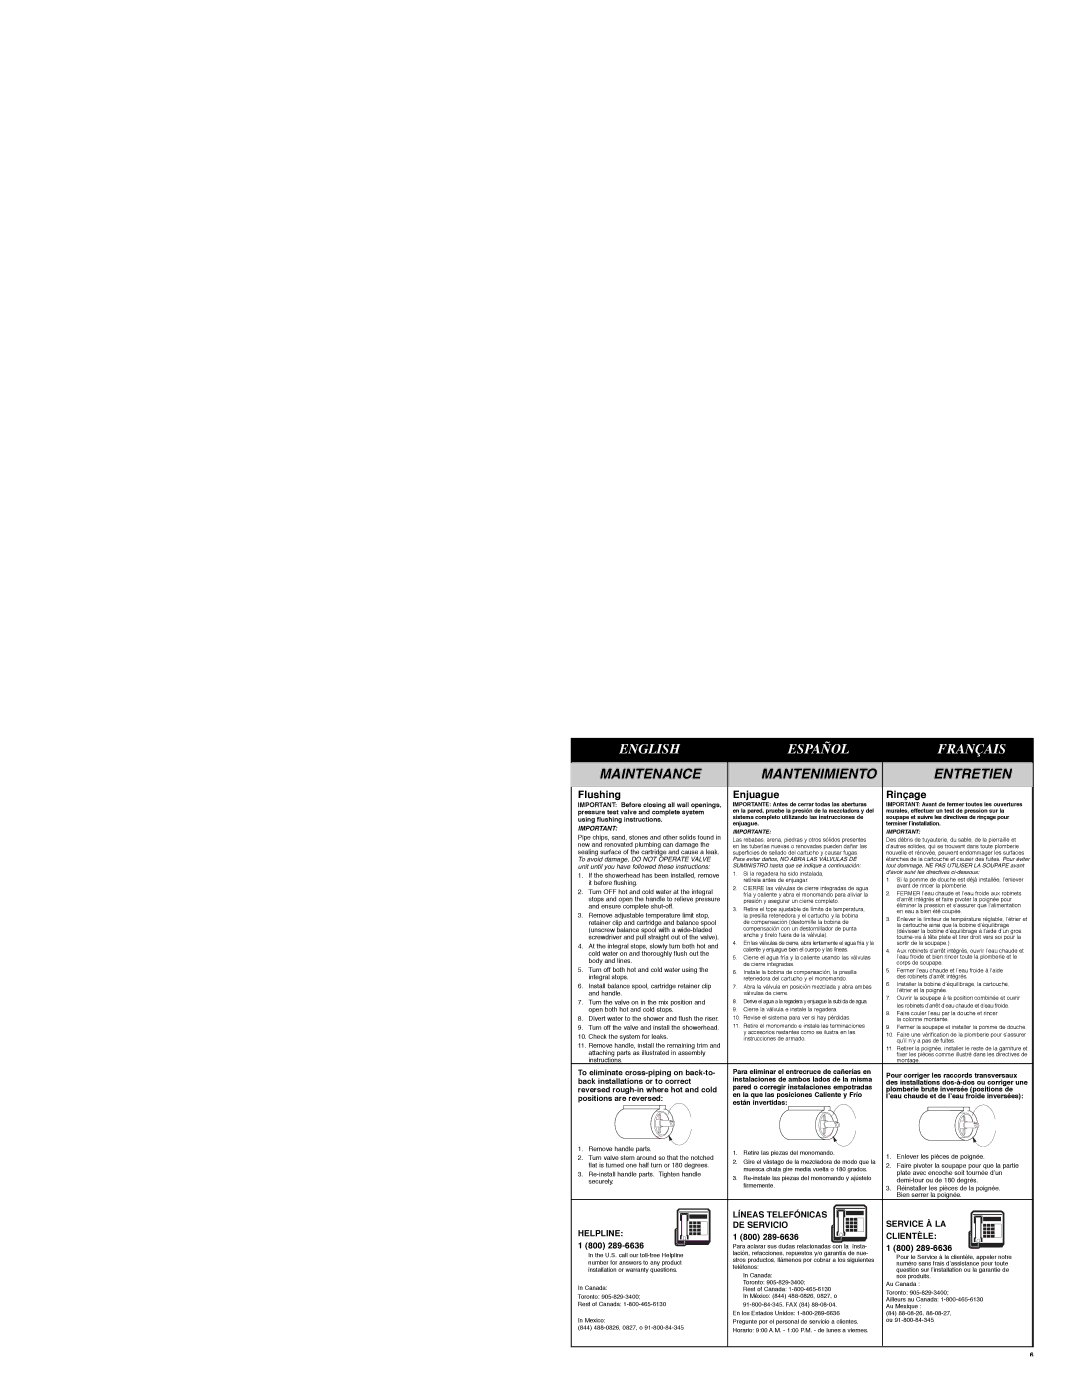
To eliminate cross-piping on back-to- | Para eliminar el entrecruce de cañerías en | Pour corriger les raccords transversaux | |
back installations or to correct | instalaciones de ambos lados de la misma | |
des installations dos-à-dos ou corriger une | |
reversed rough-in where hot and cold | pared o corregir instalaciones empotradas | plomberie brute inversée (positions de | |
en la que las posiciones Caliente y Frío | |
positions are reversed: | l’eau chaude et de l’eau froide inversées): | |
| | están invertidas: | | | |