Electrical Connection
The oven is designed to be connected to 230 V (50 Hz) electricity supply.
The oven has an easily accessible terminal block which is marked as follows:
Letter L | - | Live terminal | |||||||
Letter N | - | Neutral terminal | |||||||
|
|
|
|
|
|
| or E | - | Earth terminal |
|
|
|
|
|
|
| |||
|
|
|
|
|
|
| |||
|
|
|
|
|
|
|
|
|
|
THIS OVEN MUST BE EARTHED
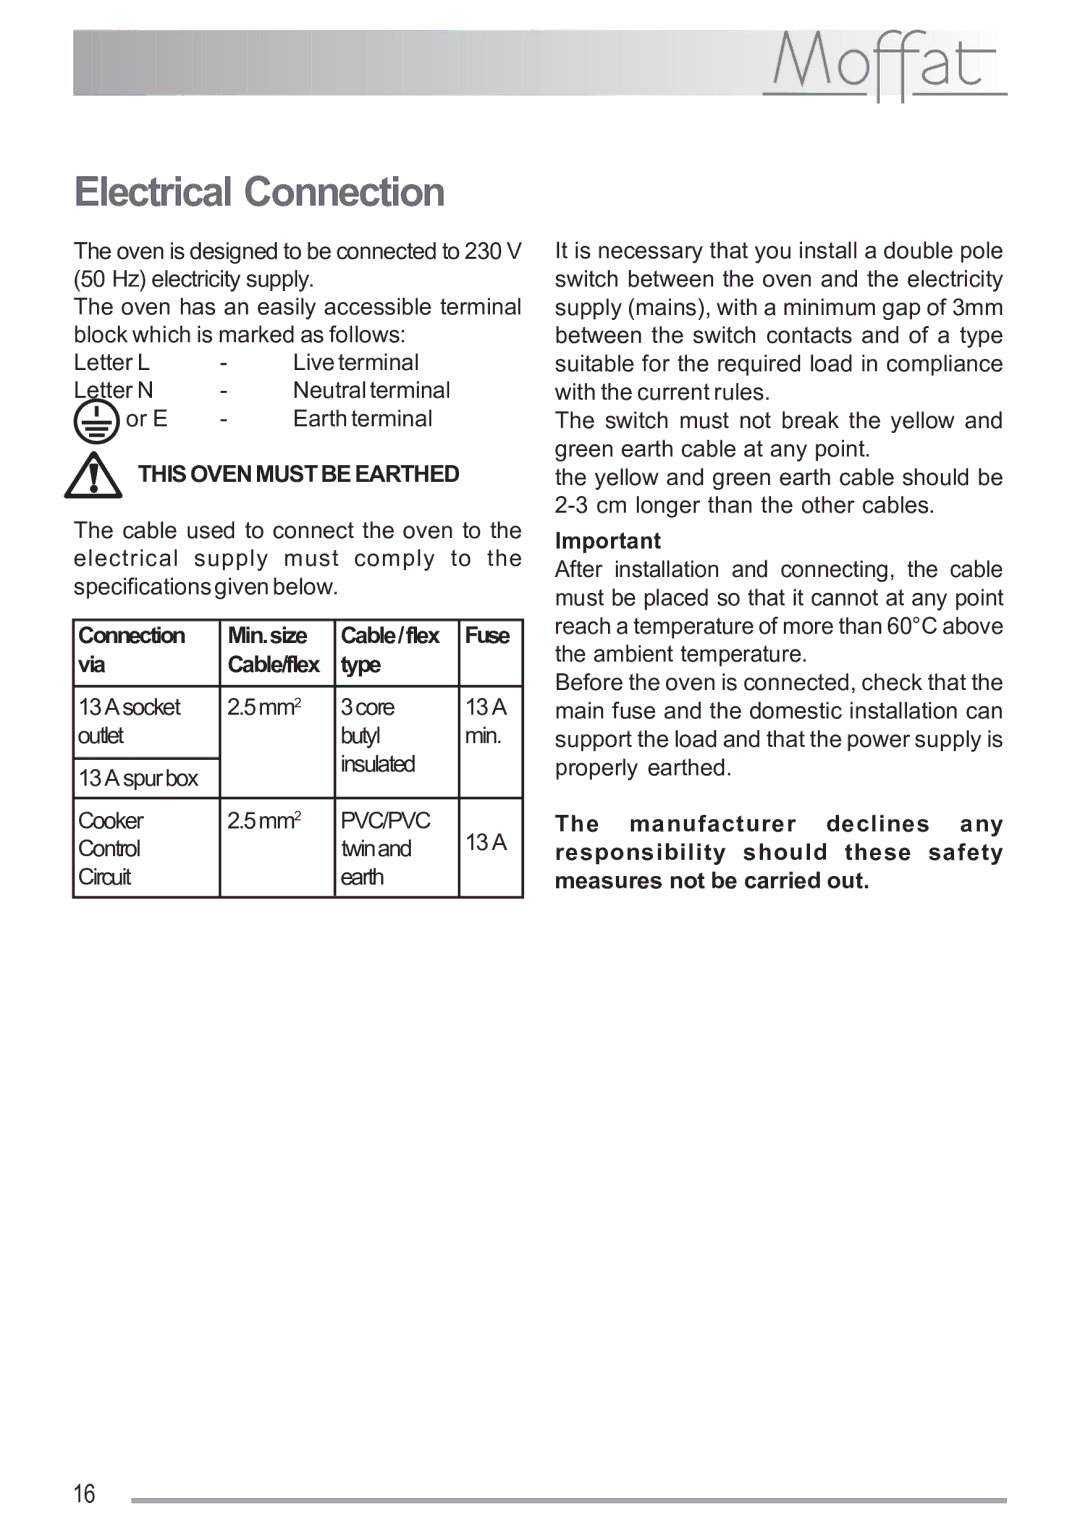
The cable used to connect the oven to the electrical supply must comply to the specifications given below.
Connection | Min.size | Cable/flex | Fuse |
via | Cable/flex | type |
|
|
|
|
|
13Asocket | 2.5mm2 | 3core | 13 A |
outlet |
| butyl | min. |
|
| insulated |
|
13 A spurbox |
|
| |
|
|
| |
|
|
|
|
Cooker | 2.5mm2 | PVC/PVC | 13 A |
Control |
| twinand | |
Circuit |
| earth |
|
It is necessary that you install a double pole switch between the oven and the electricity supply (mains), with a minimum gap of 3mm between the switch contacts and of a type suitable for the required load in compliance with the current rules.
The switch must not break the yellow and green earth cable at any point.
the yellow and green earth cable should be
Important
After installation and connecting, the cable must be placed so that it cannot at any point reach a temperature of more than 60°C above the ambient temperature.
Before the oven is connected, check that the main fuse and the domestic installation can support the load and that the power supply is properly earthed.
The manufacturer declines any responsibility should these safety measures not be carried out.
16
