Installing MOXA EtherDevice Switch
STEP 2:
Mounting MOXA
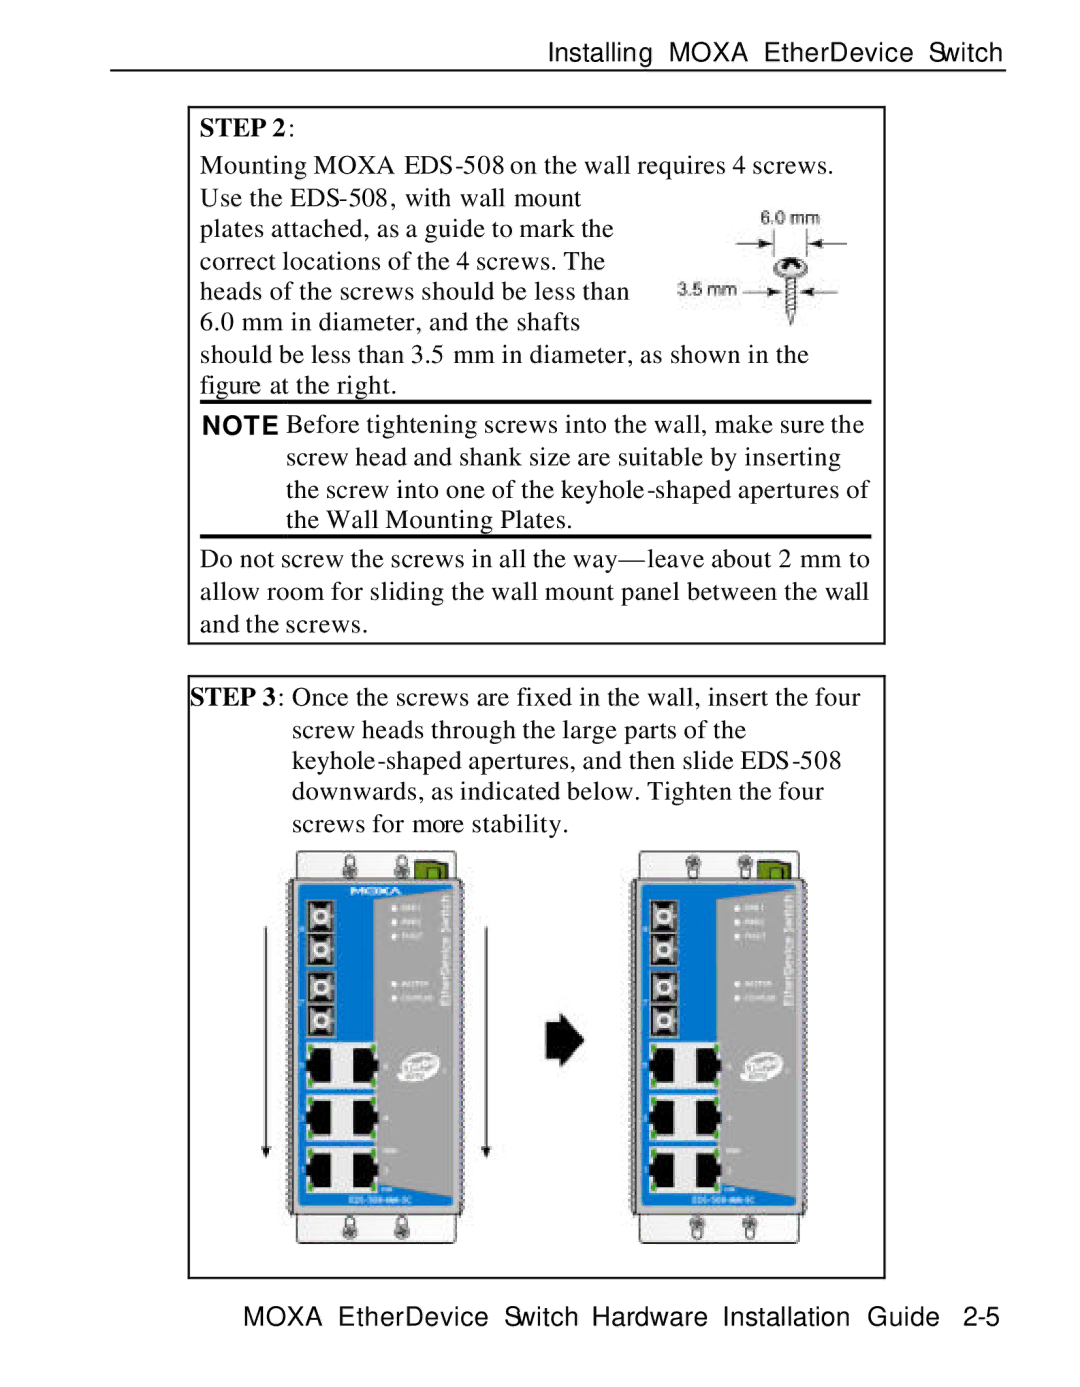
plates attached, as a guide to mark the correct locations of the 4 screws. The heads of the screws should be less than 6.0 mm in diameter, and the shafts
should be less than 3.5 mm in diameter, as shown in the figure at the right.
NOTE Before tightening screws into the wall, make sure the screw head and shank size are suitable by inserting the screw into one of the keyhole
Do not screw the screws in all the way— leave about 2 mm to allow room for sliding the wall mount panel between the wall and the screws.
STEP 3: Once the screws are fixed in the wall, insert the four screw heads through the large parts of the
MOXA EtherDevice Switch Hardware Installation Guide
