Panel/Wall Mounting
Mounting the TN-5308-LV/MV on the wall requires 3 screws. Please use the 3 screws packed in the panel mounting kit.
STEP 1: Prepare the 3 screw holes on the wall according to the positions of the 3 screw holes on the switch shown on the mounting dimension diagram.
STEP 2: Use one screw to go through the top-middle screw hole on the switch and screw it into the wall.
STEP 3: Screw in the remaining 2 screws through the bottom-left and bottom-right holes on the switch to the wall.
NOTE The screw lengths of TN-5308-LV and TN-5308-MV are different. TN-5308-LV uses M3 * 30 mm screws. TN-5308-MV uses M3 * 40 mm screws. Please use the screws packed in the panel mounting kit.
DIN-Rail Mounting (optional)
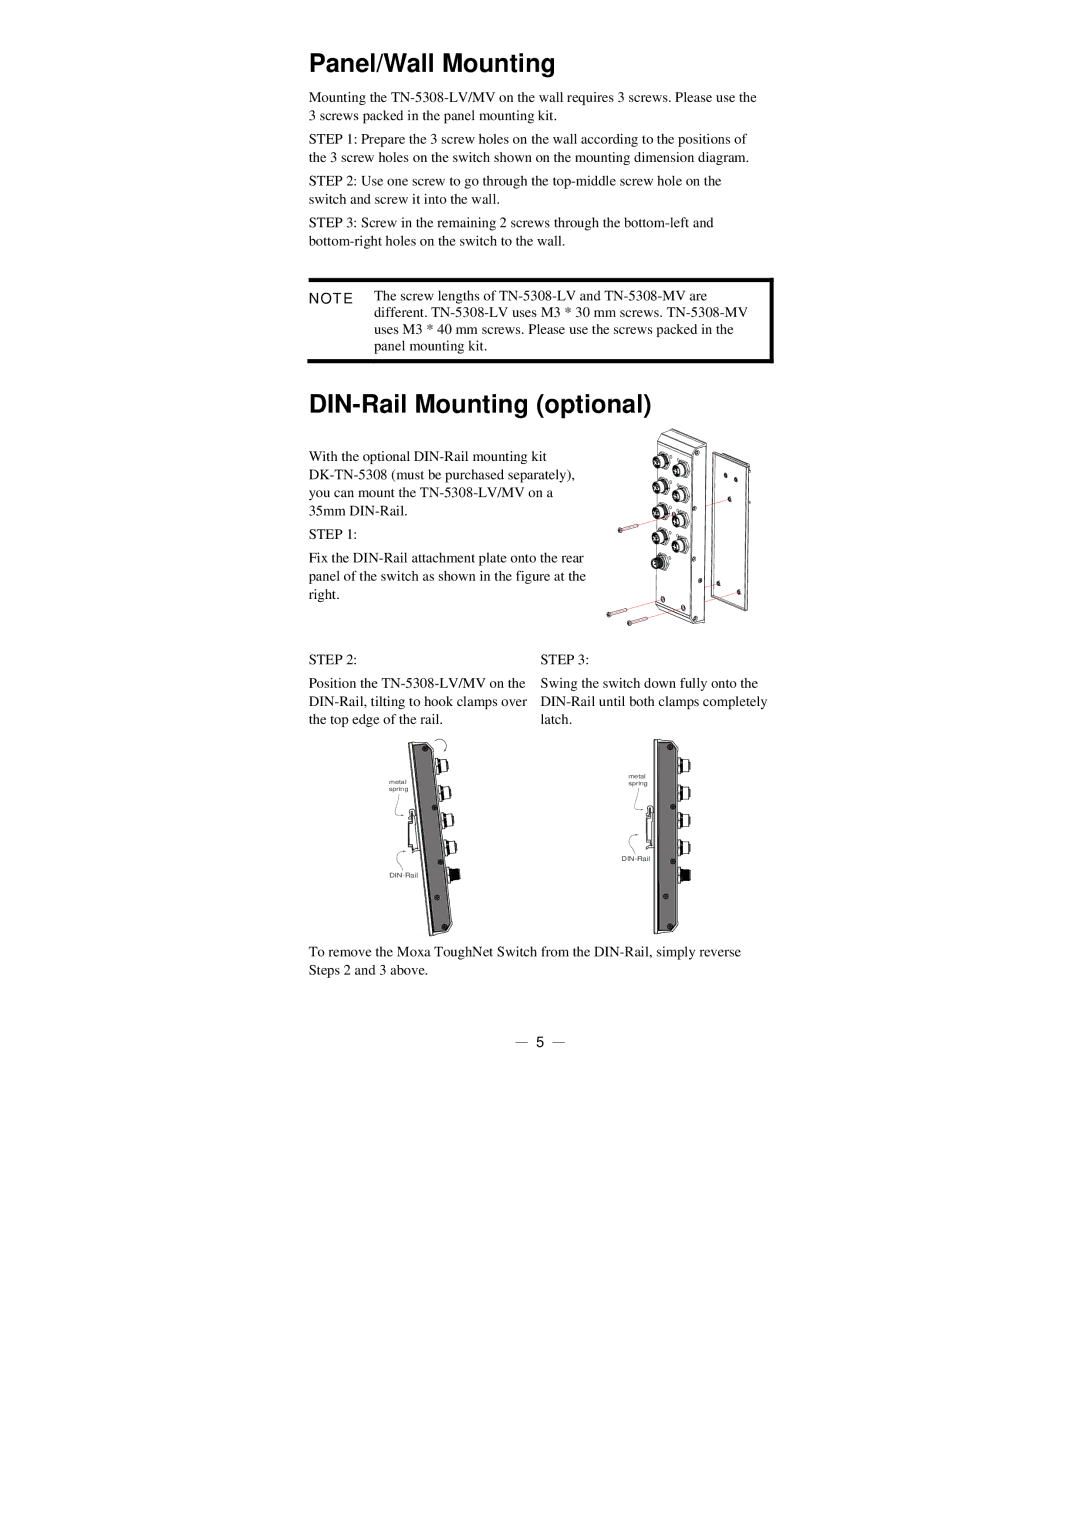
With the optional DIN-Rail mounting kit DK-TN-5308 (must be purchased separately), you can mount the TN-5308-LV/MV on a 35mm DIN-Rail.
STEP 1:
Fix the DIN-Rail attachment plate onto the rear panel of the switch as shown in the figure at the right.
STEP 2:
Position the TN-5308-LV/MV on the DIN-Rail, tilting to hook clamps over the top edge of the rail.
STEP 3:
Swing the switch down fully onto the DIN-Rail until both clamps completely latch.
metal | metal |
spring |
spring | |
| DIN-Rail |
DIN-Rail | |
To remove the Moxa ToughNet Switch from the DIN-Rail, simply reverse Steps 2 and 3 above.
— 5 —