1842, 1438 specifications
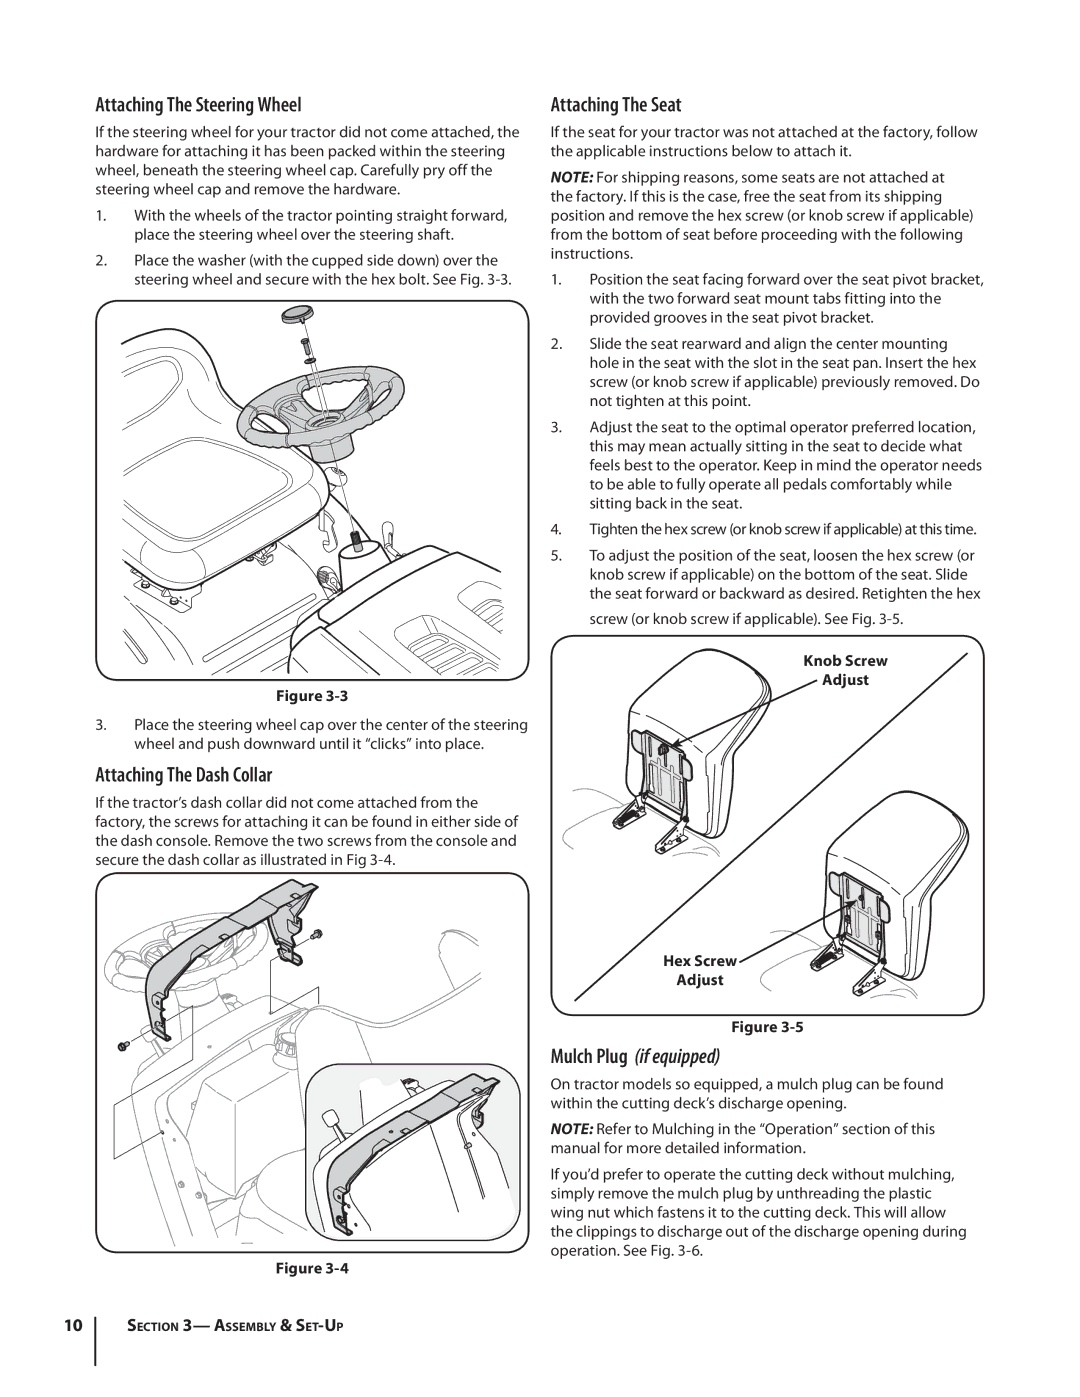
MTD 1438 and MTD 1842 are part of the MTD product line, which is known for, providing reliable and efficient solutions in the agricultural and gardening sectors. These models stand out due to their performance features, technology integrations, and user-friendly characteristics, making them suitable for both professionals and enthusiasts.The MTD 1438 is a compact, versatile lawn tractor designed for small to medium-sized lawns. It is powered by a robust 14.5 HP engine that delivers reliable performance. One of its main features is the 38-inch cutting deck, which allows for a clean and efficient cut. The deck height can be easily adjusted to achieve the desired grass length, catering to various mowing conditions. The tractor also features a durable steel frame, which enhances stability and extends the lifespan of the machine.
In terms of technology, the MTD 1438 is equipped with an automatic transmission that simplifies operation, allowing users to focus on mowing rather than shifting gears. The user-friendly dashboard provides essential information at a glance, ensuring that users can monitor their machine’s performance without any hassle.
On the other hand, the MTD 1842 offers additional power and capabilities, making it suitable for larger lawns or more rugged landscapes. With a 18 HP engine, this model features a wider 42-inch cutting deck, allowing for increased efficiency by covering more ground in less time. It also maintains an adjustable cutting height, giving users flexibility in managing grass lengths across different terrains.
One of the standout characteristics of the MTD 1842 is its hydrostatic transmission. This technology offers seamless speed control, enabling smoother acceleration and easier navigation around obstacles. The tractor also features a comfortable seat and an ergonomic steering wheel, enhancing the overall user experience during longer mowing sessions.
Both models prioritize durability and ease of maintenance. They come with easy-access maintenance points, making it simple for users to keep their machines in top condition. Additionally, the design of both tractors allows for simple attachment of various accessories, such as baggers or mulching kits, increasing their versatility.
In summary, MTD 1438 and MTD 1842 are excellent choices for those seeking robust, efficient lawn care solutions. With their powerful engines, user-friendly technologies, and durable designs, these models offer reliability and performance that can meet a variety of landscaping needs. Whether tackling small yards or larger properties, these tractors provide the tools necessary for achieving a pristine lawn.

