A06, Wood Splitter specifications
The MTD A06 Wood Splitter is an innovative solution designed for both the amateur and seasoned woodworker. This powerful machine streamlines the wood-splitting process, making it easier and more efficient to handle firewood or other timber needs.One of the standout features of the MTD A06 is its robust engine, which delivers remarkable power for splitting various wood types. Whether it's softwood or hardwood, this wood splitter can handle it all with ease. The engine’s horsepower is coupled with a hydraulic system designed for efficiency, allowing for swift and powerful splits without compromising on performance.
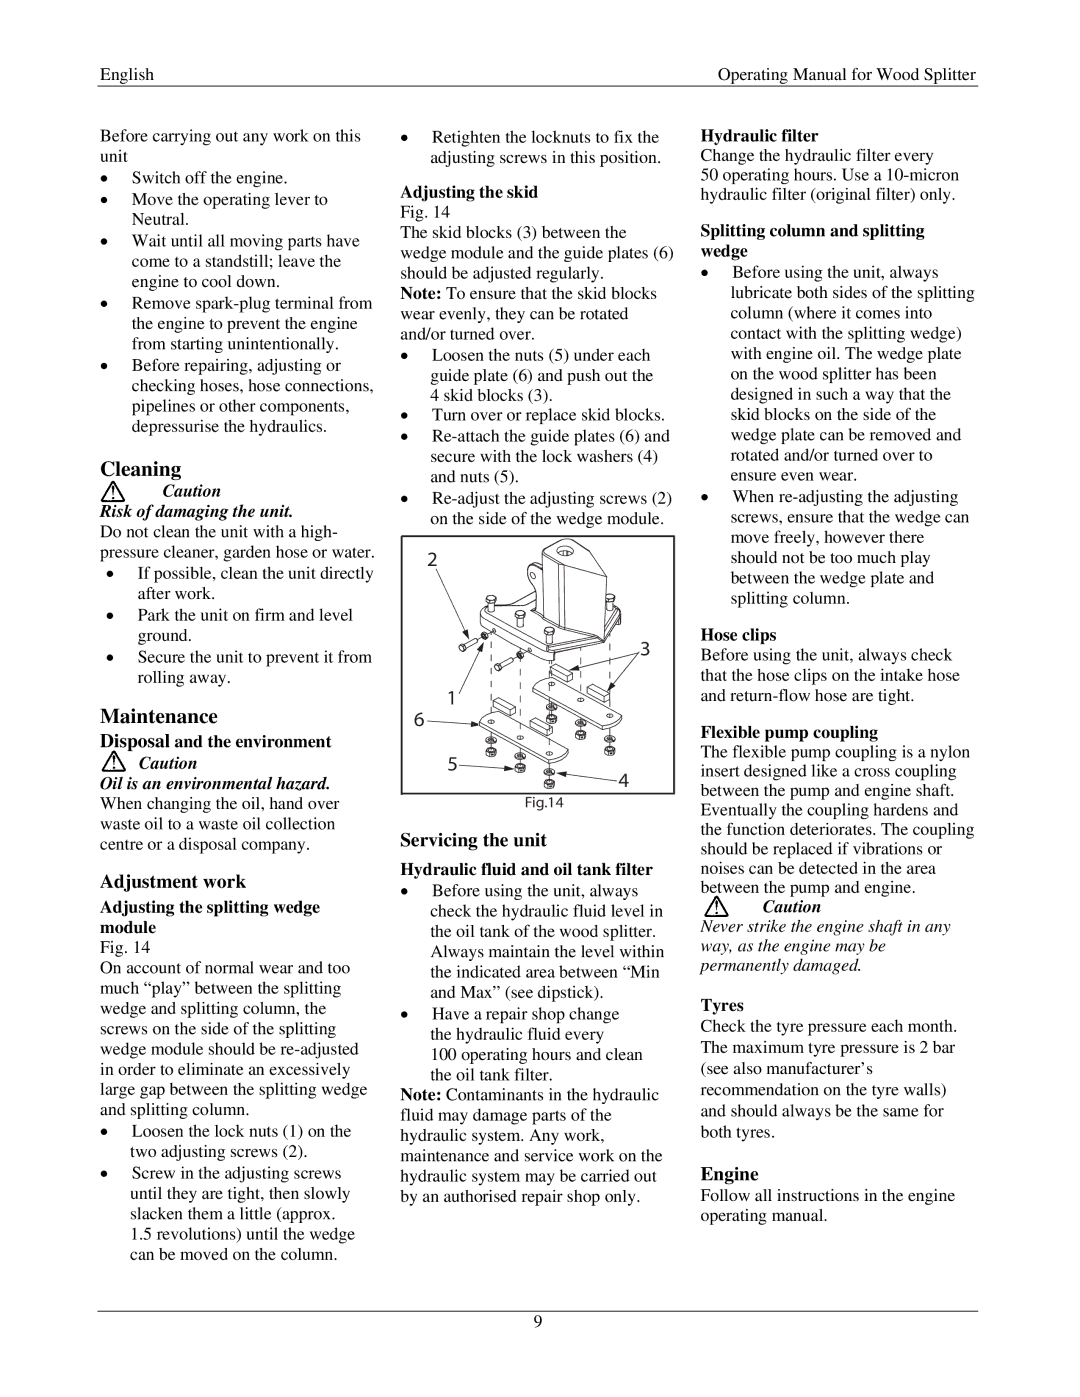
The MTD A06 is equipped with a durable splitting wedge that ensures optimal splitting performance. This wedge design allows users to split larger logs in a single pass, reducing the time and effort needed compared to traditional methods. The machine’s cycle time is impressively low, meaning you can split more wood in less time.
Safety is always a primary concern with machinery, and the MTD A06 addresses this through smart design elements. It features a two-handed operation, requiring both hands to control the splitter for enhanced safety during use. Additionally, the machine’s frame is built to provide stability, reducing the risk of tipping during operation.
Portability is another highlight of the MTD A06. The wood splitter features a convenient wheeled design, allowing users to transport it easily to various locations around the yard or job site. This mobility does not come at the expense of power, as the unit is still compact and easy to maneuver.
The MTD A06 also boasts user-friendly controls. The intuitive layout and clearly labeled functions mean that even beginners can quickly get to grips with the machine. Maintenance is straightforward, with easy access points for checking oil levels and other routine checks.
In summary, the MTD A06 Wood Splitter is an exceptional choice for those seeking a reliable and efficient solution for their wood-splitting needs. Its powerful engine, hydraulic capabilities, safety features, and user-friendly design make it a top contender in the market. Perfect for homeowners, landscapers, or anyone requiring firewood, the MTD A06 combines strength and convenience in one impressive package. Whether you're preparing for winter or undertaking a larger wood-processing project, this splitter delivers results with minimal fuss.

