
Encore I specifications
The Nady Systems Encore I represents a significant advancement in wireless microphone technology, delivering clarity and reliability to both performers and presenters. Designed with versatility in mind, the Encore I is suitable for a wide range of applications, including live performances, conferences, and educational settings.One of the main features of the Encore I is its UHF (Ultra High Frequency) operation. With a frequency range that typically spans from 600 to 700 MHz, it provides better sound quality and reduced interference compared to VHF systems. The UHF transmission allows for a broader selection of channels, making it easier for users to find a clear frequency in crowded environments, which is a common challenge in today’s wireless landscape.
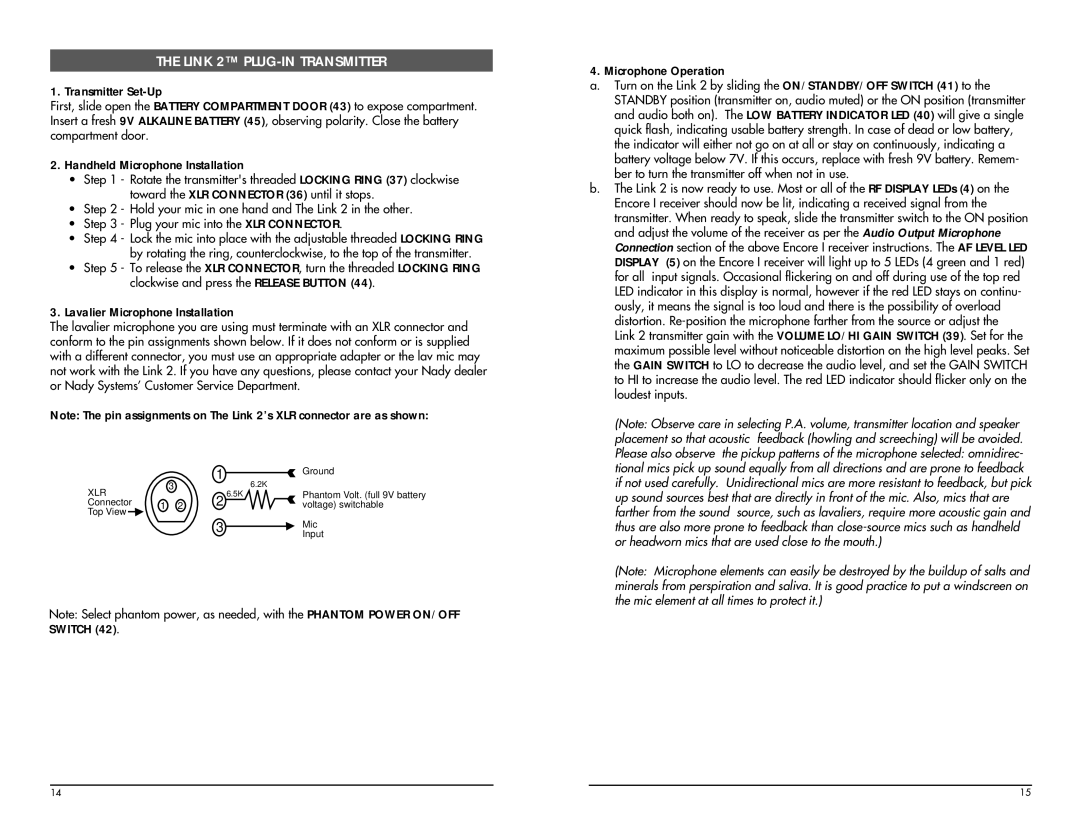
The Encore I also boasts a simple yet effective automatic frequency scanning feature. This technology scans the available frequencies and selects the best one to minimize dropouts and interference. This ensures that the user can focus on their performance without worrying about technical difficulties. The system supports multiple channels, allowing for multi-channel setups with multiple performers.
Another standout characteristic of the Encore I is its rugged build quality. Designed for the rigors of frequent use, the microphone and receiver are constructed to withstand the demands of touring musicians and event hosts alike. The handheld microphone features a high-quality dynamic capsule that captures sound accurately while minimizing feedback and handling noise.
The Encore I also includes an integrated LED indicator for battery status, providing real-time notifications to users about power levels. This preventative measure is crucial for performances, allowing artists to replace or recharge batteries before they run out.
Furthermore, the system offers a range of up to 300 feet in open spaces, providing freedom of movement, which is essential for dynamic performances. The compact and lightweight receiver can be easily mounted or placed on a tabletop, facilitating quick setups in various environments.
Overall, the Nady Systems Encore I stands out due to its robust features, user-friendly operation, and reliable performance. Whether for live stage applications or intimate gatherings, this wireless microphone system delivers exceptional audio fidelity and ease of use, making it an excellent choice for anyone in need of quality sound reinforcement.