BRICKS AND BAFFLES INSTALLATION
With stove and chimney installation completed, move the bricks into place by working as illustrated for your unit on page 10.
1.Install two or three courses of brick on both sides of the unit. Install two courses on the back wall. Install the final course of bricks on the back wall. These bricks are held in place by a brick retainer. Before installing the bricks, loosen the screw holding the retainer and ensure that it has been moved forward. Insert the final two bricks behind the retainer and while still holding the bricks in place, slide the retainer snugly into place. Retighten the screw.
2.1900 only:
Place the stainless steel support onto the top row of the bricks as illustrated on page 10.
Pivot the 2 piece baffle up and onto the support, then slide them over and onto the flange of the manifold. Ensure that the overlaps are interlocked to close the gap. Push the baffles to the rear of the firebox. Repeat for the opposite side.
3.Carefully pivot fibre baffle up onto the top of the side brick. Slide it over onto the flange of the manifold.
Ensure that the top baffles are pushed all the way to the rear of the firebox, leaving a minimum of a 1 inch gap along the front. This will allow the flue gases to escape the firebox.
4.Install the bottom bricks, working from the back of the unit.
5.Install the 2 bricks along the front.
NOTE: DO NOTE OPERATE IF BAFFLE AND MANIFOLD SHEILD ARE NOT IN POSITION
ORNAMENTAL TRIVET INSTALLATION
Insert the ornamental trivet into the space on the stove top.
TRIVET ![]()
![]()
![]()
![]()
![]()
![]()
![]()
![]()
![]()
![]()
![]()
FIGURE 26
DOOR AND HANDLE INSTALLATION
Hang the door using the hinge pins supplied. Twist the large wire handle over the end of the handle rod.
11
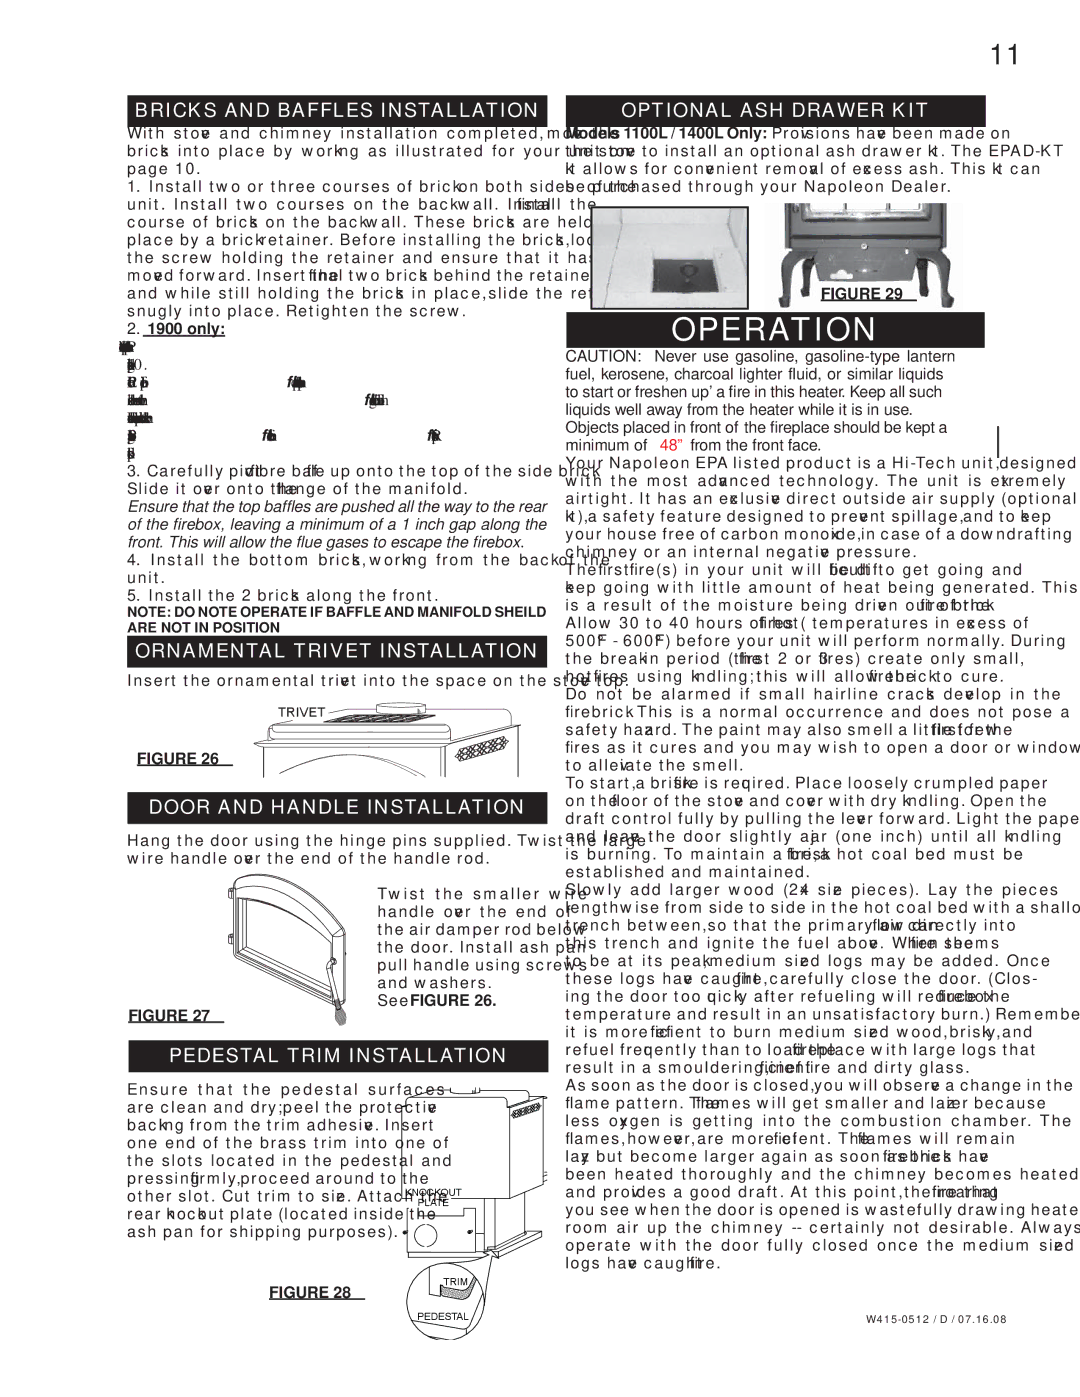
OPTIONAL ASH DRAWER KIT
Models 1100L / 1400L Only: Provisions have been made on the stove to install an optional ash drawer kit. The
FIGURE 29
OPERATION
CAUTION: Never use gasoline,
Objects placed in front of the fireplace should be kept a minimum of 48” from the front face.
Your Napoleon EPA listed product is a
The first fire(s) in your unit will be difficult to get going and keep going with little amount of heat being generated. This is a result of the moisture being driven out of the fire brick. Allow 30 to 40 hours of hot fires ( temperatures in excess of 500°F - 600°F) before your unit will perform normally. During the
To start, a brisk fire is required. Place loosely crumpled paper on the floor of the stove and cover with dry kindling. Open the draft control fully by pulling the lever forward. Light the paper and leave the door slightly ajar (one inch) until all kindling is burning. To maintain a brisk fire, a hot coal bed must be established and maintained.
FIGURE 27
Twist the smaller wire handle over the end of the air damper rod below the door. Install ash pan pull handle using screws and washers.
See FIGURE 26.
Slowly add larger wood (2x4 size pieces). Lay the pieces lengthwise from side to side in the hot coal bed with a shallow trench between, so that the primary air can flow directly into this trench and ignite the fuel above. When the fire seems to be at its peak, medium sized logs may be added. Once these logs have caught fire, carefully close the door. (Clos- ing the door too quickly after refueling will reduce the firebox temperature and result in an unsatisfactory burn.) Remember it is more efficient to burn medium sized wood, briskly, and
PEDESTAL TRIM INSTALLATION
refuel frequently than to load the fireplace with large logs that result in a smouldering, inefficient fire and dirty glass.
Ensure that the pedestal surfaces are clean and dry; peel the protective backing from the trim adhesive. Insert one end of the brass trim into one of the slots located in the pedestal and pressing firmly, proceed around to the other slot. Cut trim to size. Attach the rear knockout plate (located inside the ash pan for shipping purposes).
FIGURE 28
KNOCKOUT
PLATE
TRIM ![]()
![]()
As soon as the door is closed, you will observe a change in the flame pattern. The flames will get smaller and lazier because less oxygen is getting into the combustion chamber. The flames, however, are more efficient. The flames will remain lazy but become larger again as soon as the firebricks have been heated thoroughly and the chimney becomes heated and provides a good draft. At this point, the roaring fire that you see when the door is opened is wastefully drawing heated room air up the chimney
PEDESTAL |