
GT8N, GT8P specifications
Napoleon Fireplaces has long been recognized as a leader in the heating industry, and the GT8N and GT8P models embody their commitment to innovation, efficiency, and style. These fireplaces are designed to provide not only warmth but also a striking aesthetic that complements various interior designs.The GT8N and GT8P are part of Napoleon's renowned series of gas fireplaces, which focus on delivering a superior heating experience while maintaining ease of use. One of the standout features of these models is their impressive thermal efficiency, which helps to reduce energy costs while providing consistent heat output. With an energy-efficient design, the GT8N and GT8P ensure that homes remain cozy during the harshest of winters.
Both models offer a range of customizable options to suit individual preferences. The GT8N features a traditional design with classic styling, while the GT8P is more contemporary, boasting a sleek, modern look. The extensive selection of finishing materials, including various trim options and media placements, allows homeowners to customize their fireplace to seamlessly fit into their living spaces.
One of the most innovative technologies featured in the GT8N and GT8P is the advanced heat distribution system. This allows for optimal circulation of warm air throughout the room, ensuring that heat is evenly dispersed and preventing cold spots. The fireplaces are equipped with variable-speed fans that can be adjusted according to the desired heat output, providing flexibility for different situations.
Safety is a top priority in the design of the GT8N and GT8P. Both models come equipped with protective features, such as a built-in safety system that detects any irregularities in operation. Additionally, the fireplaces utilize a sealed combustion system, drawing air from outside for combustion, which minimizes the impact on indoor air quality.
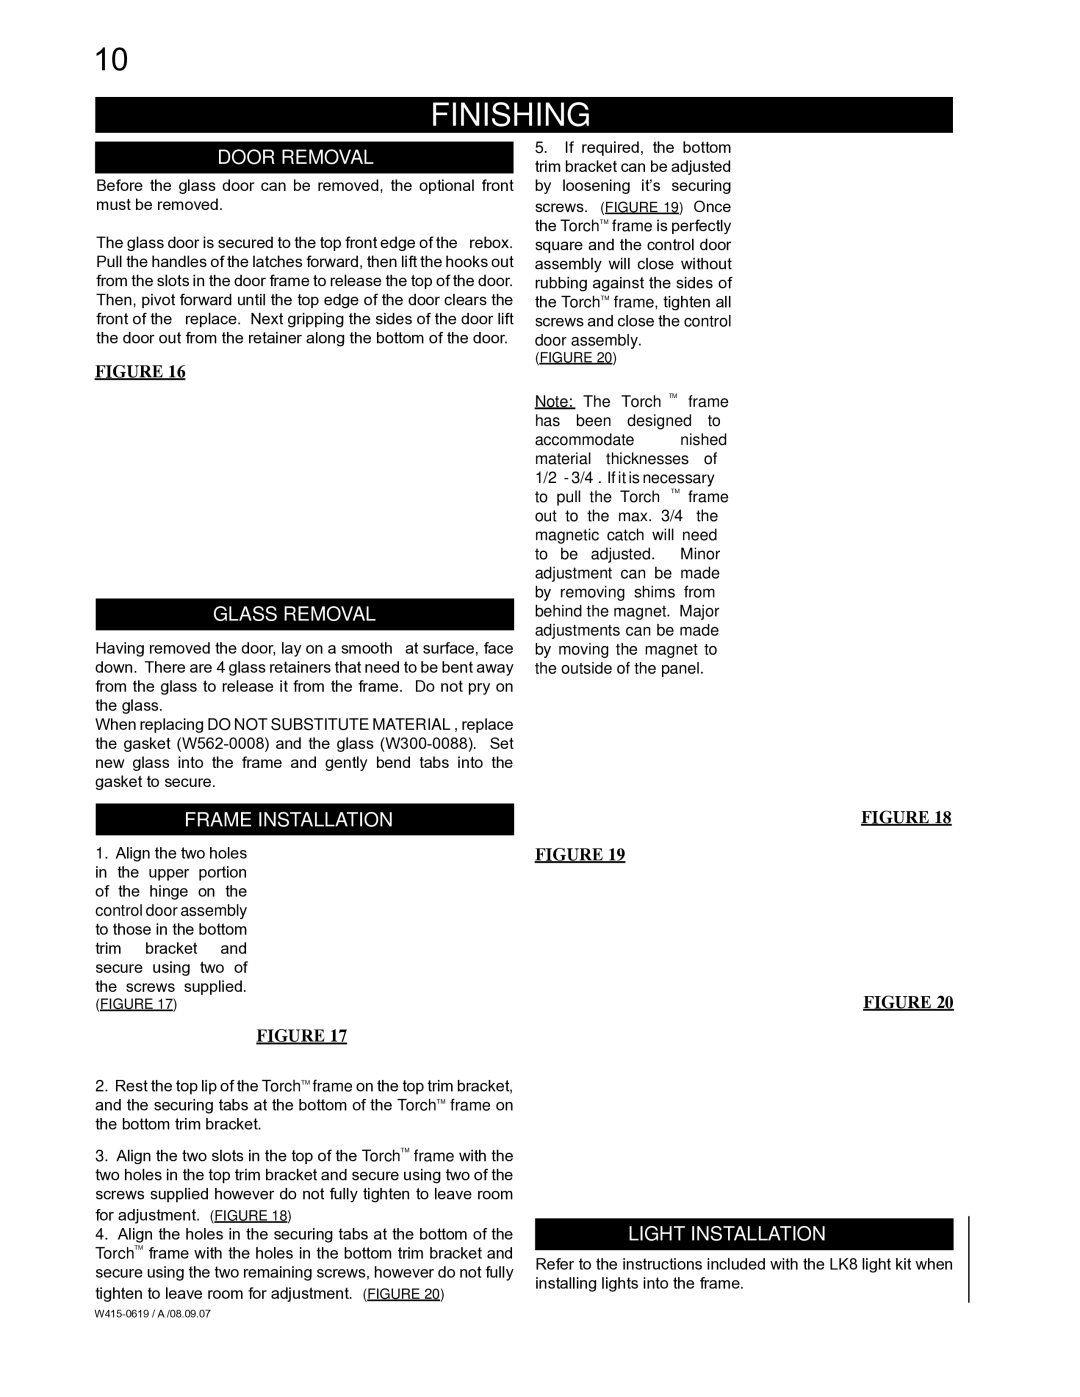
Another key characteristic of the GT8N and GT8P is their ease of installation and maintenance. These fireplaces are designed to be easily integrated into existing layouts, providing versatility in home design. Moreover, the straightforward maintenance schedule, combined with high-quality materials, ensures long-lasting performance and reliability.
In summary, the Napoleon Fireplaces GT8N and GT8P represent the ideal blend of style, efficiency, and advanced technology. Whether looking for a traditional or contemporary aesthetic, these fireplaces meet the diverse needs of homeowners while providing exceptional warmth and comfort. With features that prioritize both functionality and safety, Napoleon continues to set the standard in the world of gas fireplaces.