LCD2090UXI specifications
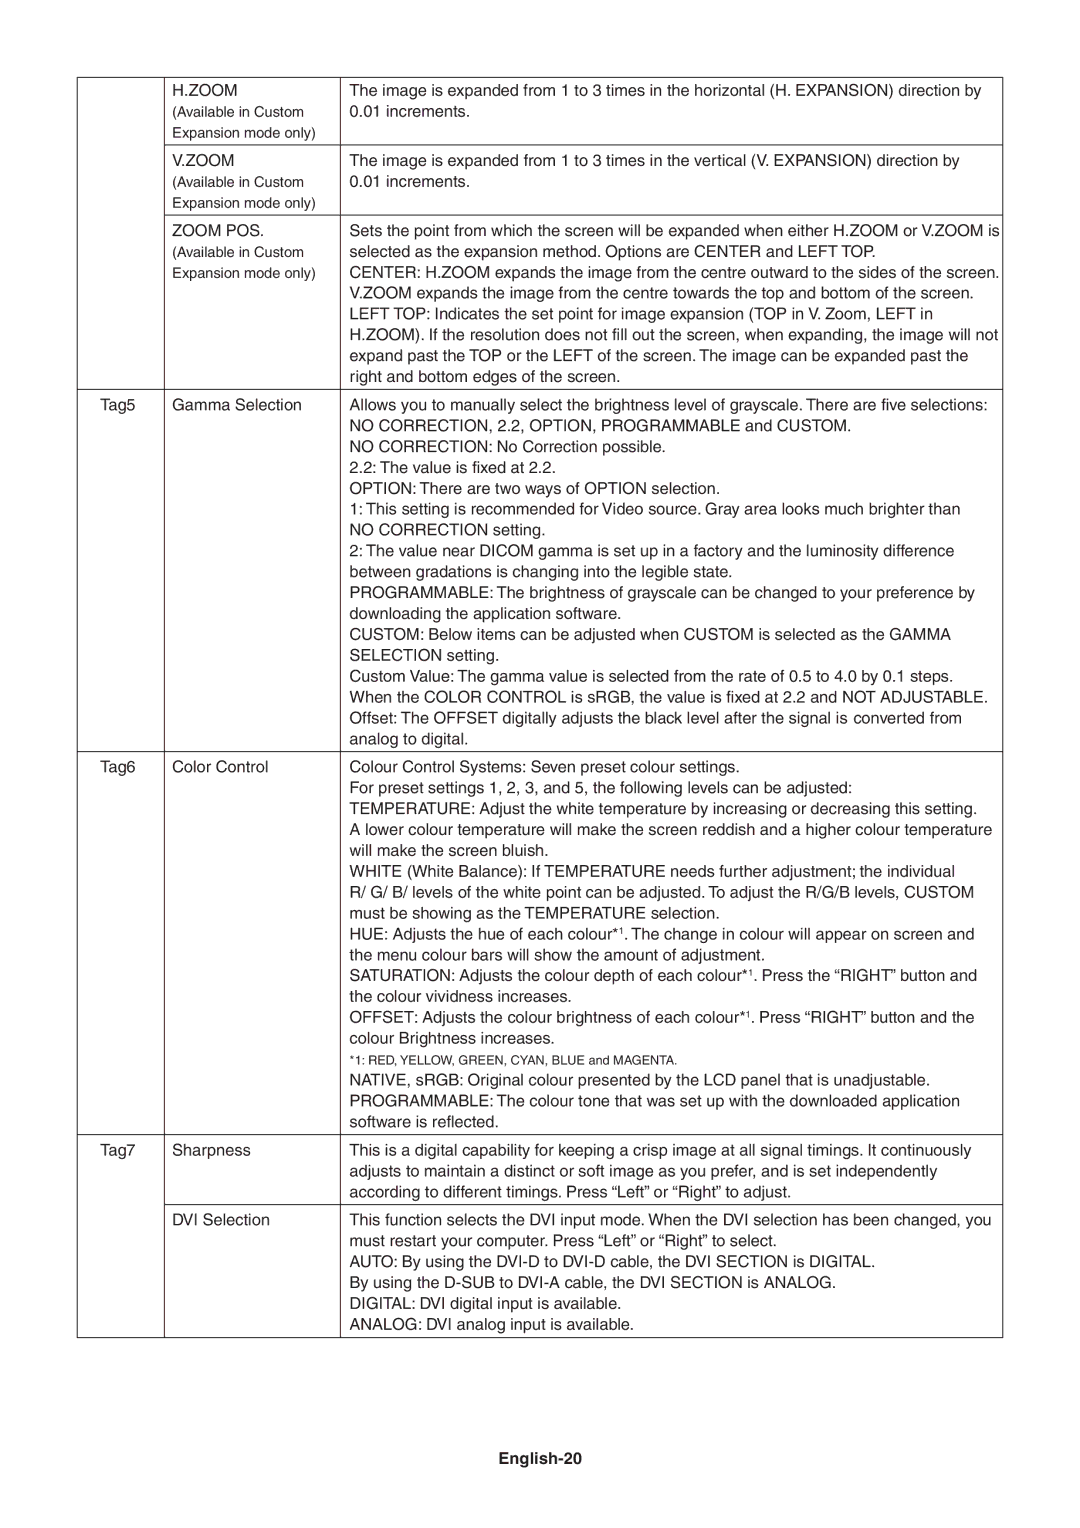
The NEC LCD2090UXI is a notable entry in the realm of professional LCD monitors, specifically designed to cater to the needs of businesses and creative professionals. Offering superior image quality and a host of advanced features, the LCD2090UXI is engineered for high-performance applications in graphics design, video editing, and even medical imaging.One of the standout features of the LCD2090UXI is its impressive 20.1-inch display size with a maximum resolution of 1600 x 1200 pixels. This resolution provides a significant workspace that is perfect for multitasking and enables detailed visual presentations. The display employs In-Plane Switching (IPS) technology, which ensures wide viewing angles and consistent color reproduction. This is crucial for professionals who rely on accurate color representation, as it minimizes color distortion when viewed from different angles.
The monitor supports a vibrant color gamut and can reproduce over 16 million colors, making it ideal for tasks that demand precise color fidelity. This feature is particularly beneficial for graphic designers and photographers who require a monitor that can display subtle nuances in color. Additionally, the LCD2090UXI has a fast response time, which helps in reducing motion blur, making it suitable for video playback and fast-paced graphics.
Another significant characteristic of the NEC LCD2090UXI is its ergonomic design, which includes height adjustment, tilt, and swivel functionalities. This is essential for users who spend long hours in front of the monitor, as it allows them to customize the viewing angle, promoting better posture and reducing eye strain. The monitor is also equipped with a built-in USB hub, which enhances connectivity by allowing users to connect multiple devices with ease.
The LCD2090UXI adheres to environmental standards, offering low power consumption and ENERGY STAR certification, making it a sound choice for eco-conscious consumers. It also features a comprehensive range of input options, including DVI-D and VGA inputs, providing flexibility in connectivity with various devices.
In summary, the NEC LCD2090UXI is a versatile and powerful LCD monitor that combines high-resolution display capabilities, advanced IPS technology, and ergonomic features. Its meticulous design caters to the specific needs of professional users in various fields, ensuring that they get the best performance and reliability from their display solutions.
