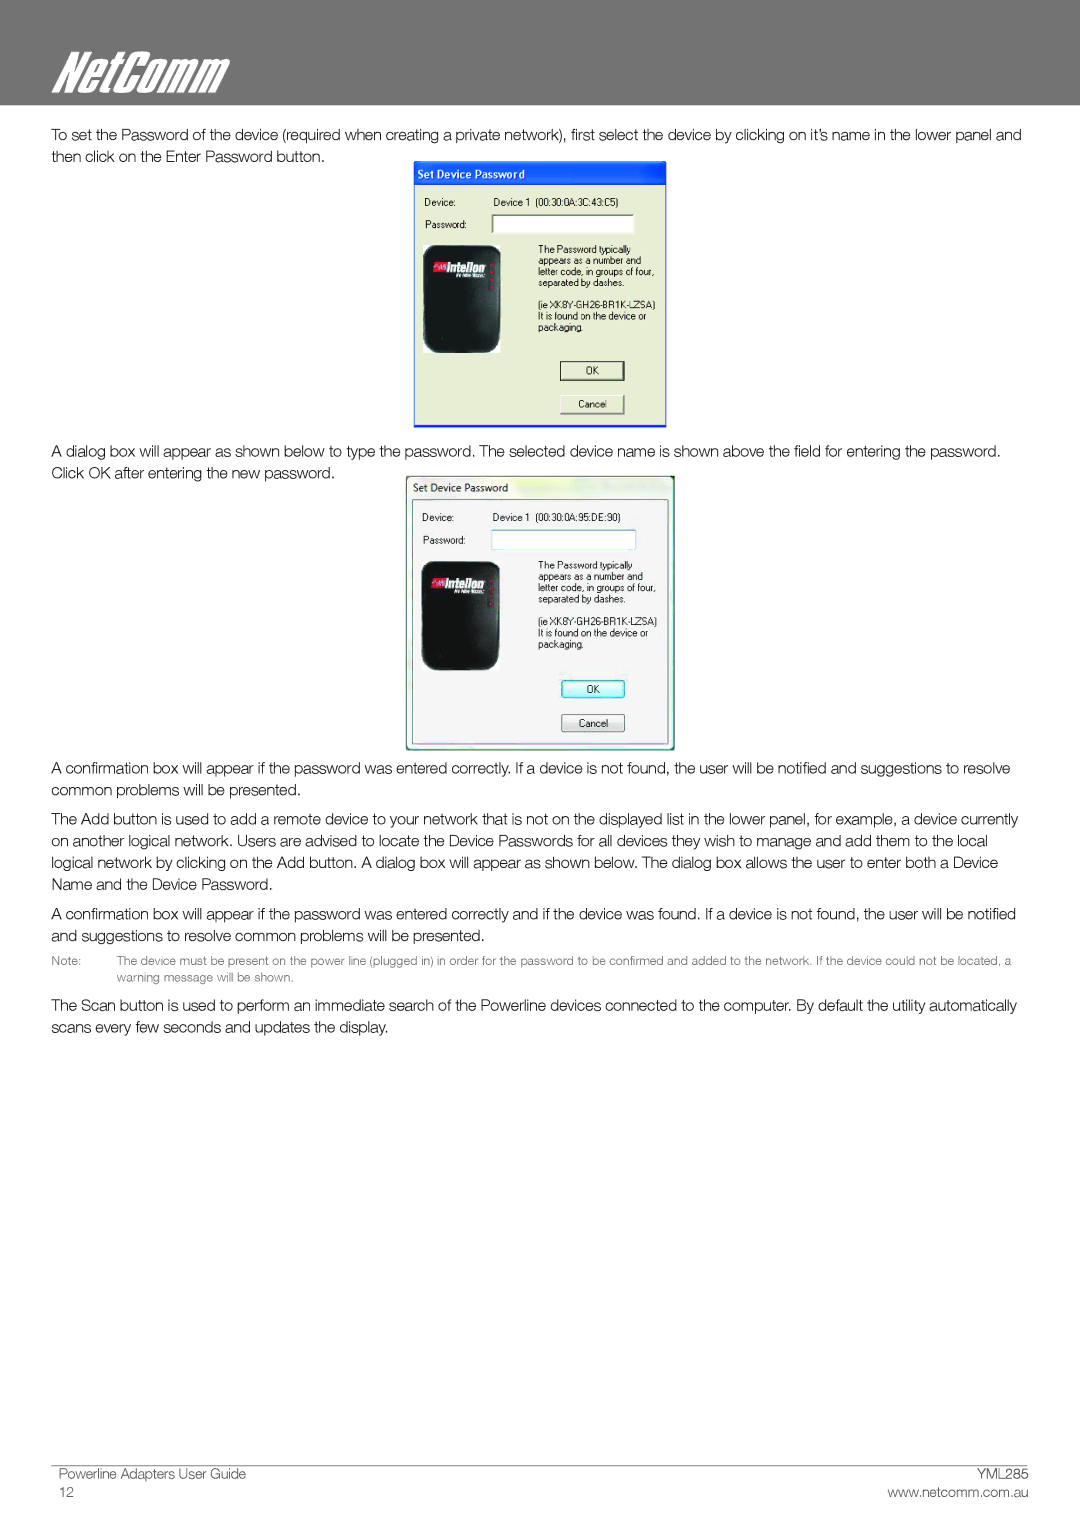
To set the Password of the device (required when creating a private network), first select the device by clicking on it’s name in the lower panel and then click on the Enter Password button.
A dialog box will appear as shown below to type the password. The selected device name is shown above the field for entering the password. Click OK after entering the new password.
A confirmation box will appear if the password was entered correctly. If a device is not found, the user will be notified and suggestions to resolve common problems will be presented.
The Add button is used to add a remote device to your network that is not on the displayed list in the lower panel, for example, a device currently on another logical network. Users are advised to locate the Device Passwords for all devices they wish to manage and add them to the local logical network by clicking on the Add button. A dialog box will appear as shown below. The dialog box allows the user to enter both a Device Name and the Device Password.
A confirmation box will appear if the password was entered correctly and if the device was found. If a device is not found, the user will be notified and suggestions to resolve common problems will be presented.
Note: | The device must be present on the power line (plugged in) in order for the password to be confirmed and added to the network. If the device could not be located, a |
| warning message will be shown. |
The Scan button is used to perform an immediate search of the Powerline devices connected to the computer. By default the utility automatically scans every few seconds and updates the display.
Powerline Adapters User Guide | �YMmL���285 |
12 | www.netcomm.com.au |
