NETGEAR FS 750 manual Installing the Switch on a Flat Surface, Installing the Switch in a Rack

Models: FS 726 FS 750

1 52
Download 52 pages 20.45 Kb
Page 27
Image 27

Installing the Switch

You can install the NETGEAR FS726 and FS750 Switches on a flat surface or in a standard 19-inch rack.

Installing the Switch on a Flat Surface

1.The switch ships with four self-adhesive rubber footpads. Affix one rubber footpad on each of the four concave spaces on the bottom of the switch. The rubber footpads cushion the switch against shock/vibrations.

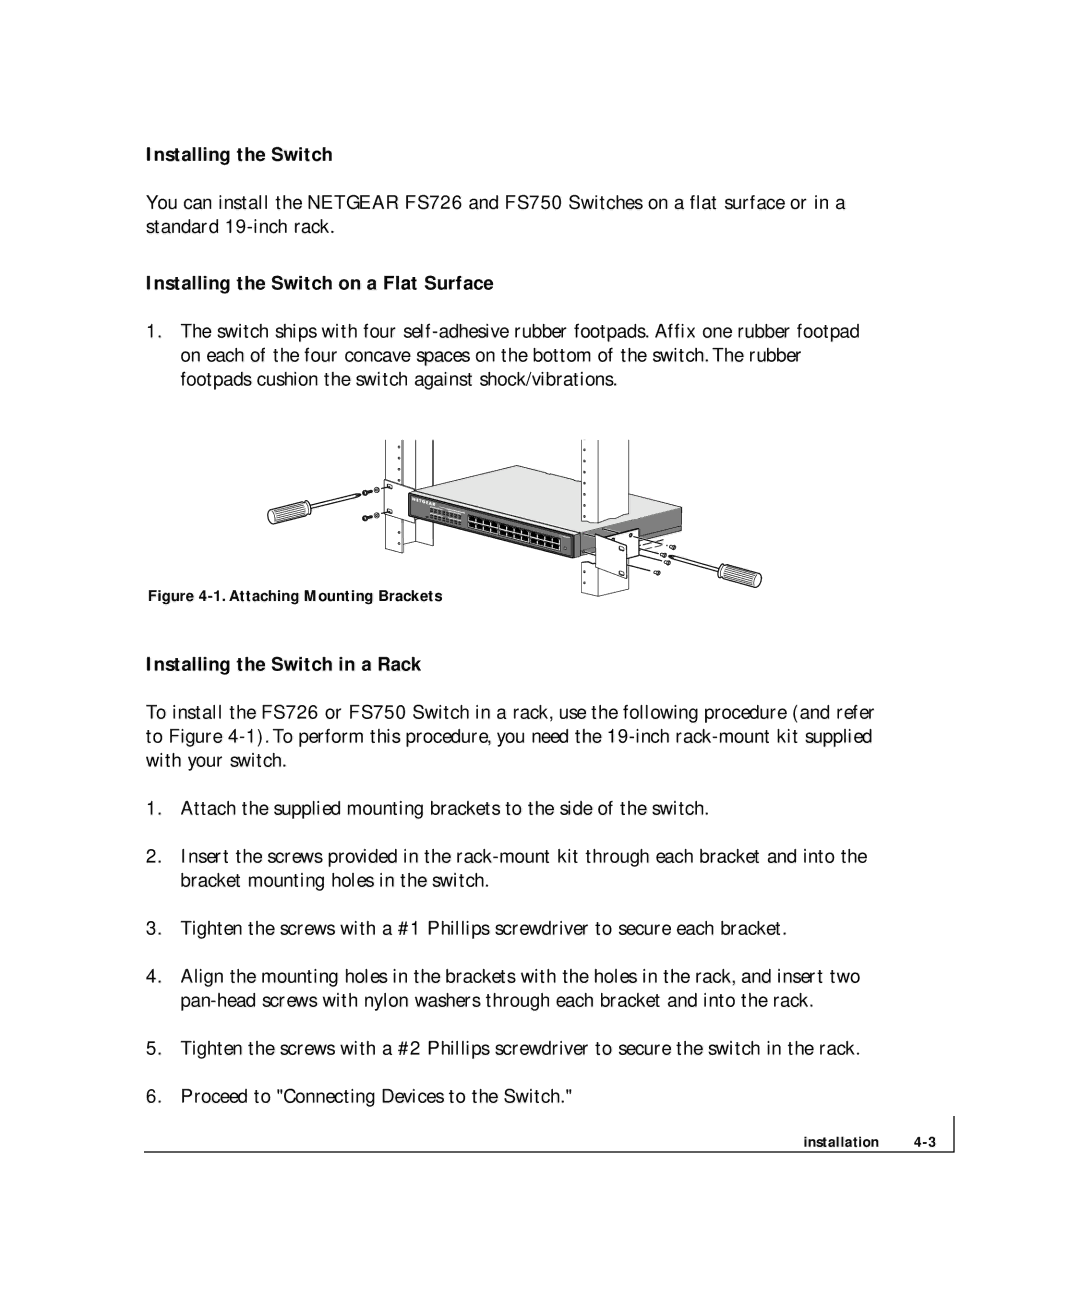
Figure 4-1. Attaching Mounting Brackets

Installing the Switch in a Rack

To install the FS726 or FS750 Switch in a rack, use the following procedure (and refer to Figure 4-1). To perform this procedure, you need the 19-inch rack-mount kit supplied with your switch.

1.Attach the supplied mounting brackets to the side of the switch.

2.Insert the screws provided in the rack-mount kit through each bracket and into the bracket mounting holes in the switch.

3.Tighten the screws with a #1 Phillips screwdriver to secure each bracket.

4.Align the mounting holes in the brackets with the holes in the rack, and insert two pan-head screws with nylon washers through each bracket and into the rack.

5.Tighten the screws with a #2 Phillips screwdriver to secure the switch in the rack.

6.Proceed to "Connecting Devices to the Switch."

installation 4-3

Page 27
Image 27
NETGEAR FS 750, FS 726 manual Installing the Switch on a Flat Surface, Installing the Switch in a Rack