6 Getting Started User Guide
SETTING UP YOUR ROUTER WITH THE SMARTSTART WIZARD
The SmartStart Wizard is tailored for your computer platform, but it works the same way on either a PC or a Macintosh. Inser t the Netopia CD or diskette (if that is what was supplied to you), and in the desktop navigation screen that appears, launch the SmartStart Wizard application.
The SmartStart Wizard presents a series of screens to guide you through the preliminary configuration of a Netopia Router. It will then create a connection profile in your Netopia Router using the information you supply to it.
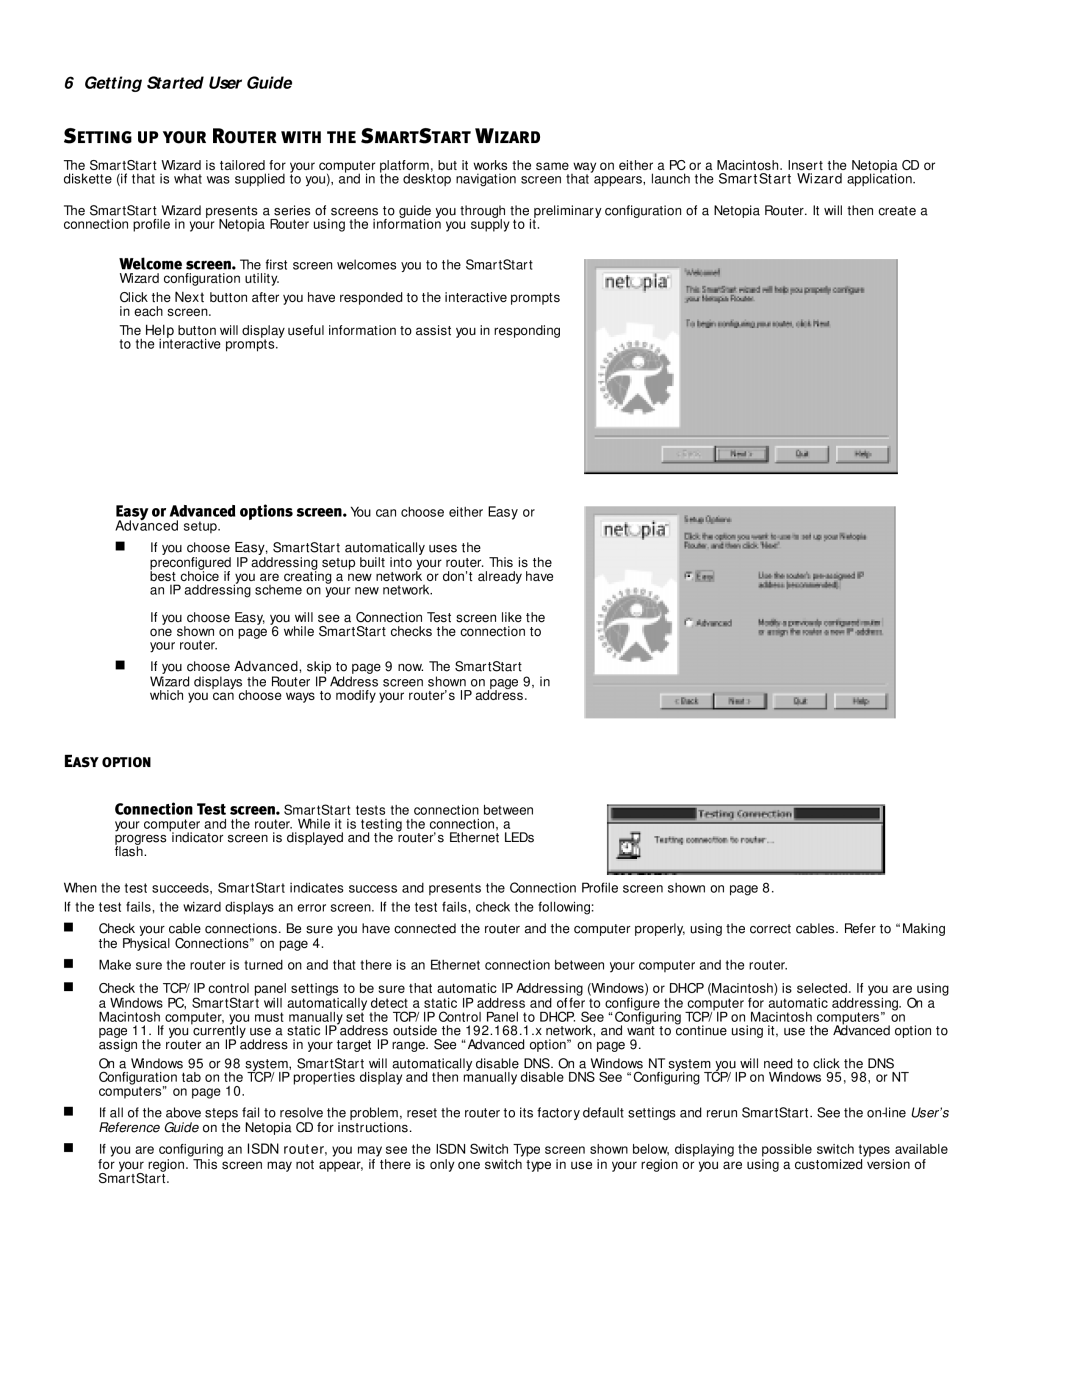
Welcome screen. The first screen welcomes you to the SmartStart
Wizard configuration utility.
Click the Next button after you have responded to the interactive prompts in each screen.
The Help button will display useful information to assist you in responding to the interactive prompts.
Easy or Advanced options screen. You can choose either Easy or
Advanced setup.
■If you choose Easy, SmartStart automatically uses the preconfigured IP addressing setup built into your router. This is the best choice if you are creating a new network or don’t already have an IP addressing scheme on your new network.
If you choose Easy, you will see a Connection Test screen like the one shown on page 6 while SmartStart checks the connection to your router.
■If you choose Advanced, skip to page 9 now. The SmartStart Wizard displays the Router IP Address screen shown on page 9, in which you can choose ways to modify your router’s IP address.
EASY OPTION
Connection Test screen. SmartStart tests the connection between your computer and the router. While it is testing the connection, a progress indicator screen is displayed and the router’s Ethernet LEDs flash.
When the test succeeds, SmartStart indicates success and presents the Connection Profile screen shown on page 8.
If the test fails, the wizard displays an error screen. If the test fails, check the following:
■Check your cable connections. Be sure you have connected the router and the computer properly, using the correct cables. Refer to “Making the Physical Connections” on page 4.
■Make sure the router is turned on and that there is an Ethernet connection between your computer and the router.
■Check the TCP/IP control panel settings to be sure that automatic IP Addressing (Windows) or DHCP (Macintosh) is selected. If you are using a Windows PC, SmartStart will automatically detect a static IP address and offer to configure the computer for automatic addressing. On a Macintosh computer, you must manually set the TCP/IP Control Panel to DHCP. See “Configuring TCP/IP on Macintosh computers” on page 11. If you currently use a static IP address outside the 192.168.1.x network, and want to continue using it, use the Advanced option to assign the router an IP address in your target IP range. See “Advanced option” on page 9.
On a Windows 95 or 98 system, SmartStart will automatically disable DNS. On a Windows NT system you will need to click the DNS Configuration tab on the TCP/IP properties display and then manually disable DNS See “Configuring TCP/IP on Windows 95, 98, or NT computers” on page 10.
■If all of the above steps fail to resolve the problem, reset the router to its factory default settings and rerun SmartStart. See the
■If you are configuring an ISDN router, you may see the ISDN Switch Type screen shown below, displaying the possible switch types available for your region. This screen may not appear, if there is only one switch type in use in your region or you are using a customized version of SmartStart.