TAKING A PICTURE
Following are the basic techniques. For more information and advanced photography please study the Nikon D300s instruction manual.
NOTE *The command and sub command function can be inverted, refer to the “CSM” section of your menu, select “ f Controls”, select “f8 Customize command dials”, select “change Main/Sub” or “Reverse Rotation” , select On and confirm by selecting OK. this allow the aperture to be selected by the command knob in the rear and the shutter speed by the front sub command knob or if you prefer it reverse the rotation of the control. allowing the users to conveniently position vital controls at their fingertip.
1.Push the Mode dial button (key # 22) and select the desired exposure mode with the main sub command dial control, the chosen mode will appears on both the Viewfinder (key# 29) and rear LCD window if using the INFO option. Exposure Mode options in sequence are: Programmed Auto (P), Shutter Priority Auto (S), Aperture Priority Auto (A) or Manual Exposure (M).
2.Control of Auto Exposure compensation (key# 23) is achieved by pushing down the button to engage compensation function, select proper parameter by using either the sub or main command knobs.
Note: When using a flash, it is reccomended that the camera be used only in Single Frame Motor Drive or there is the possibillity that the camera will fire before the flash can recycle.
3.Push the Metering Pattern Knob (key# 30) and select the metering system symbol you wish to use: 3D Matrix,
4.Pull the Shutter Release Lever partially back. This will activate the camera’s meter and autofocus system.
5.If using manual focus use the Focus Knob (key # 10) on the housing or on the flat port to focus.
6.If using the Manual or Shutter mode adjust the Main Command Knob (key # 33) or
7.Pull the Shutter Release Lever (key # 1) the rest of the way until the camera fires.
Shooting tip:
1)It is possible in the D300s Custom Setting Menu to program the ON/OFF/ILLUMINATOR (#3) switch to activate the INFO function, this will allow the user to view the complete shooting data on the rear LCD, making modification to the camera exposure a simple task, this function is also accessible from the rear INFO dedicated button, but given the convenient location of the ON/OFF/Illuminator lever it makes sense to access it in this manner.
To program this function, first select the CSM menu, go to (f) controls section, select f1 switch, then select the both fea- ture, press OK to accept, your camera is ready to use in this manner.
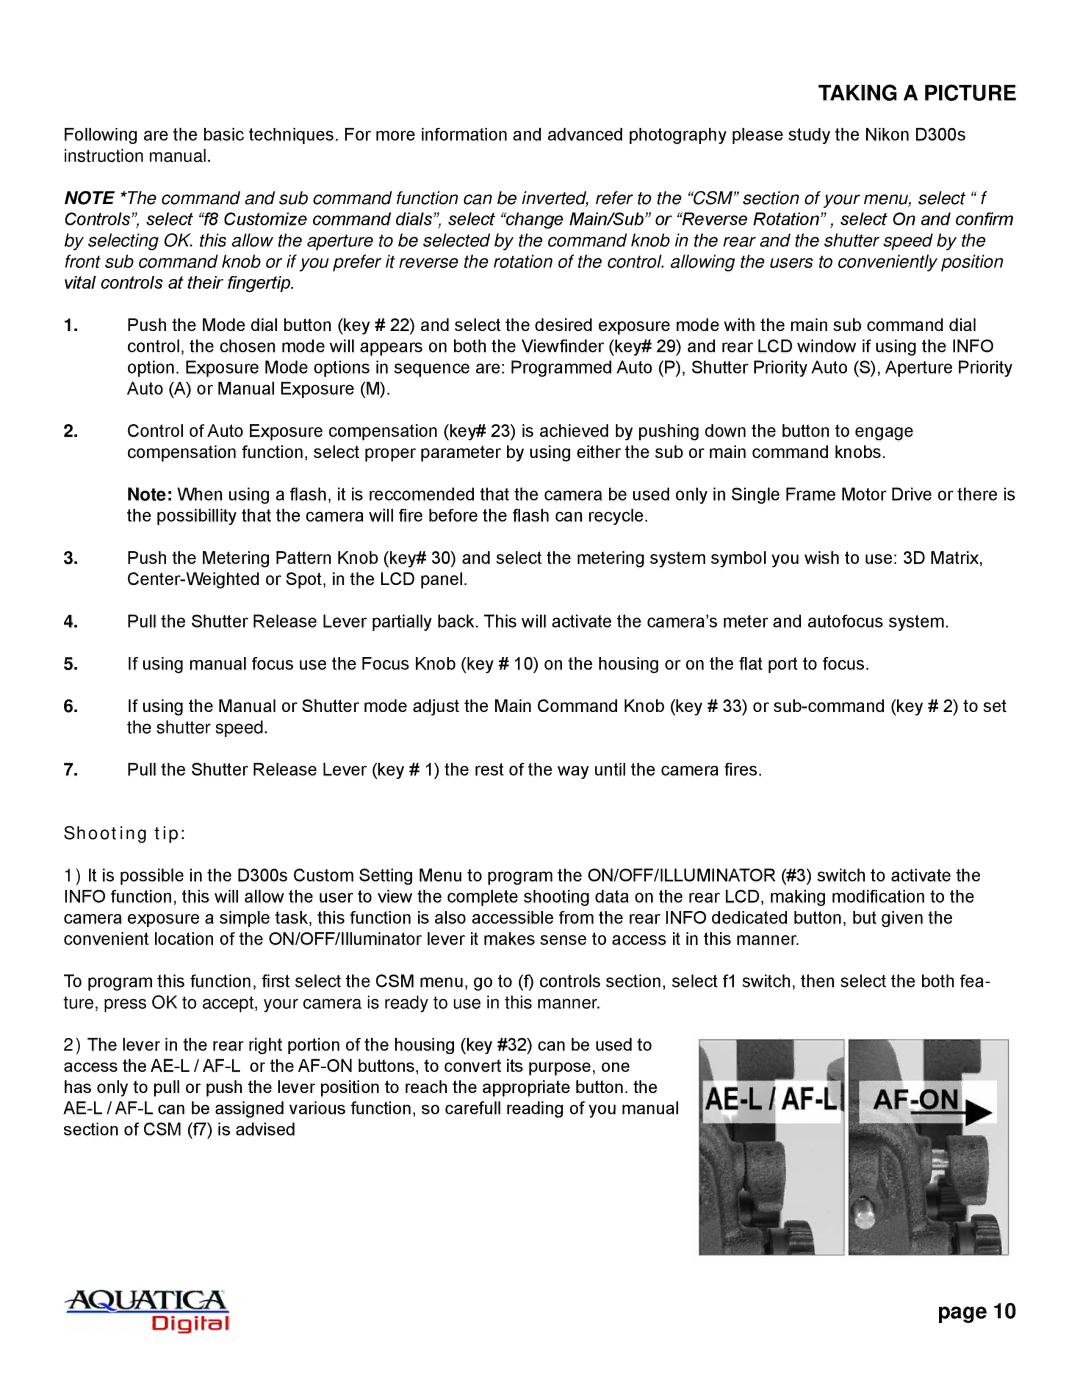
2)The lever in the rear right portion of the housing (key #32) can be used to access the
page 10