
MSU140 specifications
The Niles Audio MSU140 is a versatile multi-room audio distribution system designed to provide high-quality sound throughout various spaces in residential and commercial settings. This robust system is ideal for those who want to enjoy their favorite music or audio content in multiple rooms without the clutter of complicated wiring and system setups.One of the main features of the MSU140 is its ability to accommodate up to 14 different zones, making it suitable for larger homes or businesses. With four inputs that allow connections from multiple audio sources, users can personalize their listening experience and select different source inputs for each zone. This flexibility ensures that different rooms or areas can play different audio content simultaneously or allow a single source to be distributed to multiple zones.
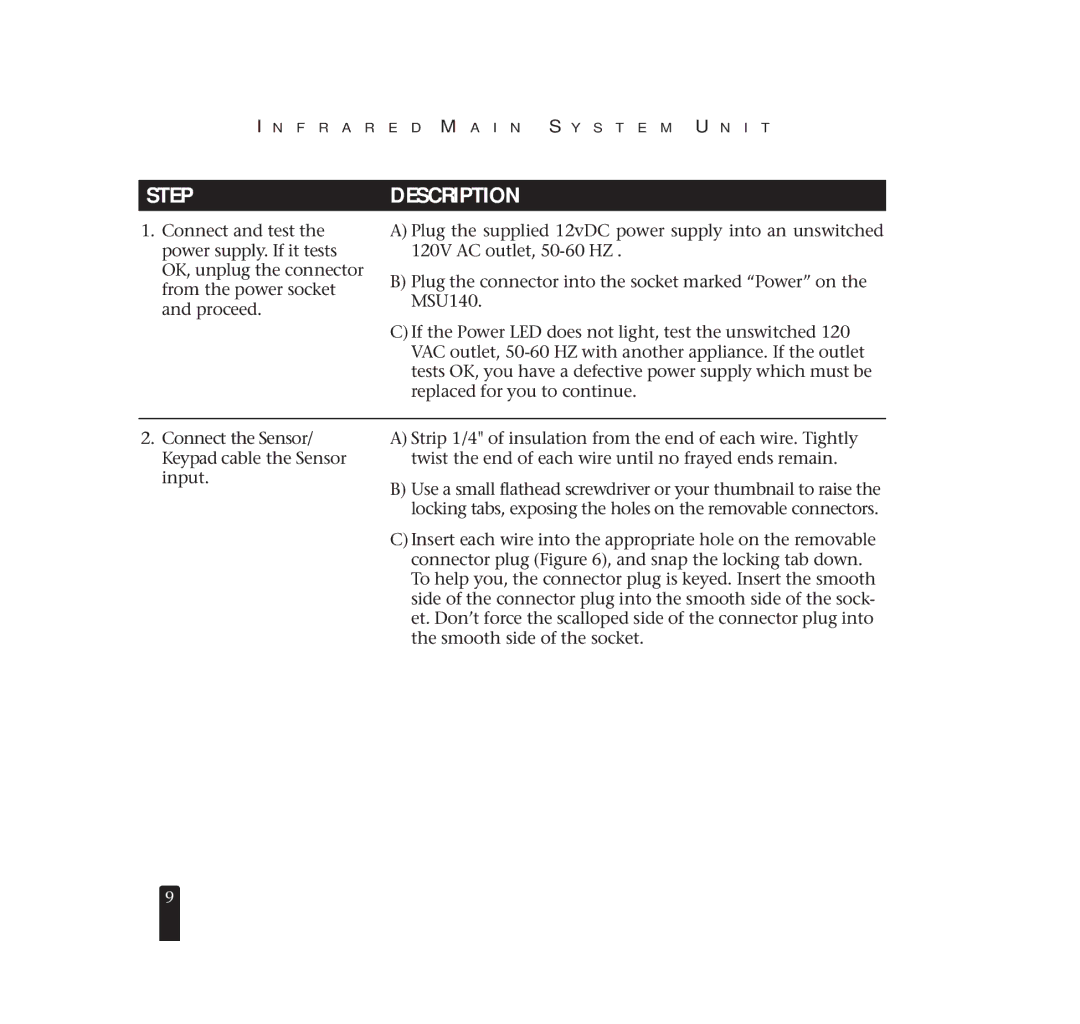
The MSU140 integrates seamlessly with other Niles Audio components, leveraging advanced technologies to streamline installation and operation. It features a user-friendly interface, allowing easy system control via dedicated keypads or mobile devices. The keypads are designed for simplicity, allowing users to adjust volume, switch audio sources, and select zones without needing to navigate complex menus.
One of the standout technologies in the MSU140 is its superior digital signal processing, ensuring clean, high-fidelity audio reproduction across all zones. This advanced processing capability minimizes interference and enhances audio clarity, providing an immersive listening experience regardless of the location within the distribution area.
The MSU140 is designed with flexibility and scalability in mind. Its compact design allows for easy installation in various environments, and it can be expanded to accommodate additional zones or sources as necessary. Furthermore, the system is compatible with smart home technologies, enabling users to integrate it with other devices for voice control and automation, thus enhancing its functionality.
In terms of durability, the MSU140 is built with high-quality materials that ensure long-lasting performance in any environment. It is engineered to meet the demands of continuous operation, making it a reliable choice for both residential and commercial audio applications.
Overall, the Niles Audio MSU140 stands out as a powerful multi-room audio solution, celebrating flexibility, ease of use, and high-quality sound. Whether used for entertainment, information, or ambience, it provides users with a comprehensive audio experience that enriches any setting. Its innovative features and reliable performance make it a leading choice for those looking to elevate their audio distribution capabilities.