ATTIX 9 H/M
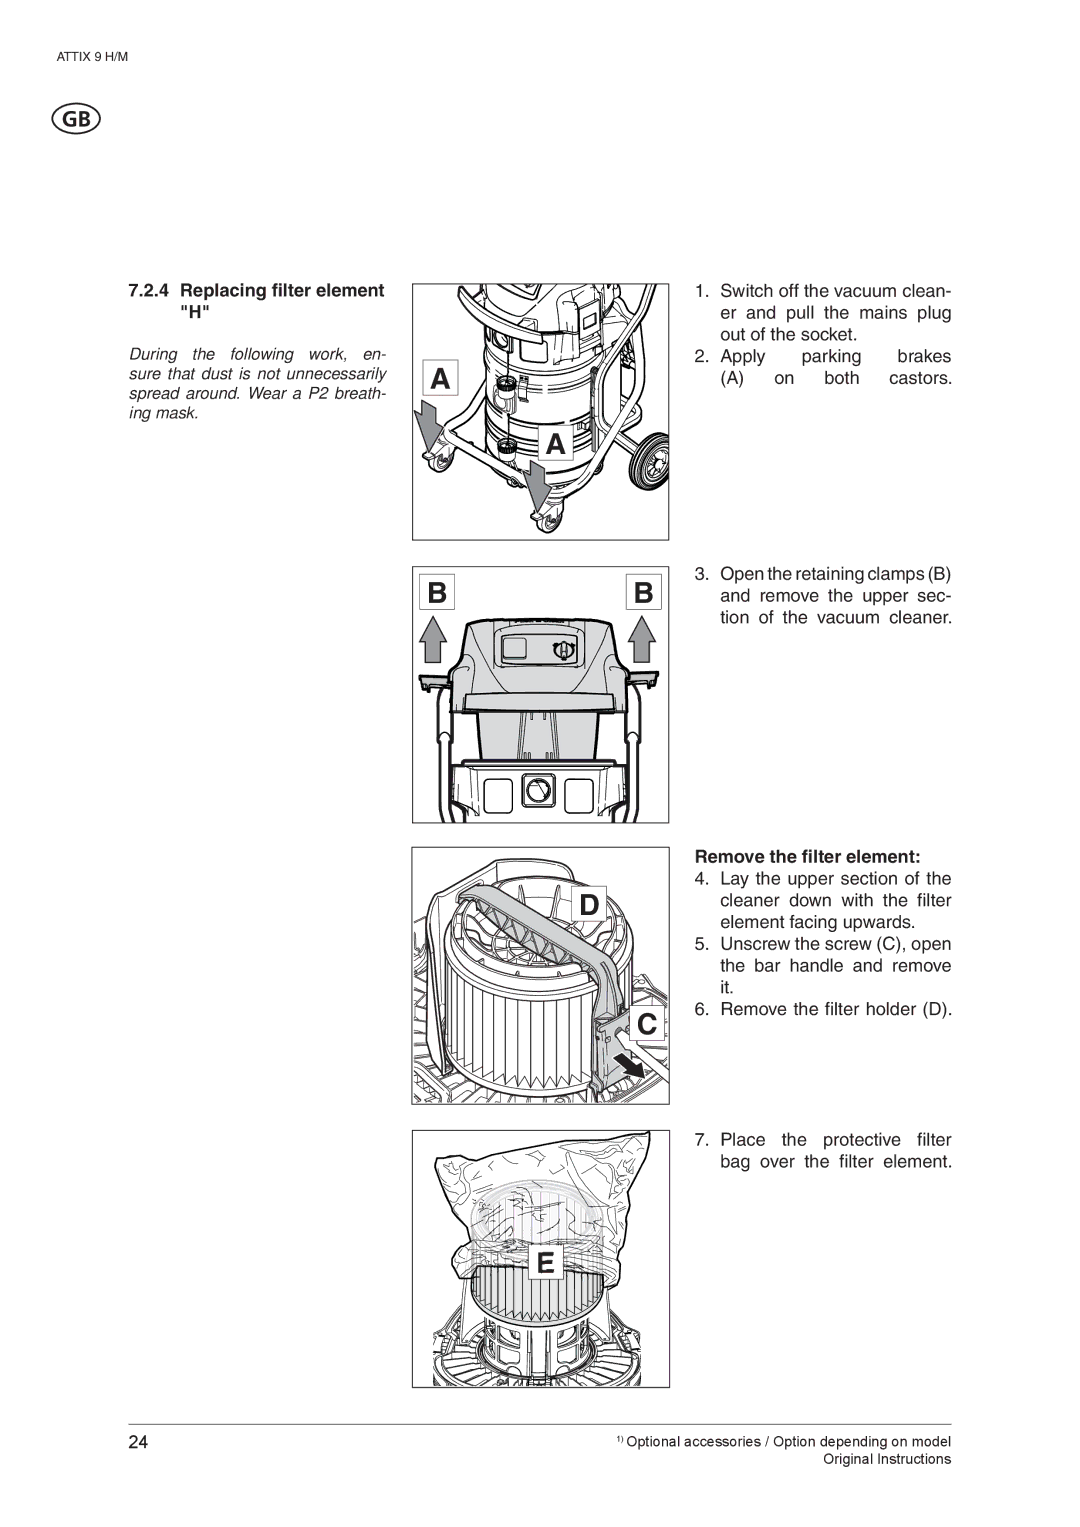
7.2.4Replacing filter element "H"
During the following work, en- sure that dust is not unnecessarily spread around. Wear a P2 breath- ing mask.
A
A |
1.Switch off the vacuum clean- er and pull the mains plug out of the socket.
2. Apply |
| parking | brakes |
(A) | on | both | castors. |
B | B | 3. Open the retaining clamps (B) |
and remove the upper sec- | ||
|
| tion of the vacuum cleaner. |
![]()
![]()
![]()
![]()
![]() D
D![]()
![]()
![]()
![]() C
C
![]()
![]()
![]()
![]()
![]()
![]()
![]() E
E![]()
![]()
![]()
![]()
![]()
Remove the filter element:
4.Lay the upper section of the cleaner down with the filter element facing upwards.
5.Unscrew the screw (C), open the bar handle and remove it.
6.Remove the filter holder (D).
7.Place the protective filter bag over the filter element.
24 | 1) Optional accessories / Option depending on model |
| Original Instructions |