
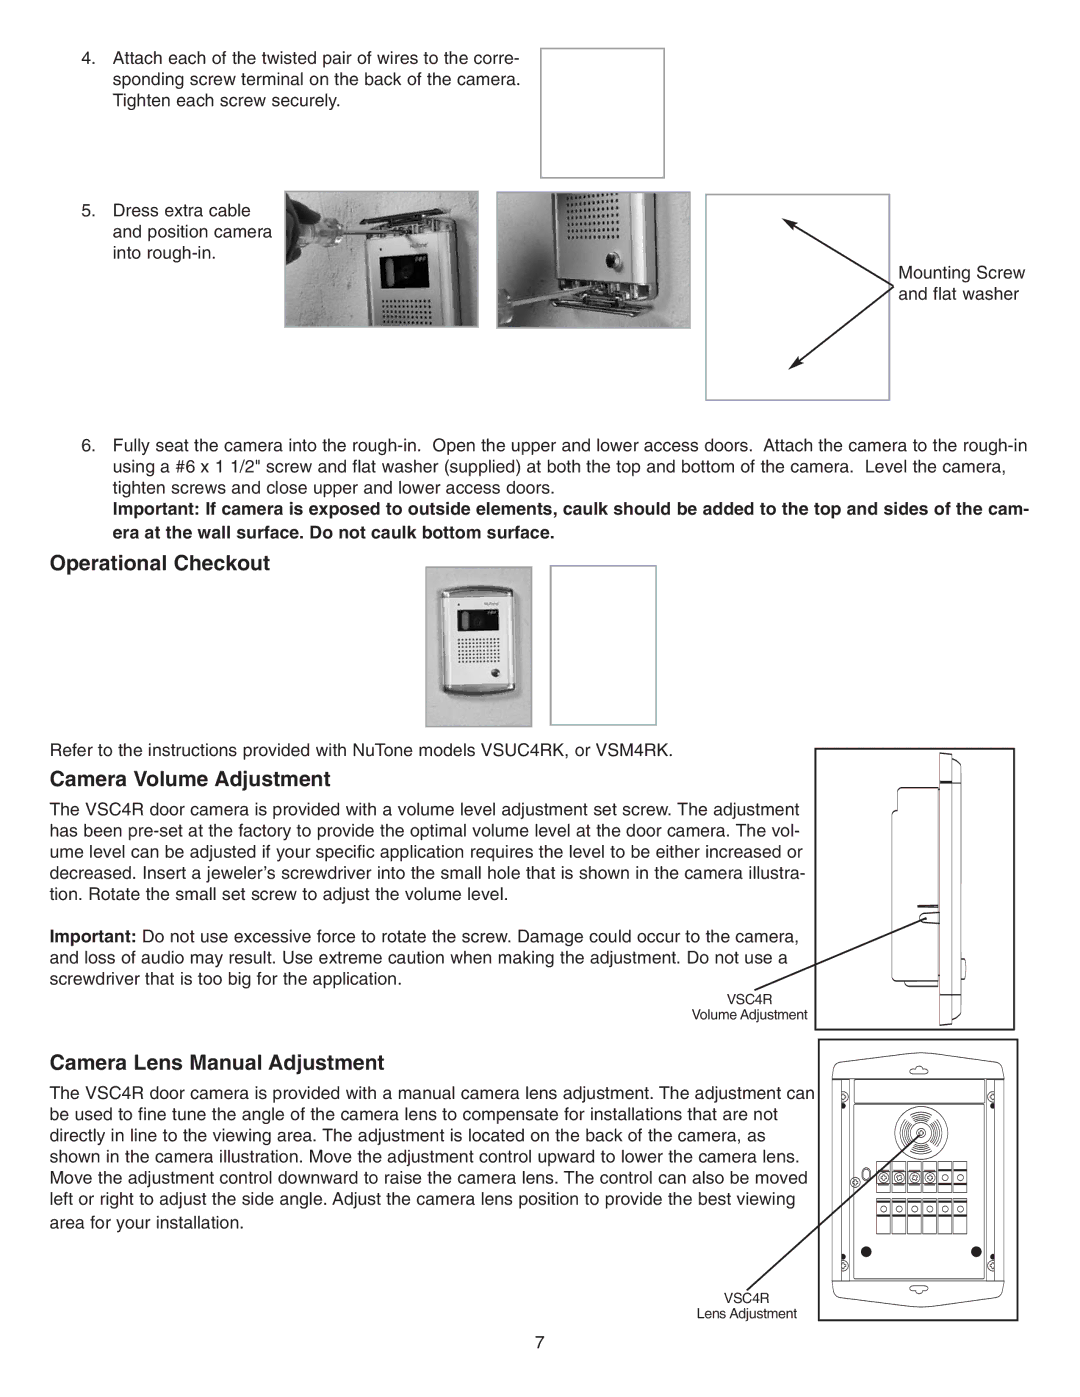
VSC4R specifications
The NuTone VSC4R is a high-performance ventilation fan designed to provide effective air circulation in residential spaces. Renowned for its blend of functionality and aesthetics, the VSC4R caters to homeowners seeking an efficient solution for improving indoor air quality. This fan stands out not only for its robust design but also for advanced technologies that ensure optimal performance.One of the primary features of the NuTone VSC4R is its powerful motor, engineered to deliver a maximum airflow of 110 CFM. This impressive capacity allows the fan to effectively eliminate moisture, smoke, and odors, making it an ideal choice for bathrooms, kitchens, and laundry rooms. The innovative motor operates quietly, with a sound level rating of 0.8 sones, ensuring that it maintains a tranquil ambiance in your home while performing its vital role.
The VSC4R is equipped with a variety of user-friendly features, enhancing convenience and functionality. Its adjustable duct collar allows for a flexible installation, enabling homeowners to customize airflow direction based on room design. Additionally, the fan comes with a built-in humidity sensor, which automatically activates the unit when moisture levels rise above a preset threshold, ensuring continuous air circulation without the need for manual intervention.
Durability is a significant characteristic of the NuTone VSC4R. Constructed from high-quality materials, this fan is designed to withstand the rigors of everyday use while maintaining its performance over time. The sleek, compact design seamlessly integrates into a variety of ceiling styles, ensuring that it not only fits the functional demands of a space but also enhances its overall aesthetic appeal.
Energy efficiency is another critical aspect of the VSC4R. It is designed to consume minimal electricity while maximizing airflow, making it an eco-friendly choice for homeowners looking to reduce energy costs. The fan is also compliant with Energy Star certification, reflecting its commitment to sustainability without compromising on performance.
In summary, the NuTone VSC4R ventilation fan is a robust, versatile, and energy-efficient solution for improving indoor air quality. With its powerful motor, quiet operation, customizable installation features, and durable construction, it is designed to meet the needs of modern households while enhancing comfort and air circulation. Whether for a bathroom, kitchen, or laundry space, the VSC4R stands as a reliable choice for effective ventilation.