NV-E6GXS, NV-E6GMS specifications
The Nuvo NV-E6GXS and NV-E6GMS are advanced digital signage media players designed for a wide array of applications, including retail, corporate environments, and educational institutions. These devices stand out due to their powerful hardware, robust features, and versatile software capabilities, which make them ideal for displaying dynamic content in a variety of settings.At the heart of the Nuvo NV-E6GXS and NV-E6GMS lies a high-performance processor that ensures smooth playback of high-resolution multimedia content. Both models are equipped with support for 4K resolution, allowing users to create visually stunning displays that can captivate audiences. The ability to handle multiple video formats and high-definition graphics makes these players suitable for intricate presentations, advertising campaigns, and immersive experiences.
One of the standout features of the Nuvo players is their extensive storage capacity. With options for SSD and HDD integration, users can store large libraries of media content directly on the device. This means that even large installations can be managed efficiently without the need for constant external data access. The compact size of the players also allows for easy placement in various environments without taking up excessive space.
Connectivity is another key area where the Nuvo NV-E6GXS and NV-E6GMS shine. They come with an array of ports, including HDMI, USB, and Ethernet, facilitating seamless integration into existing digital signage ecosystems. The players support both wired and wireless networking options, enabling flexible content updates and remote management capabilities. This ensures that users can quickly change displays, update content, or troubleshoot issues from anywhere.
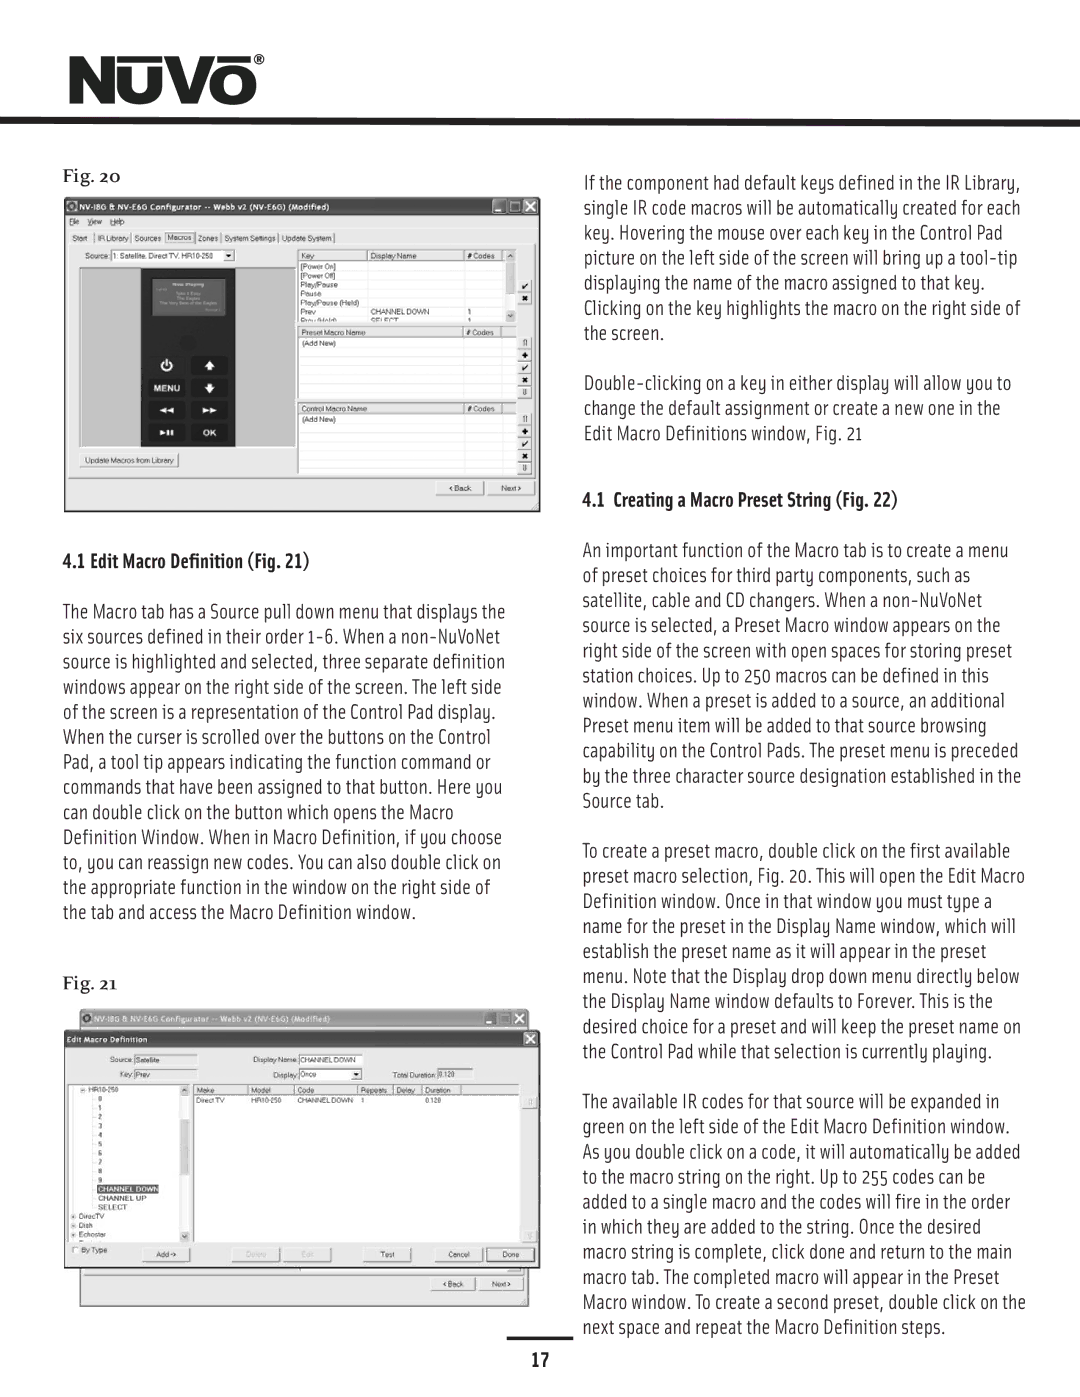
Further enhancing their functionality, the Nuvo media players come pre-installed with versatile software for content management and scheduling. Users can easily create playlists, schedule content to play at specific times, and even manage multiple displays from a single interface. The intuitive user interface simplifies the overall operation, making it accessible even for those with limited technical expertise.
In terms of durability, the Nuvo NV-E6GXS and NV-E6GMS are built to withstand demanding environments. Their fanless design ensures quiet operation, making them an excellent choice for noise-sensitive applications. With thermal management technologies, these devices maintain optimal performance even during prolonged usage, which is essential for installations intended for continuous operation.
In conclusion, the Nuvo NV-E6GXS and NV-E6GMS are powerful digital signage solutions that combine high-performance hardware with versatile software capabilities. Their support for 4K content, extensive connectivity options, and robust management features make them suitable for a broad range of applications, meeting diverse needs while delivering outstanding performance. Whether for advertising, information dissemination, or educational purposes, these media players offer an effective way to engage audiences and enhance communication.

