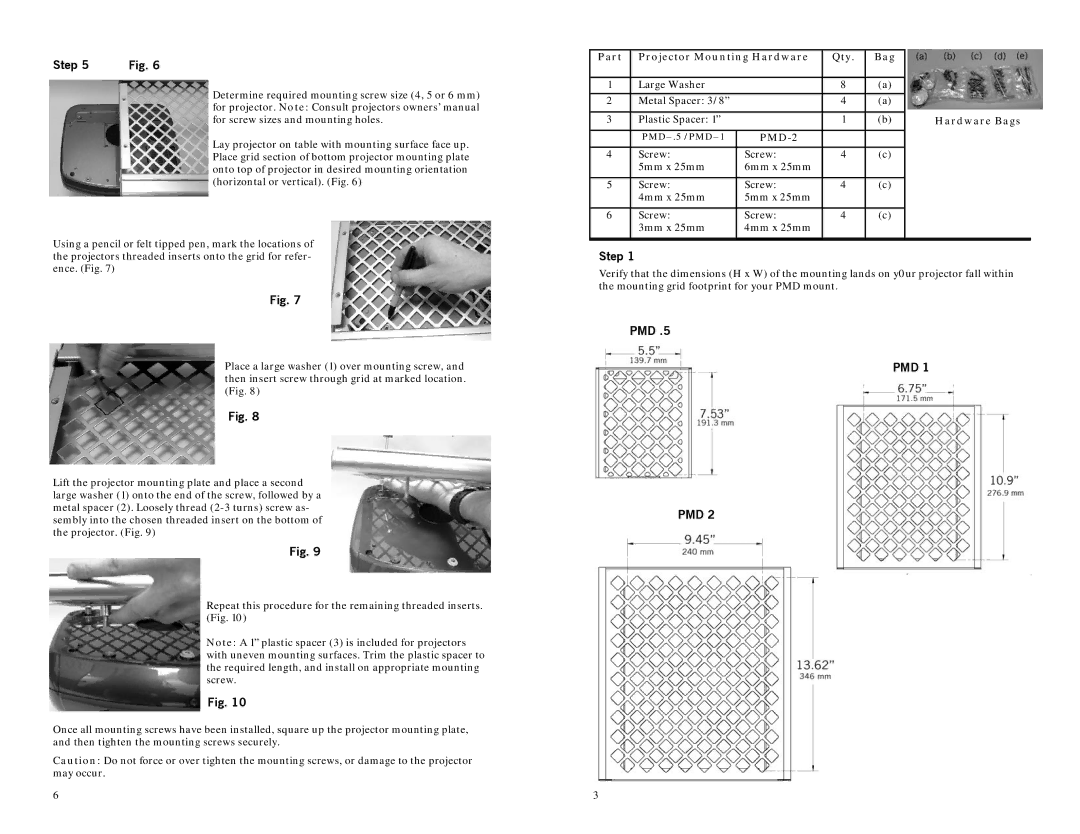
PMD1, PMD.5, PMD2 specifications
The Omnimount PMD1, PMD2, and PMD5 are innovative mounting solutions designed for home theater enthusiasts and professionals alike. These models represent the latest advancements in mounting technology, providing users with flexibility, ease of installation, and aesthetic appeal.The PMD1 is notable for its versatility in mounting a variety of display types, including LCD, LED, and plasma screens. It is characterized by its low-profile design, which reduces the gap between the wall and the mounted display, creating a sleek appearance. The PMD1 can accommodate screens up to 65 inches and offers a weight capacity of up to 120 pounds, ensuring stability and reliability. This model features a tilt and swivel mechanism, allowing for optimal viewing angles without the need for extensive adjustments.
Moving on to the PMD2, this model elevates the functionality with enhanced support for larger displays and additional mounting options. It can support televisions up to 70 inches with a weight capacity of 150 pounds. The PMD2 includes an integrated cable management system that helps eliminate clutter by concealing cables behind the mount. This ensures a clean and organized look. The tilting range on the PMD2 is also impressive, allowing adjustments of up to 15 degrees downward for improved viewing comfort.
The PMD5 is the most advanced model among the three, designed for serious home cinema setups. It can accommodate screens as large as 75 inches and supports a maximum weight of 200 pounds. The PMD5 features a full-motion capability, allowing users to extend, pivot, and swivel the display. This model is equipped with a unique locking mechanism that secures the television in place, providing peace of mind in high-traffic areas. An easy-install template and all necessary hardware are included, making the installation process efficient and straightforward.
All three models are crafted with high-quality materials that ensure long-lasting durability. The design aesthetics of the Omnimount PMD series cater to modern decor, enhancing the overall look of any room. With features such as easy adjustment angles, robust construction, and integrated cable management, the PMD1, PMD2, and PMD5 continue to redefine the standard for television mounting solutions. These models not only prioritize function but also emphasize design, making them ideal choices for anyone looking to enhance their viewing experience.

