SETTING THE DATE AND TIME
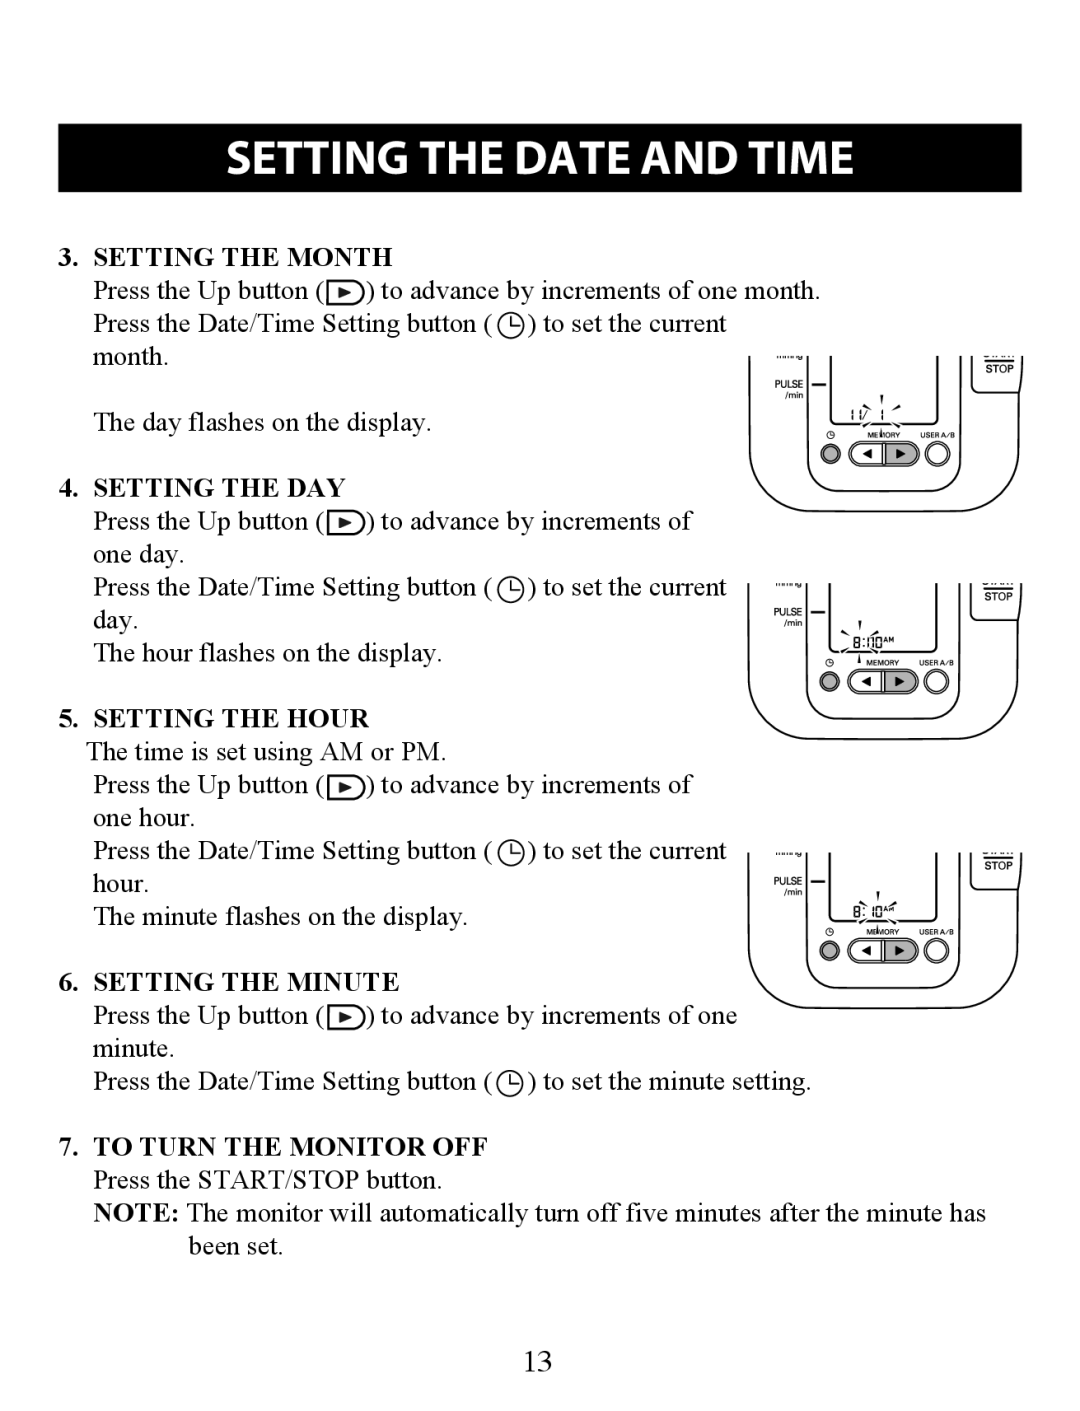
3.SETTING THE MONTH
Press the Up button (![]() ) to advance by increments of one month. Press the Date/Time Setting button (
) to advance by increments of one month. Press the Date/Time Setting button (![]() ) to set the current month.
) to set the current month.
The day flashes on the display.
4.SETTING THE DAY
Press the Up button (![]() ) to advance by increments of one day.
) to advance by increments of one day.
Press the Date/Time Setting button (![]() ) to set the current day.
) to set the current day.
The hour flashes on the display.
5. SETTING THE HOUR
The time is set using AM or PM.
Press the Up button (![]() ) to advance by increments of one hour.
) to advance by increments of one hour.
Press the Date/Time Setting button (![]() ) to set the current hour.
) to set the current hour.
The minute flashes on the display.
6.SETTING THE MINUTE
Press the Up button (![]() ) to advance by increments of one minute.
) to advance by increments of one minute.
Press the Date/Time Setting button (![]() ) to set the minute setting.
) to set the minute setting.
7.TO TURN THE MONITOR OFF
Press the START/STOP button.
NOTE: The monitor will automatically turn off five minutes after the minute has been set.
13