Timers
About the Timers
The
Timers can be used to start and stop playback (Play), or to start and stop radio or LINE input recording (Rec) with an Onkyo cassette tape deck or Mini Disc recorder connected via ![]()
![]() .
.
Timers can be set for single use (Once), in which case the timer is reset once the task has been completed, for use on a certain day every week (Every), or for a range of days (e.g., Monday through Friday).
■Timer Examples
The following examples highlight some of the ways in which you can use the timers.
Timer 1: To wake up to your favourite radio station (preset #1) every morning, set as follows:
PLAY➔FM 1➔EVERY➔EVERY DAY➔ON 7:00➔OFF 7:30
(If you want a radio alarm only on weekdays, select “Days Set” instead of “Every Day” and specify
REC➔FM 2➔TAPE➔ONCE➔SUN➔ON 21:00➔OFF 22:00 (You need an Onkyo cassette tape deck to do the recording.)
■Timer Overlap
If two or more timers are set to the same ON time, the timer with the lowest number has priority. For example, if Timer #1 and Timer #2 are both set to an ON time of 7:00, Timer #1 has priority and Timer #2 is ignored.
Timer 1: 07:00 - 13:00 (This timer has priority.)
Timer 2: 07:00 - 12:30
If the settings of two timers overlap, the earlier timer has priority.
Timer 1: 9:00 - 10:00
Timer 2: 8:00 - 10:00 (This timer has priority.)
Notes:
•The timers work only if the
•While a timed recording task is in progress, the output of the
STANDBY/ON | CLOCK |
| |
CALL |
| ||
2 | 3 |
| TIMER |
1 |
| TIMER | |
|
| ||
5 | 6 |
|
|
4 |
|
|
|
8 | 9 |
|
|
7 |
|
|
|
CLEAR |
| ENTER | |
10/0 |
| ENTER | |
DISPLAY | MODE |
|
|
SLEEP |
| REPEAT |
|
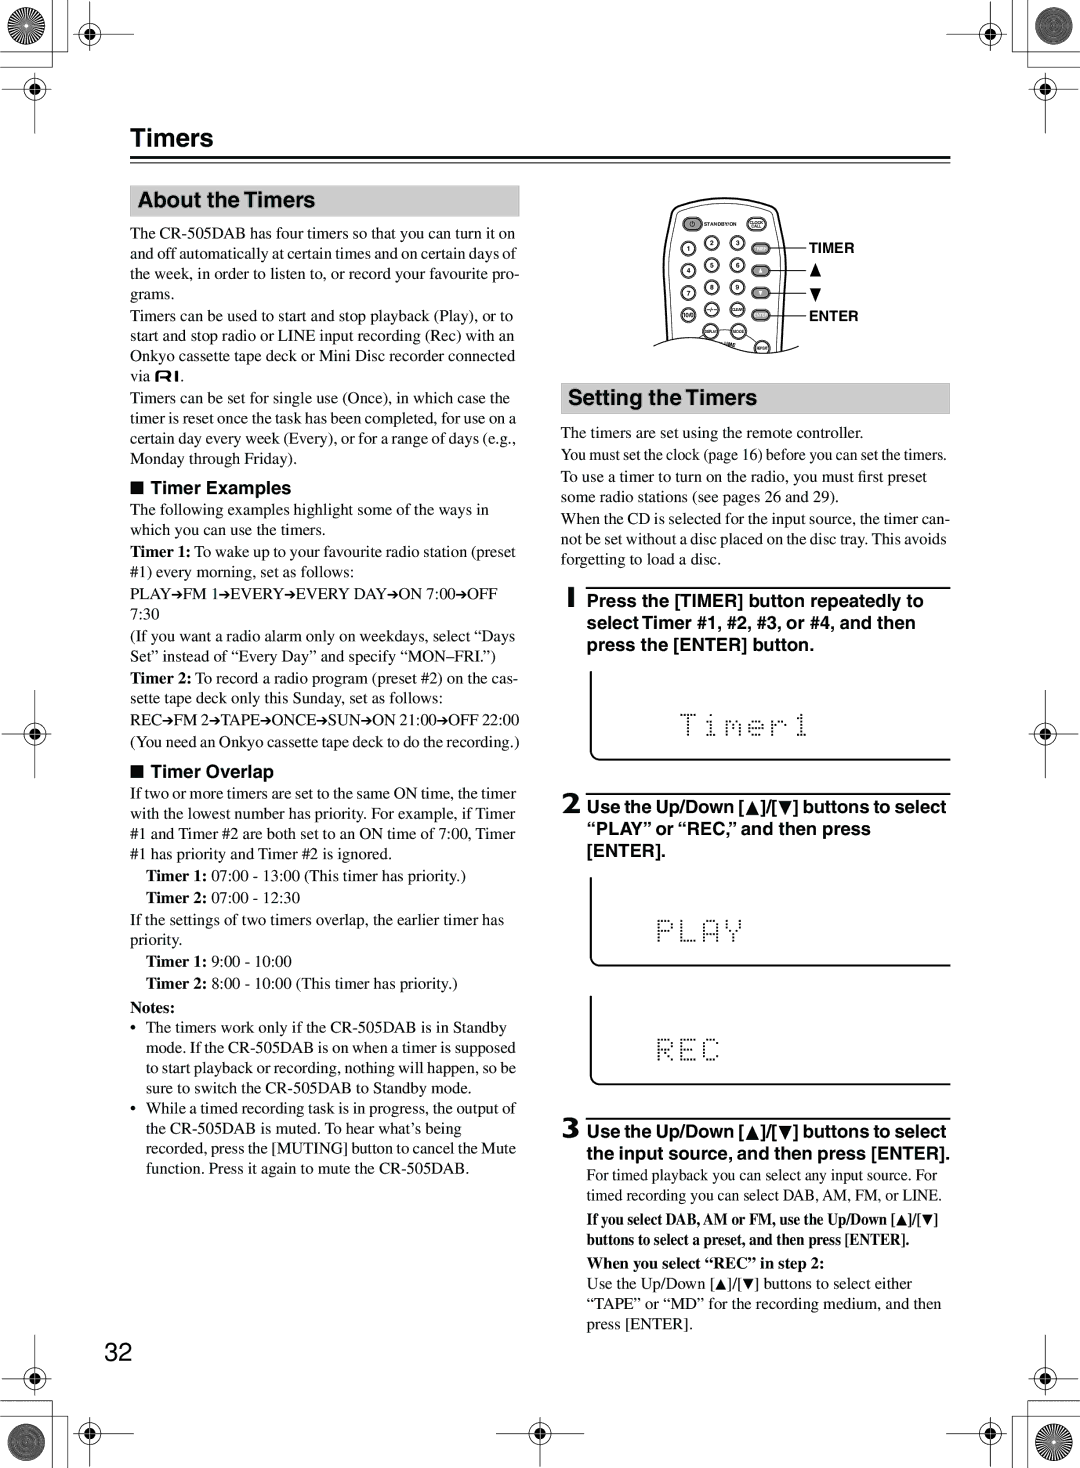
Setting the Timers
The timers are set using the remote controller.
You must set the clock (page 16) before you can set the timers. To use a timer to turn on the radio, you must first preset some radio stations (see pages 26 and 29).
When the CD is selected for the input source, the timer can- not be set without a disc placed on the disc tray. This avoids forgetting to load a disc.
1 Press the [TIMER] button repeatedly to select Timer #1, #2, #3, or #4, and then press the [ENTER] button.
2 Use the Up/Down [![]() ]/[ ] buttons to select “PLAY” or “REC,” and then press [ENTER].
]/[ ] buttons to select “PLAY” or “REC,” and then press [ENTER].
3 Use the Up/Down [![]() ]/[ ] buttons to select the input source, and then press [ENTER].
]/[ ] buttons to select the input source, and then press [ENTER].
For timed playback you can select any input source. For timed recording you can select DAB, AM, FM, or LINE.
If you select DAB, AM or FM, use the Up/Down [![]() ]/[ ] buttons to select a preset, and then press [ENTER].
]/[ ] buttons to select a preset, and then press [ENTER].
When you select “REC” in step 2:
Use the Up/Down [![]() ]/[ ] buttons to select either “TAPE” or “MD” for the recording medium, and then press [ENTER].
]/[ ] buttons to select either “TAPE” or “MD” for the recording medium, and then press [ENTER].
32