To enjoy Surround mode or Stereo mode
|
|
|
| LATE NIGHT |
|
|
|
| ||||
|
|
|
|
|
|
|
|
|
|
|
| MASTER VOLUME |
STANDBY/ON |
|
|
|
|
|
|
| PARAMETER SELECTOR |
| UP | ||
|
| STANDBY |
|
|
|
|
|
|
|
|
|
|
POWER |
|
|
|
|
|
|
| PARAMETER CONTROLLER |
|
| ||
PRESET |
|
|
|
|
|
|
| TUNING |
|
| ||
ON | OFF |
|
|
|
|
|
|
|
|
|
|
|
|
| A SPEAKERS | B | SURROUND MODE | LATE NIGHT |
| DIMMER | MEMORY | FM MODE |
| ||
|
|
|
|
|
|
|
|
| CLEAR | BASS | TREBLE | |
PHONES |
| MULTI CH INPUT | DVD | VIDEO 1 | VIDEO 2 | TAPE | FM | AM | PHONO |
| C D |
|
|
|
|
|
|
|
|
|
|
|
|
| AV RECEIVER |
Setting the Surround mode parameters
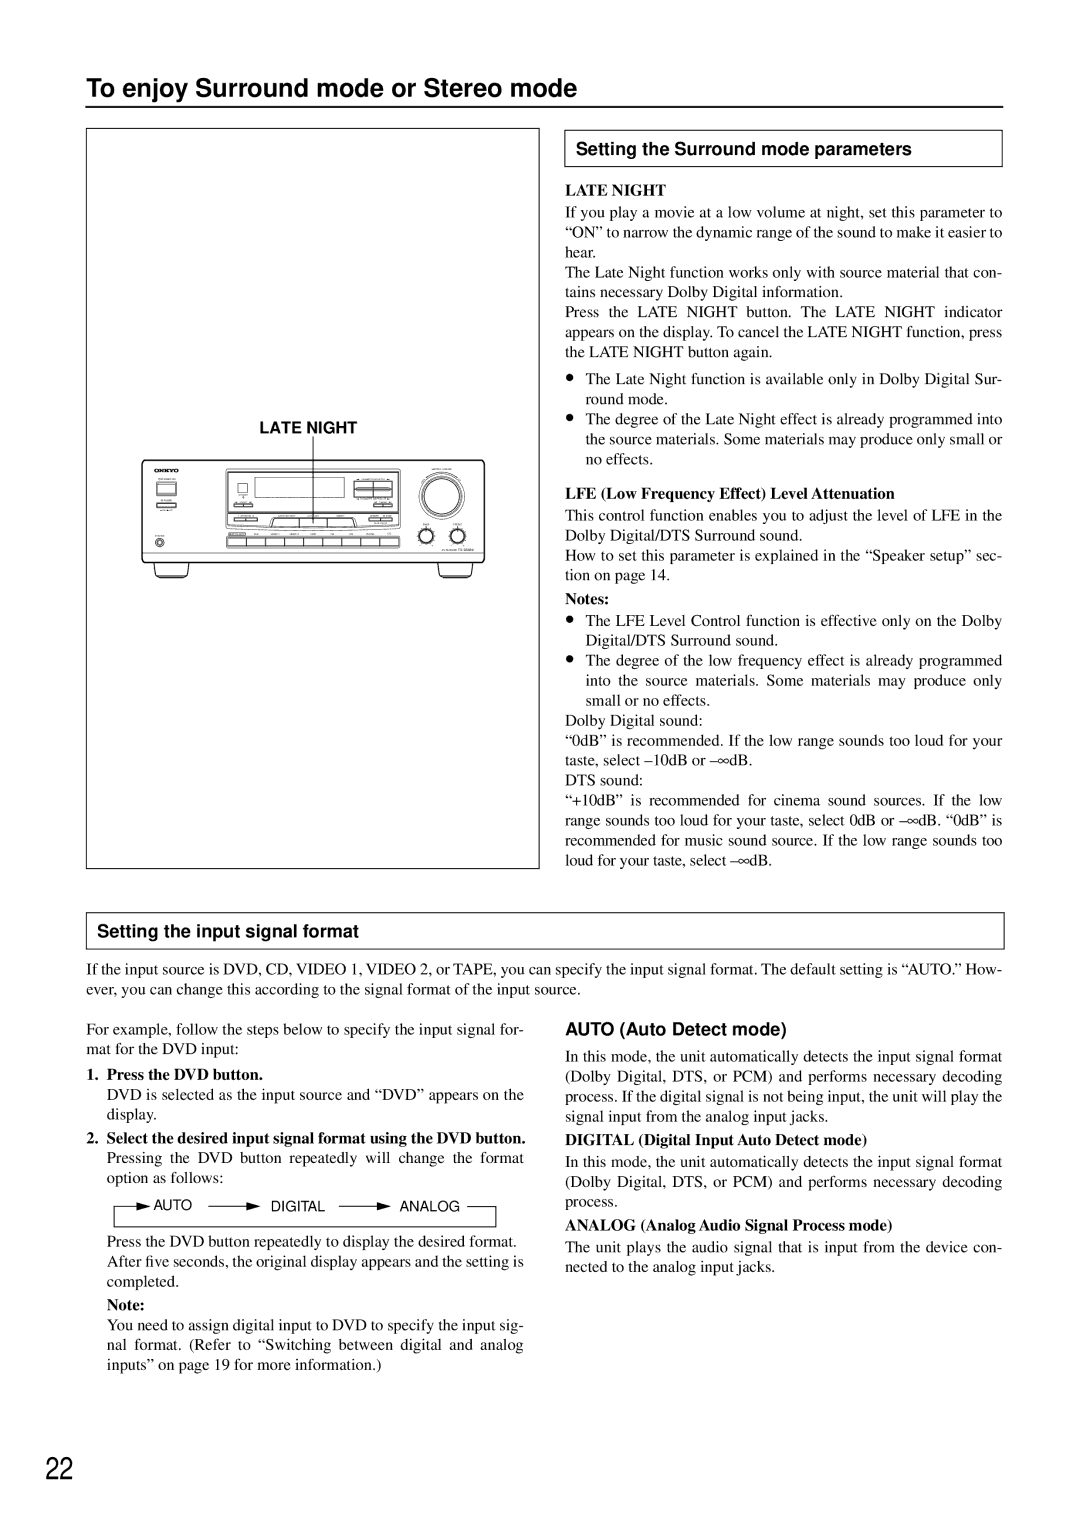
LATE NIGHT
If you play a movie at a low volume at night, set this parameter to “ON” to narrow the dynamic range of the sound to make it easier to hear.
The Late Night function works only with source material that con- tains necessary Dolby Digital information.
Press the LATE NIGHT button. The LATE NIGHT indicator appears on the display. To cancel the LATE NIGHT function, press the LATE NIGHT button again.
•The Late Night function is available only in Dolby Digital Sur- round mode.
•The degree of the Late Night effect is already programmed into the source materials. Some materials may produce only small or no effects.
LFE (Low Frequency Effect) Level Attenuation
This control function enables you to adjust the level of LFE in the Dolby Digital/DTS Surround sound.
How to set this parameter is explained in the “Speaker setup” sec- tion on page 14.
Notes:
•The LFE Level Control function is effective only on the Dolby Digital/DTS Surround sound.
•The degree of the low frequency effect is already programmed into the source materials. Some materials may produce only small or no effects.
Dolby Digital sound:
“0dB” is recommended. If the low range sounds too loud for your taste, select
DTS sound:
“+10dB” is recommended for cinema sound sources. If the low range sounds too loud for your taste, select 0dB or
Setting the input signal format
If the input source is DVD, CD, VIDEO 1, VIDEO 2, or TAPE, you can specify the input signal format. The default setting is “AUTO.” How- ever, you can change this according to the signal format of the input source.
For example, follow the steps below to specify the input signal for- mat for the DVD input:
1.Press the DVD button.
DVD is selected as the input source and “DVD” appears on the display.
2.Select the desired input signal format using the DVD button. Pressing the DVD button repeatedly will change the format option as follows:
AUTO | DIGITAL | ANALOG |
Press the DVD button repeatedly to display the desired format. After five seconds, the original display appears and the setting is completed.
Note:
You need to assign digital input to DVD to specify the input sig- nal format. (Refer to “Switching between digital and analog inputs” on page 19 for more information.)
AUTO (Auto Detect mode)
In this mode, the unit automatically detects the input signal format (Dolby Digital, DTS, or PCM) and performs necessary decoding process. If the digital signal is not being input, the unit will play the signal input from the analog input jacks.
DIGITAL (Digital Input Auto Detect mode)
In this mode, the unit automatically detects the input signal format (Dolby Digital, DTS, or PCM) and performs necessary decoding process.
ANALOG (Analog Audio Signal Process mode)
The unit plays the audio signal that is input from the device con- nected to the analog input jacks.
22
