
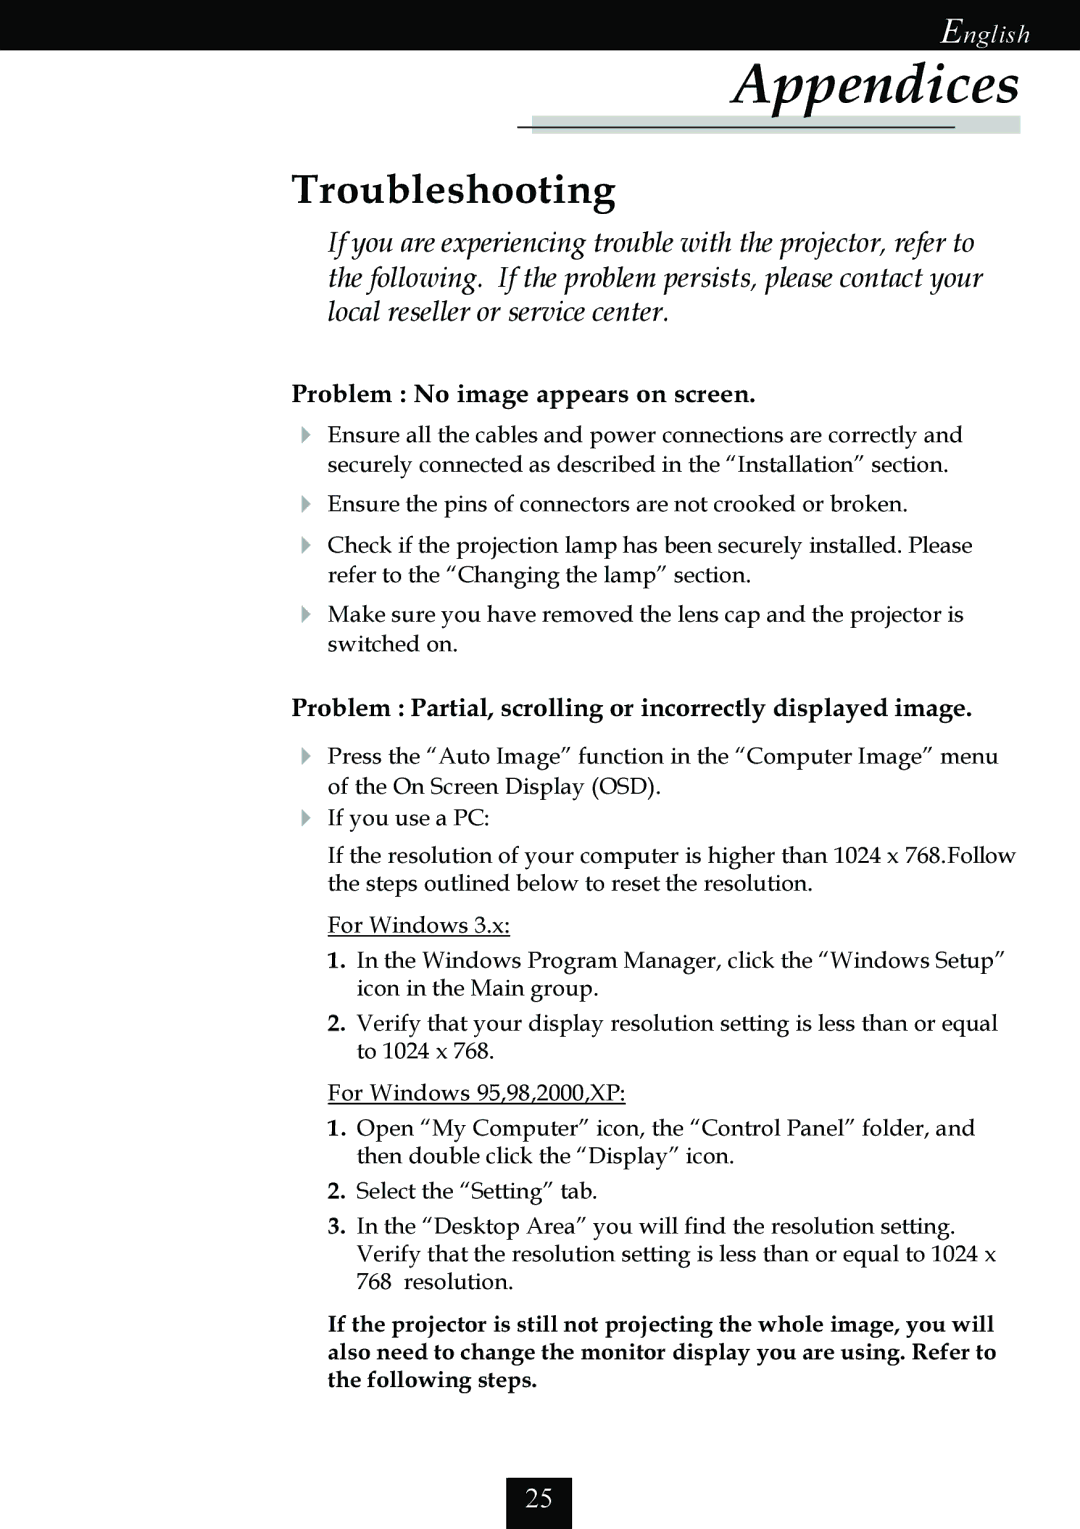
EP725 specifications
The Optoma Technology EP725 is a powerful, versatile projector that caters to a wide range of professional and educational needs. With its exceptional image quality and robust feature set, it is designed to deliver impressive presentations and engaging visual experiences in various environments.One of the standout features of the EP725 is its high brightness level. With a brightness of up to 4000 ANSI lumens, it ensures clear and vibrant images, even in well-lit rooms. This makes it an ideal choice for conference rooms, classrooms, and auditoriums where ambient light could otherwise compromise visibility. Coupled with a high contrast ratio of 3000:1, the EP725 produces deep blacks and bright whites, enhancing the overall image quality and rendering text and graphics sharply.
Resolution is another critical aspect of the EP725's performance, offering native XGA resolution (1024 x 768 pixels). This level of clarity is particularly advantageous for presenting detailed graphics, intricate charts, and crisp text. The projector supports various resolutions, including SVGA and WXGA, ensuring compatibility with a range of devices and content types.
The EP725 utilizes DLP (Digital Light Processing) technology, known for its reliability and excellent color reproduction. This technology creates stunning visuals, allowing for a broader color spectrum and smoother image transitions. The DLP chip ensures that the projector remains light and compact while offering durable performance, reducing the risk of dust-related issues that can affect image quality.
Connectivity is another strong point for the Optoma EP725. It features multiple input options, including VGA, HDMI, and USB, providing flexibility to connect various devices such as laptops, document cameras, and media players. The projector also supports audio output, allowing users to connect external speakers for enhanced sound quality during presentations or video playback.
The EP725 is designed with user-friendliness in mind. It includes features such as quick start and shutdown, which help save time during setup and teardown. Additionally, its extensive zoom and keystone correction capabilities enable easy adjustments to the image size and shape, ensuring a perfect display regardless of the installation environment.
Overall, the Optoma Technology EP725 projector combines high brightness, advanced image processing technologies, and a range of connectivity options. Its robust features make it a reliable choice for professionals and educators seeking to captivate their audience with dynamic and high-quality presentations.