HD33 specifications
Optoma Technology has made a significant mark in the projector industry with its HD33 model, a high-definition DLP projector tailored for home theater enthusiasts. The Optoma HD33 is particularly known for its ability to deliver stunning picture quality, making it an ideal choice for cinema-quality viewing experiences at home.One of the standout features of the HD33 is its impressive 1080p resolution, which provides clarity and detail that surpasses standard-definition projectors. With a native resolution of 1920 x 1080, viewers can enjoy exceptionally sharp and vivid images, making it perfect for watching movies, sports, and playing video games.
The projector utilizes DLP (Digital Light Processing) technology, which contributes to its superior image quality. DLP technology is recognized for producing high contrast ratios, and the HD33 boasts a contrast ratio of 4000:1. This allows for deeper blacks and brighter whites, significantly enhancing the viewing experience. In addition, the HD33 features a brightness level of 1500 lumens, which makes it suitable for both darkened rooms and environments with moderate ambient light.
Color accuracy is another strong point of the HD33. Equipped with a Color Wheel technology and a high-speed color wheel, it produces vibrant colors that can be adjusted according to user preferences. This projector supports a wide color gamut, ensuring that skin tones and other color details are rendered vividly, aligning with the filmmakers' creative vision.
The HD33 is also designed for flexibility in setup, featuring a 1.5x zoom lens and vertical lens shift capabilities. This allows users to position the projector in various settings without compromising image quality or installation ease. With built-in speakers, the HD33 offers decent audio performance, although many users may prefer connecting external audio solutions for a more immersive experience.
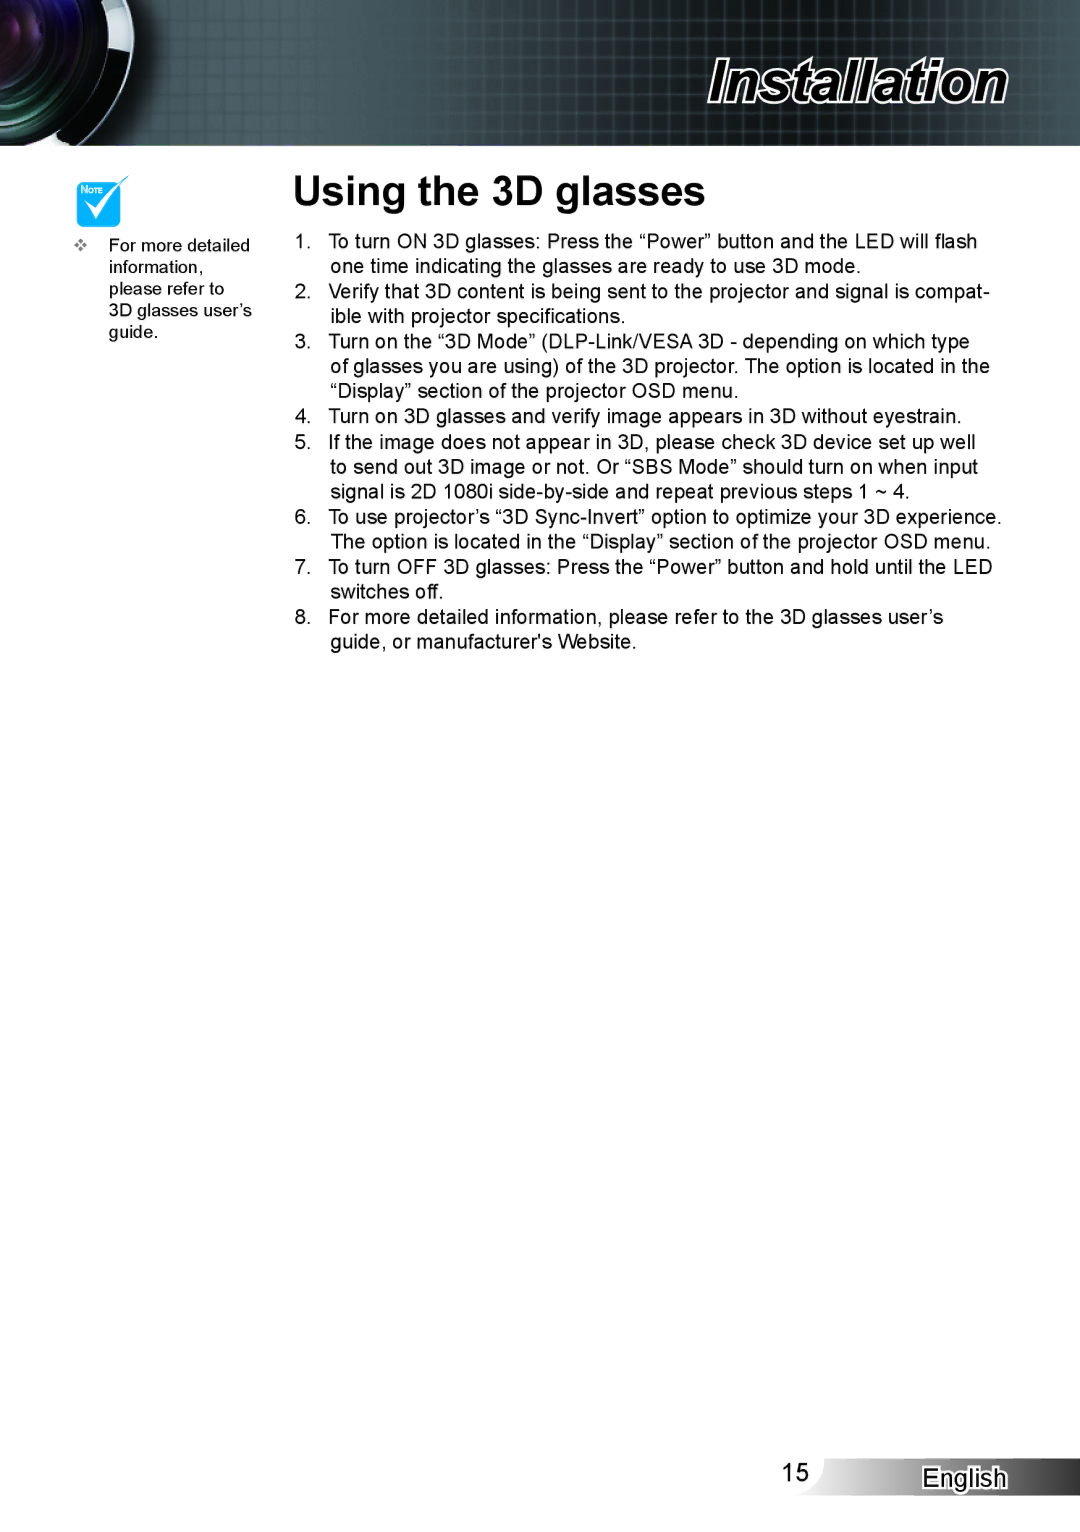
Connectivity options include HDMI inputs, making it easy to connect sources like Blu-ray players, gaming consoles, and streaming devices. The projector is also compatible with 3D content, supporting various 3D formats, thus enabling viewers to indulge in a truly cinematic experience.
In sum, the Optoma HD33 distinguishes itself with its remarkable picture quality, DLP technology, easy installation features, and impressive connectivity options. It remains a popular choice for those seeking a professionally integrated home theater experience.

