HC18_manual_1_sep 9/2/05 16:50 Page 7
Taking Photos
Once the
The frame number shown on the LCD display will indicate how many shots are available for shooting.
1.Aim at the subject that you want to shoot.
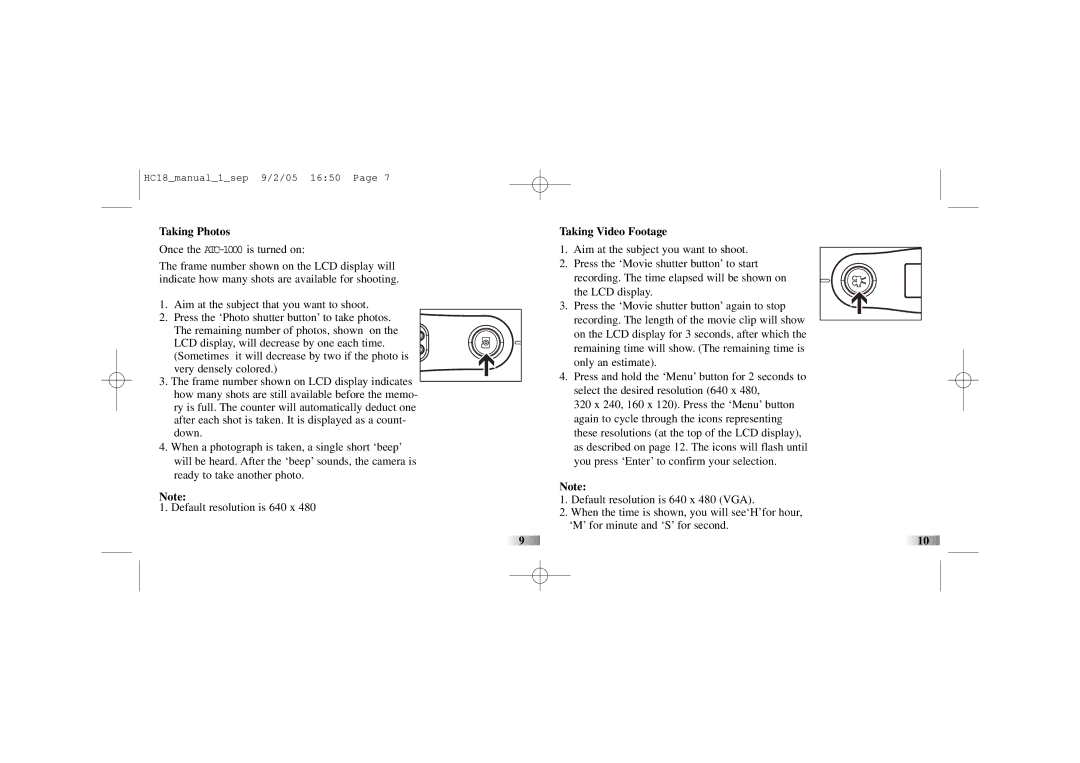
2.Press the ‘Photo shutter button’ to take photos. The remaining number of photos, shown on the LCD display, will decrease by one each time. (Sometimes it will decrease by two if the photo is very densely colored.)
3.The frame number shown on LCD display indicates how many shots are still available before the memo- ry is full. The counter will automatically deduct one after each shot is taken. It is displayed as a count- down.
4.When a photograph is taken, a single short ‘beep’ will be heard. After the ‘beep’ sounds, the camera is ready to take another photo.
Note:
1. Default resolution is 640 x 480
Taking Video Footage
1.Aim at the subject you want to shoot.
2.Press the ‘Movie shutter button’ to start recording. The time elapsed will be shown on the LCD display.
3.Press the ‘Movie shutter button’ again to stop recording. The length of the movie clip will show on the LCD display for 3 seconds, after which the remaining time will show. (The remaining time is only an estimate).
4.Press and hold the ‘Menu’ button for 2 seconds to select the desired resolution (640 x 480,
320 x 240, 160 x 120). Press the ‘Menu’ button again to cycle through the icons representing these resolutions (at the top of the LCD display), as described on page 12. The icons will flash until you press ‘Enter’ to confirm your selection.
Note:
1.Default resolution is 640 x 480 (VGA).
2.When the time is shown, you will see‘H’for hour, ‘M’ for minute and ‘S’ for second.
9 | 10 |
