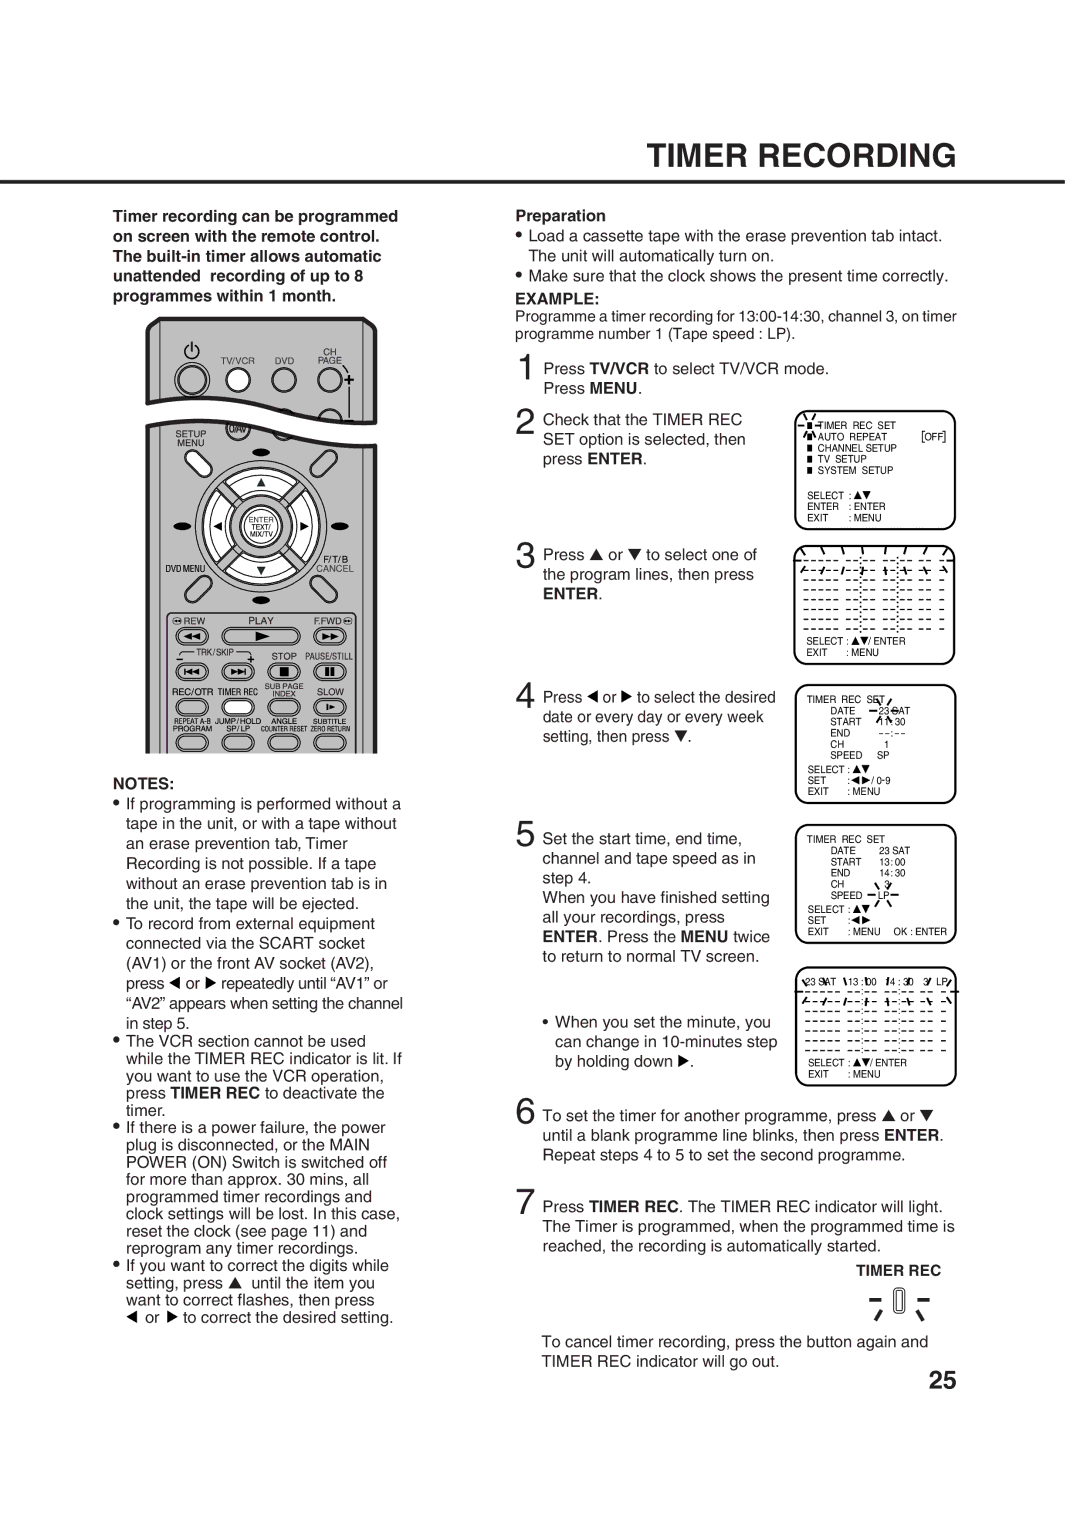
Timer recording can be programmed on screen with the remote control. The
TIMER RECORDING
Preparation
•Load a cassette tape with the erase prevention tab intact. The unit will automatically turn on.
•Make sure that the clock shows the present time correctly.
EXAMPLE:
Programme a timer recording for
1 Press TV/VCR to select TV/VCR mode.
Press MENU. |
|
|
|
Check that the TIMER REC |
| TIMER REC SET |
|
|
| ||
2 SET option is selected, then |
| AUTO REPEAT | OFF |
press ENTER. |
| CHANNEL SETUP |
|
|
| ||
| TV SETUP |
| |
|
| ||
|
| ||
|
| SYSTEM SETUP |
|
|
|
| |
|
|
|
SELECT : ![]()
ENTER : ENTER
EXIT : MENU
3 Press ▲ or ▼ to select one of the program lines, then press
ENTER.
NOTES:
• If programming is performed without a |
tape in the unit, or with a tape without |
an erase prevention tab, Timer |
Recording is not possible. If a tape |
without an erase prevention tab is in |
the unit, the tape will be ejected. |
• To record from external equipment |
connected via the SCART socket |
(AV1) or the front AV socket (AV2), |
press or repeatedly until “AV1” or |
“AV2” appears when setting the channel |
in step 5. |
• The VCR section cannot be used |
while the TIMER REC indicator is lit. If |
you want to use the VCR operation, |
press TIMER REC to deactivate the |
4
5
Press![]() or
or![]() to select the desired date or every day or every week setting, then press ▼.
to select the desired date or every day or every week setting, then press ▼.
Set the start time, end time, channel and tape speed as in step 4.
When you have finished setting all your recordings, press ENTER. Press the MENU twice to return to normal TV screen.
•When you set the minute, you can change in ![]() .
.
SELECT : | / ENTER | ||
EXIT | : MENU |
| |
TIMER REC SET | |||
DATE | 23 SAT | ||
START | 11: 30 | ||
END | – | ||
CH |
|
| 1 |
SPEED | SP | ||
SELECT : | / | ||
SET | : | ||
EXIT | : MENU |
| |
TIMER REC SET | |||
DATE | 23 SAT | ||
START | 13: 00 | ||
END | 14: 30 | ||
CH |
|
| 3 |
SPEED | LP | ||
SELECT : |
|
| |
SET | : |
|
|
EXIT | : MENU | OK : ENTER | |
23 SAT | 13 : 00 | 14 : 30 3 LP | |
: | : |
: | : |
: | : |
: | : |
: | : |
: | : |
: | : |
SELECT : | / ENTER |
EXIT : MENU
timer. |
• If there is a power failure, the power |
plug is disconnected, or the MAIN |
POWER (ON) Switch is switched off |
for more than approx. 30 mins, all |
programmed timer recordings and |
clock settings will be lost. In this case, |
reset the clock (see page 11) and |
reprogram any timer recordings. |
• If you want to correct the digits while |
setting, press ▲ until the item you |
want to correct flashes, then press |
 or
or  to correct the desired setting.
6 To set the timer for another programme, press ▲ or ▼ until a blank programme line blinks, then press ENTER. Repeat steps 4 to 5 to set the second programme.
7 Press TIMER REC. The TIMER REC indicator will light. The Timer is programmed, when the programmed time is reached, the recording is automatically started.
TIMER REC
To cancel timer recording, press the button again and TIMER REC indicator will go out.
25