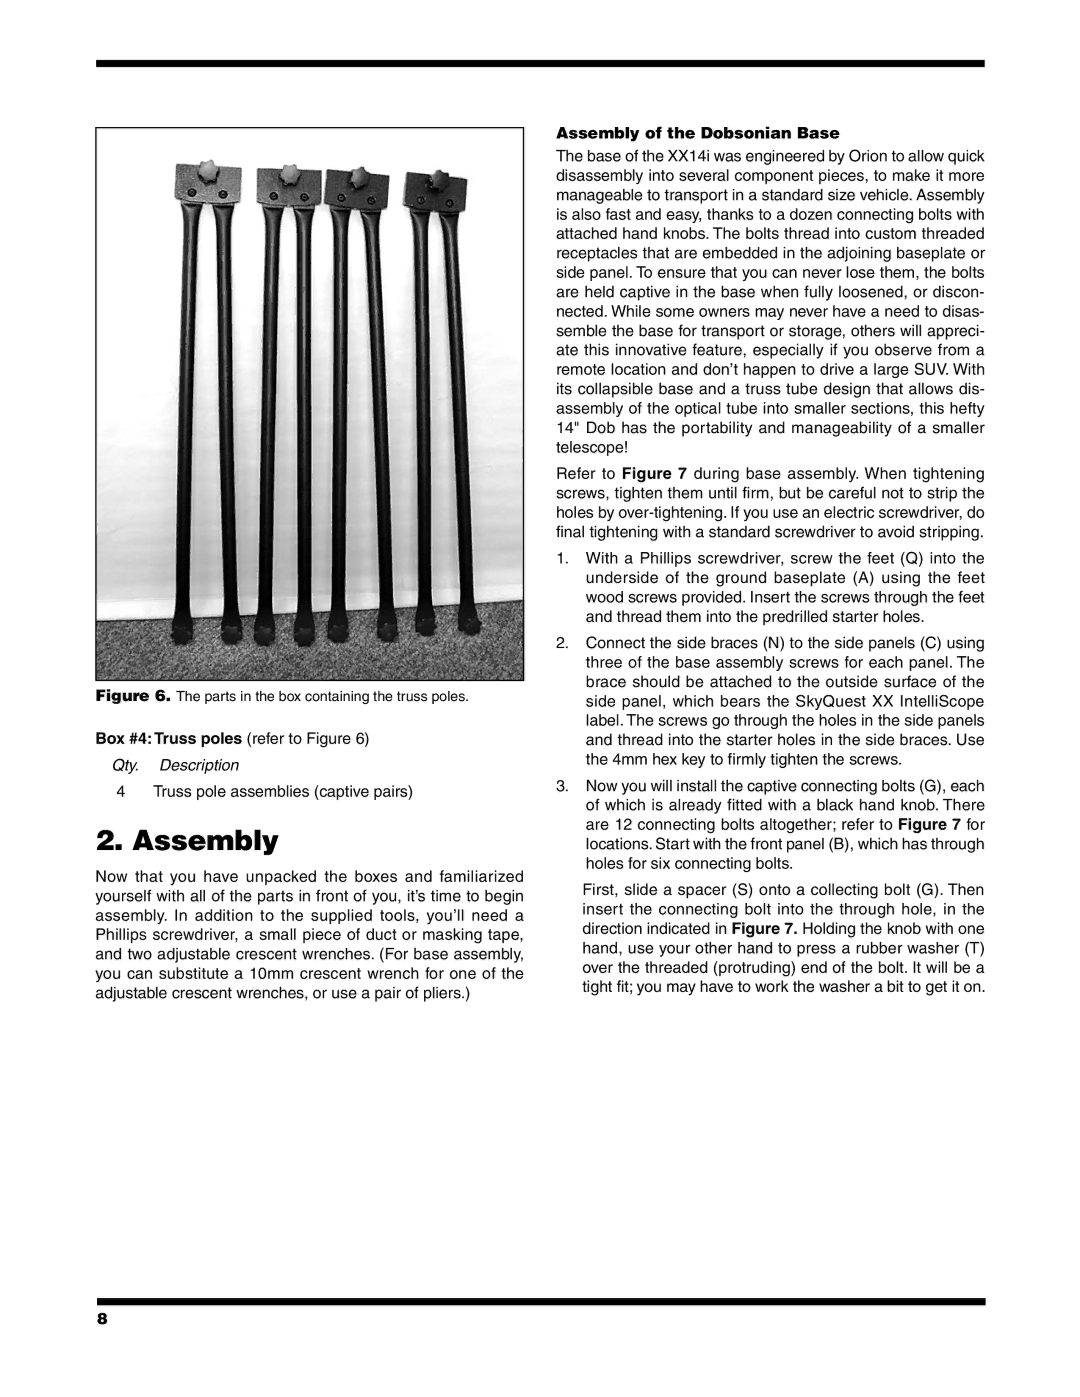
Figure 6. The parts in the box containing the truss poles.
Box #4: Truss poles (refer to Figure 6)
Qty. Description
4Truss pole assemblies (captive pairs)
2.Assembly
Now that you have unpacked the boxes and familiarized yourself with all of the parts in front of you, it’s time to begin assembly. In addition to the supplied tools, you’ll need a Phillips screwdriver, a small piece of duct or masking tape, and two adjustable crescent wrenches. (For base assembly, you can substitute a 10mm crescent wrench for one of the adjustable crescent wrenches, or use a pair of pliers.)
Assembly of the Dobsonian Base
The base of the XX14i was engineered by Orion to allow quick disassembly into several component pieces, to make it more manageable to transport in a standard size vehicle. Assembly is also fast and easy, thanks to a dozen connecting bolts with attached hand knobs. The bolts thread into custom threaded receptacles that are embedded in the adjoining baseplate or side panel. To ensure that you can never lose them, the bolts are held captive in the base when fully loosened, or discon- nected. While some owners may never have a need to disas- semble the base for transport or storage, others will appreci- ate this innovative feature, especially if you observe from a remote location and don’t happen to drive a large SUV. With its collapsible base and a truss tube design that allows dis- assembly of the optical tube into smaller sections, this hefty 14" Dob has the portability and manageability of a smaller telescope!
Refer to Figure 7 during base assembly. When tightening screws, tighten them until firm, but be careful not to strip the holes by
1.With a Phillips screwdriver, screw the feet (Q) into the underside of the ground baseplate (A) using the feet wood screws provided. Insert the screws through the feet and thread them into the predrilled starter holes.
2.Connect the side braces (N) to the side panels (C) using three of the base assembly screws for each panel. The brace should be attached to the outside surface of the side panel, which bears the SkyQuest XX IntelliScope label. The screws go through the holes in the side panels and thread into the starter holes in the side braces. Use the 4mm hex key to firmly tighten the screws.
3.Now you will install the captive connecting bolts (G), each of which is already fitted with a black hand knob. There are 12 connecting bolts altogether; refer to Figure 7 for locations. Start with the front panel (B), which has through holes for six connecting bolts.
First, slide a spacer (S) onto a collecting bolt (G). Then insert the connecting bolt into the through hole, in the direction indicated in Figure 7. Holding the knob with one hand, use your other hand to press a rubber washer (T) over the threaded (protruding) end of the bolt. It will be a tight fit; you may have to work the washer a bit to get it on.
8