Figure 10. Position the rubber bumper “stop” over the index mark on the inside surface of the front brace.
tighten them until firm, but be careful not to strip the holes by
1.Screw the plastic feet into the underside of the ground baseplate (A) using the
2.Loosely attach the front brace (B) to the two side panels
(C)with six of the base assembly screws in the predrilled holes. Use the 4mm hex key to tighten the screws. The side panels should be oriented so the SkyQuest labels are facing outward. The front brace should be oriented so the index mark is facing inwards. Do not completely tighten the screws yet.
3.Attach the two sides (C) with the front brace attached to the top baseplate (D) with the remaining six base assem- bly screws in the predrilled holes. Tighten all six screws.
4.Tighten the six side screws installed earlier.
5.Insert the white nylon bushing (E) into the hole in the cen- ter of the top baseplate (D). Tap the nylon bushing in so it goes all the way into the top baseplate. The nylon bushing should be flush with the top surface of the top baseplate.
6.Insert the
(H)and lock nut (I) onto the screw’s shaft. You might need to hold the screw’s head in place with another crescent wrench or pliers. Tighten the lock nut with a wrench just enough to allow a slight separation of the top and bottom baseplates when the mount is lifted. The purpose of the lock nut is merely to keep the two baseplates from com- ing apart when moving the telescope. Overtightening the lock nut (I) will make the mount difficult to rotate in the azimuthal (horizontal) direction.
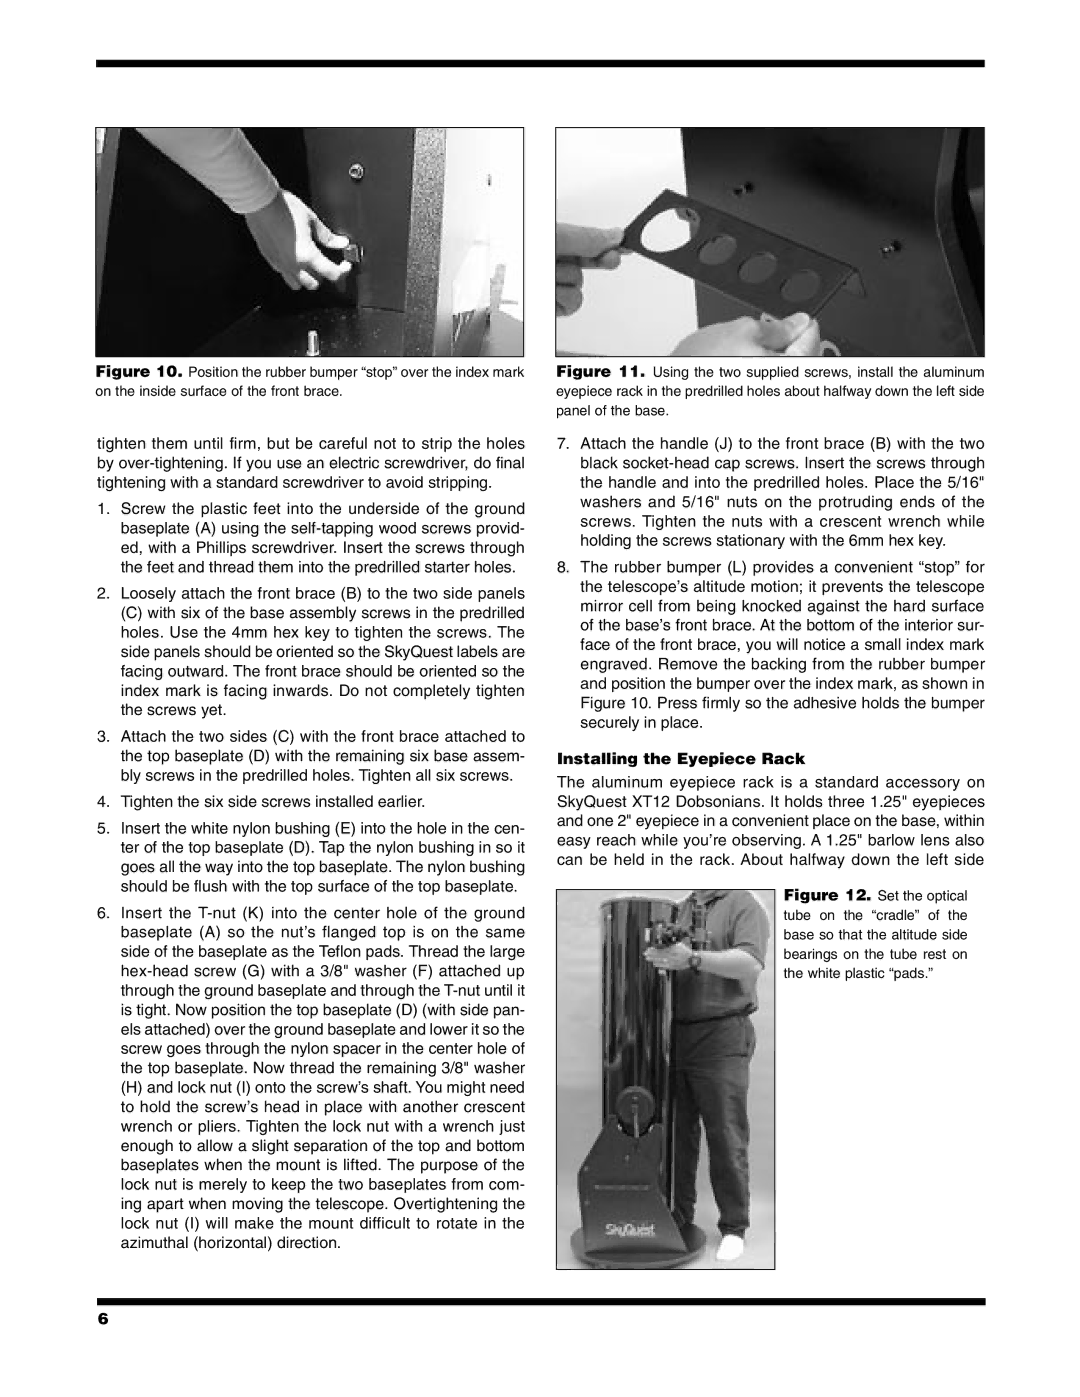
Figure 11. Using the two supplied screws, install the aluminum eyepiece rack in the predrilled holes about halfway down the left side panel of the base.
7.Attach the handle (J) to the front brace (B) with the two black socket-head cap screws. Insert the screws through the handle and into the predrilled holes. Place the 5/16" washers and 5/16" nuts on the protruding ends of the screws. Tighten the nuts with a crescent wrench while holding the screws stationary with the 6mm hex key.
8.The rubber bumper (L) provides a convenient “stop” for the telescope’s altitude motion; it prevents the telescope mirror cell from being knocked against the hard surface of the base’s front brace. At the bottom of the interior sur- face of the front brace, you will notice a small index mark engraved. Remove the backing from the rubber bumper and position the bumper over the index mark, as shown in Figure 10. Press firmly so the adhesive holds the bumper securely in place.
Installing the Eyepiece Rack
The aluminum eyepiece rack is a standard accessory on SkyQuest XT12 Dobsonians. It holds three 1.25" eyepieces and one 2" eyepiece in a convenient place on the base, within easy reach while you’re observing. A 1.25" barlow lens also can be held in the rack. About halfway down the left side
Figure 12. Set the optical tube on the “cradle” of the base so that the altitude side bearings on the tube rest on the white plastic “pads.”
6