Altitude
Azimuth
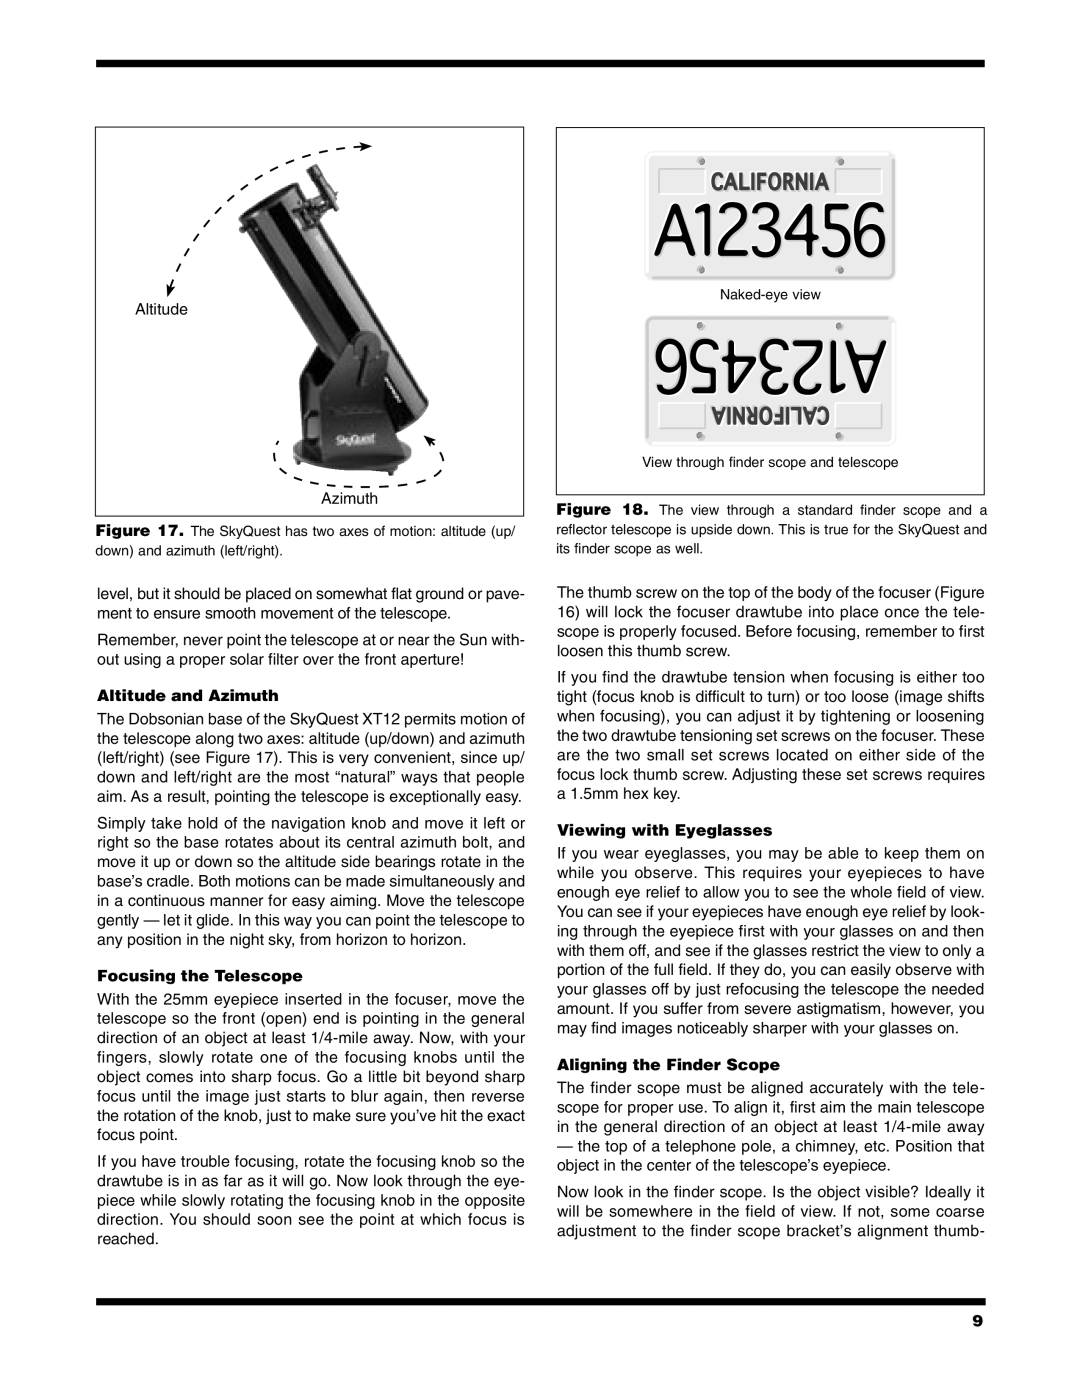
Figure 17. The SkyQuest has two axes of motion: altitude (up/ down) and azimuth (left/right).
Naked-eye view
View through finder scope and telescope
Figure 18. The view through a standard finder scope and a reflector telescope is upside down. This is true for the SkyQuest and its finder scope as well.
level, but it should be placed on somewhat flat ground or pave- ment to ensure smooth movement of the telescope.
Remember, never point the telescope at or near the Sun with- out using a proper solar filter over the front aperture!
Altitude and Azimuth
The Dobsonian base of the SkyQuest XT12 permits motion of the telescope along two axes: altitude (up/down) and azimuth (left/right) (see Figure 17). This is very convenient, since up/ down and left/right are the most “natural” ways that people aim. As a result, pointing the telescope is exceptionally easy.
Simply take hold of the navigation knob and move it left or right so the base rotates about its central azimuth bolt, and move it up or down so the altitude side bearings rotate in the base’s cradle. Both motions can be made simultaneously and in a continuous manner for easy aiming. Move the telescope gently — let it glide. In this way you can point the telescope to any position in the night sky, from horizon to horizon.
Focusing the Telescope
With the 25mm eyepiece inserted in the focuser, move the telescope so the front (open) end is pointing in the general direction of an object at least
If you have trouble focusing, rotate the focusing knob so the drawtube is in as far as it will go. Now look through the eye- piece while slowly rotating the focusing knob in the opposite direction. You should soon see the point at which focus is reached.
The thumb screw on the top of the body of the focuser (Figure
16)will lock the focuser drawtube into place once the tele- scope is properly focused. Before focusing, remember to first loosen this thumb screw.
If you find the drawtube tension when focusing is either too tight (focus knob is difficult to turn) or too loose (image shifts when focusing), you can adjust it by tightening or loosening the two drawtube tensioning set screws on the focuser. These are the two small set screws located on either side of the focus lock thumb screw. Adjusting these set screws requires a 1.5mm hex key.
Viewing with Eyeglasses
If you wear eyeglasses, you may be able to keep them on while you observe. This requires your eyepieces to have enough eye relief to allow you to see the whole field of view. You can see if your eyepieces have enough eye relief by look- ing through the eyepiece first with your glasses on and then with them off, and see if the glasses restrict the view to only a portion of the full field. If they do, you can easily observe with your glasses off by just refocusing the telescope the needed amount. If you suffer from severe astigmatism, however, you may find images noticeably sharper with your glasses on.
Aligning the Finder Scope
The finder scope must be aligned accurately with the tele- scope for proper use. To align it, first aim the main telescope in the general direction of an object at least
—the top of a telephone pole, a chimney, etc. Position that object in the center of the telescope’s eyepiece.
Now look in the finder scope. Is the object visible? Ideally it will be somewhere in the field of view. If not, some coarse adjustment to the finder scope bracket’s alignment thumb-
9