Setting the Altitude Tension Level
The telescope should move smoothly with just gentle hand pressure. While azimuth friction is not adjustable, the altitude friction can be adjusted to the desired level by turning the alti- tude tension knob (Figure 10). Note that altitude tension knob is the knob just above the IntelliScope Controller Port. The knob on the opposite side of the base is merely a retaining knob; it does not affect altitude tension.
Adjustable tension is a feature of the SkyQuest’s exclusive springless CorrecTension Friction Optimization system. CorrecTension adds just the right amount of friction to keep the telescope tube in proper balance, even when other acces- sories are added on, such as a barlow lens or a heavier eyepiece.
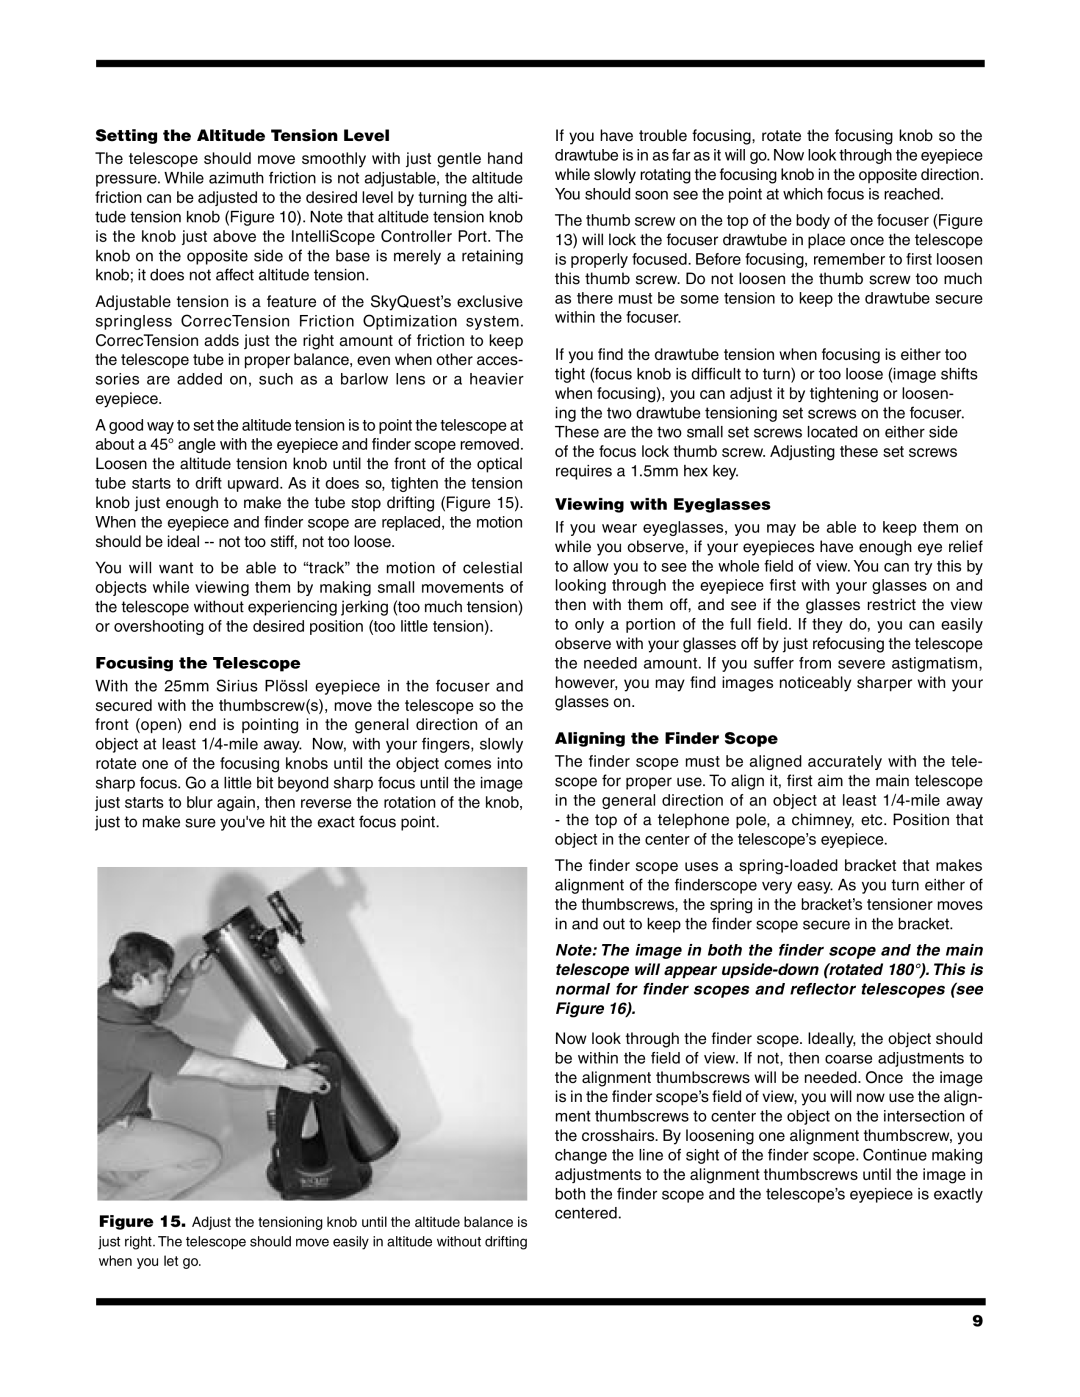
A good way to set the altitude tension is to point the telescope at about a 45° angle with the eyepiece and finder scope removed. Loosen the altitude tension knob until the front of the optical tube starts to drift upward. As it does so, tighten the tension knob just enough to make the tube stop drifting (Figure 15). When the eyepiece and finder scope are replaced, the motion should be ideal
You will want to be able to “track” the motion of celestial objects while viewing them by making small movements of the telescope without experiencing jerking (too much tension) or overshooting of the desired position (too little tension).
Focusing the Telescope
With the 25mm Sirius Plössl eyepiece in the focuser and secured with the thumbscrew(s), move the telescope so the front (open) end is pointing in the general direction of an object at least
Figure 15. Adjust the tensioning knob until the altitude balance is just right. The telescope should move easily in altitude without drifting when you let go.
If you have trouble focusing, rotate the focusing knob so the drawtube is in as far as it will go. Now look through the eyepiece while slowly rotating the focusing knob in the opposite direction. You should soon see the point at which focus is reached.
The thumb screw on the top of the body of the focuser (Figure
13)will lock the focuser drawtube in place once the telescope is properly focused. Before focusing, remember to first loosen this thumb screw. Do not loosen the thumb screw too much as there must be some tension to keep the drawtube secure within the focuser.
If you find the drawtube tension when focusing is either too tight (focus knob is difficult to turn) or too loose (image shifts when focusing), you can adjust it by tightening or loosen- ing the two drawtube tensioning set screws on the focuser. These are the two small set screws located on either side of the focus lock thumb screw. Adjusting these set screws requires a 1.5mm hex key.
Viewing with Eyeglasses
If you wear eyeglasses, you may be able to keep them on while you observe, if your eyepieces have enough eye relief to allow you to see the whole field of view. You can try this by looking through the eyepiece first with your glasses on and then with them off, and see if the glasses restrict the view to only a portion of the full field. If they do, you can easily observe with your glasses off by just refocusing the telescope the needed amount. If you suffer from severe astigmatism, however, you may find images noticeably sharper with your glasses on.
Aligning the Finder Scope
The finder scope must be aligned accurately with the tele- scope for proper use. To align it, first aim the main telescope in the general direction of an object at least
-the top of a telephone pole, a chimney, etc. Position that object in the center of the telescope’s eyepiece.
The finder scope uses a
Note: The image in both the finder scope and the main telescope will appear
Now look through the finder scope. Ideally, the object should be within the field of view. If not, then coarse adjustments to the alignment thumbscrews will be needed. Once the image is in the finder scope’s field of view, you will now use the align- ment thumbscrews to center the object on the intersection of the crosshairs. By loosening one alignment thumbscrew, you change the line of sight of the finder scope. Continue making adjustments to the alignment thumbscrews until the image in both the finder scope and the telescope’s eyepiece is exactly centered.
9