INSTALLING THE CROSSOVER
Step 1: Find a location for the crossover away from any factory or after market electrical wires. It is recommended to mount the passive crossover close to the amplifier. In the event you decide to upgrade and bi- amplify the system, mounting the passive crossover close to the amplifier would simplify the installation upgrade.
Step 2: Remove top cover of crossover housing. Don’t lose it.
Step 3: Mark with a marking pen the two mounting holes.
Step 4: Remove crossover and
WARNING: Gas tanks, fuel lines, brake lines and electrical wires have a nasty habit of hiding where you least expect. CHECK BEFORE YOU DRILL!
Step 5: Mount the crossover using the supplied #8 screws.
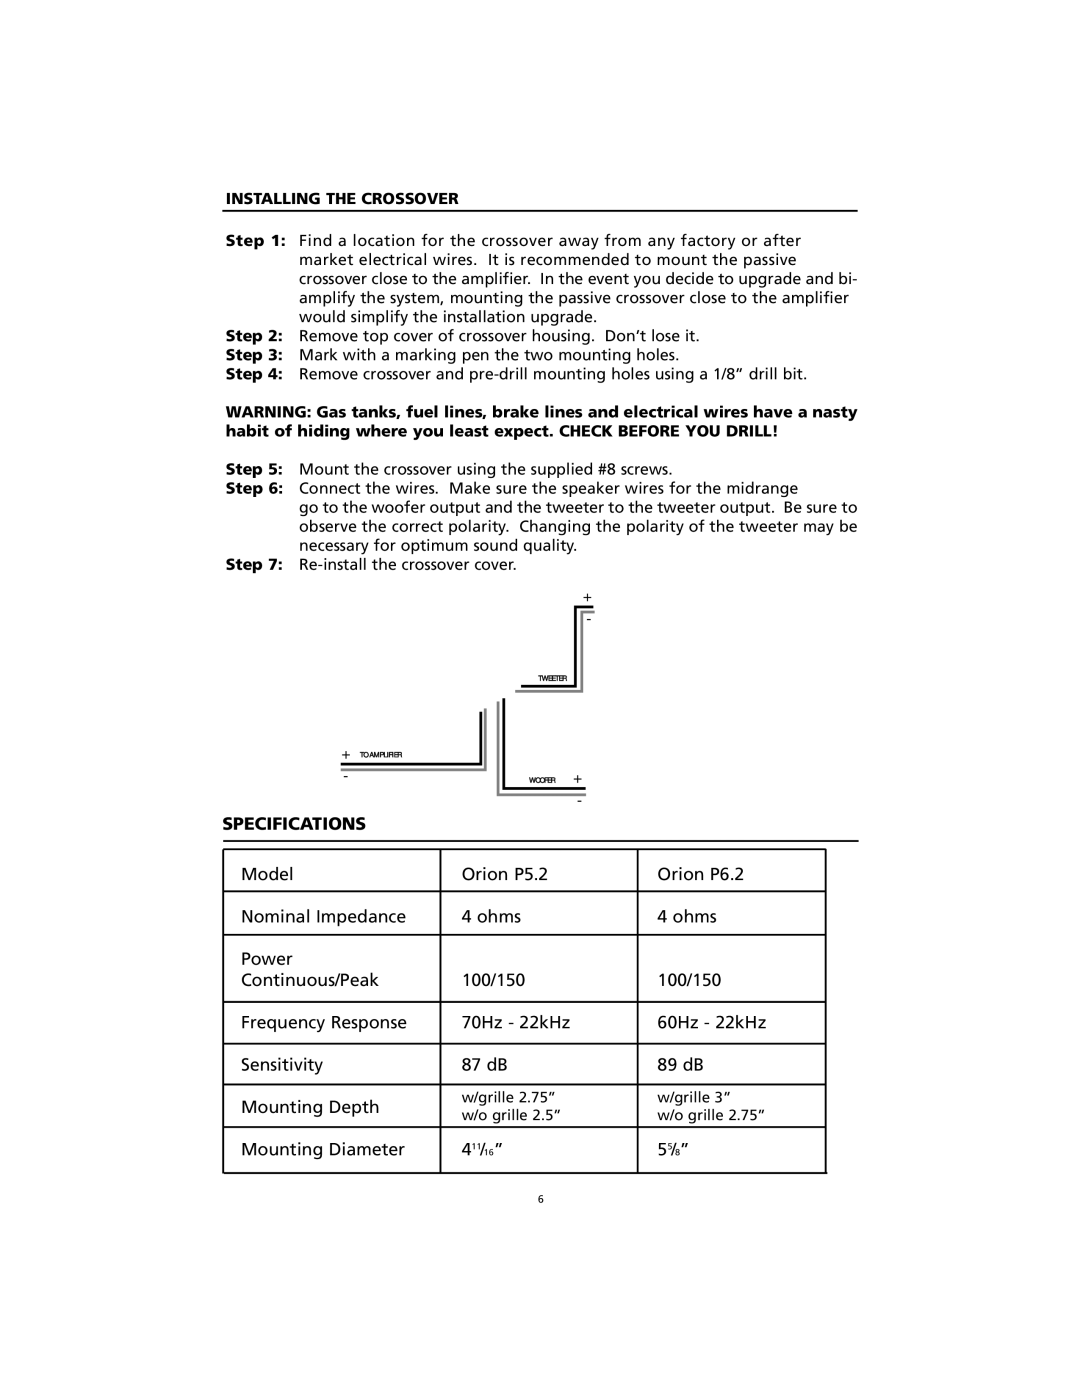
Step 6: Connect the wires. Make sure the speaker wires for the midrange
go to the woofer output and the tweeter to the tweeter output. Be sure to observe the correct polarity. Changing the polarity of the tweeter may be necessary for optimum sound quality.
Step 7:
+
-
TWEETER
+ TO AMPLIFIER
-
SPECIFICATIONS
WOOFER +
-
Model | Orion P5.2 | Orion P6.2 | |
|
|
| |
Nominal Impedance | 4 ohms | 4 ohms | |
|
|
| |
Power |
|
| |
Continuous/Peak | 100/150 | 100/150 | |
|
|
| |
Frequency Response | 70Hz - 22kHz | 60Hz - 22kHz | |
|
|
| |
Sensitivity | 87 dB | 89 dB | |
|
|
| |
Mounting Depth | w/grille 2.75” | w/grille 3” | |
w/o grille 2.5” | w/o grille 2.75” | ||
| |||
|
|
| |
Mounting Diameter | 411/16” | 55/8” | |
|
|
|
6