Before Use |
|
Setting Date and Time | Internal Lithium Battery Recharge |
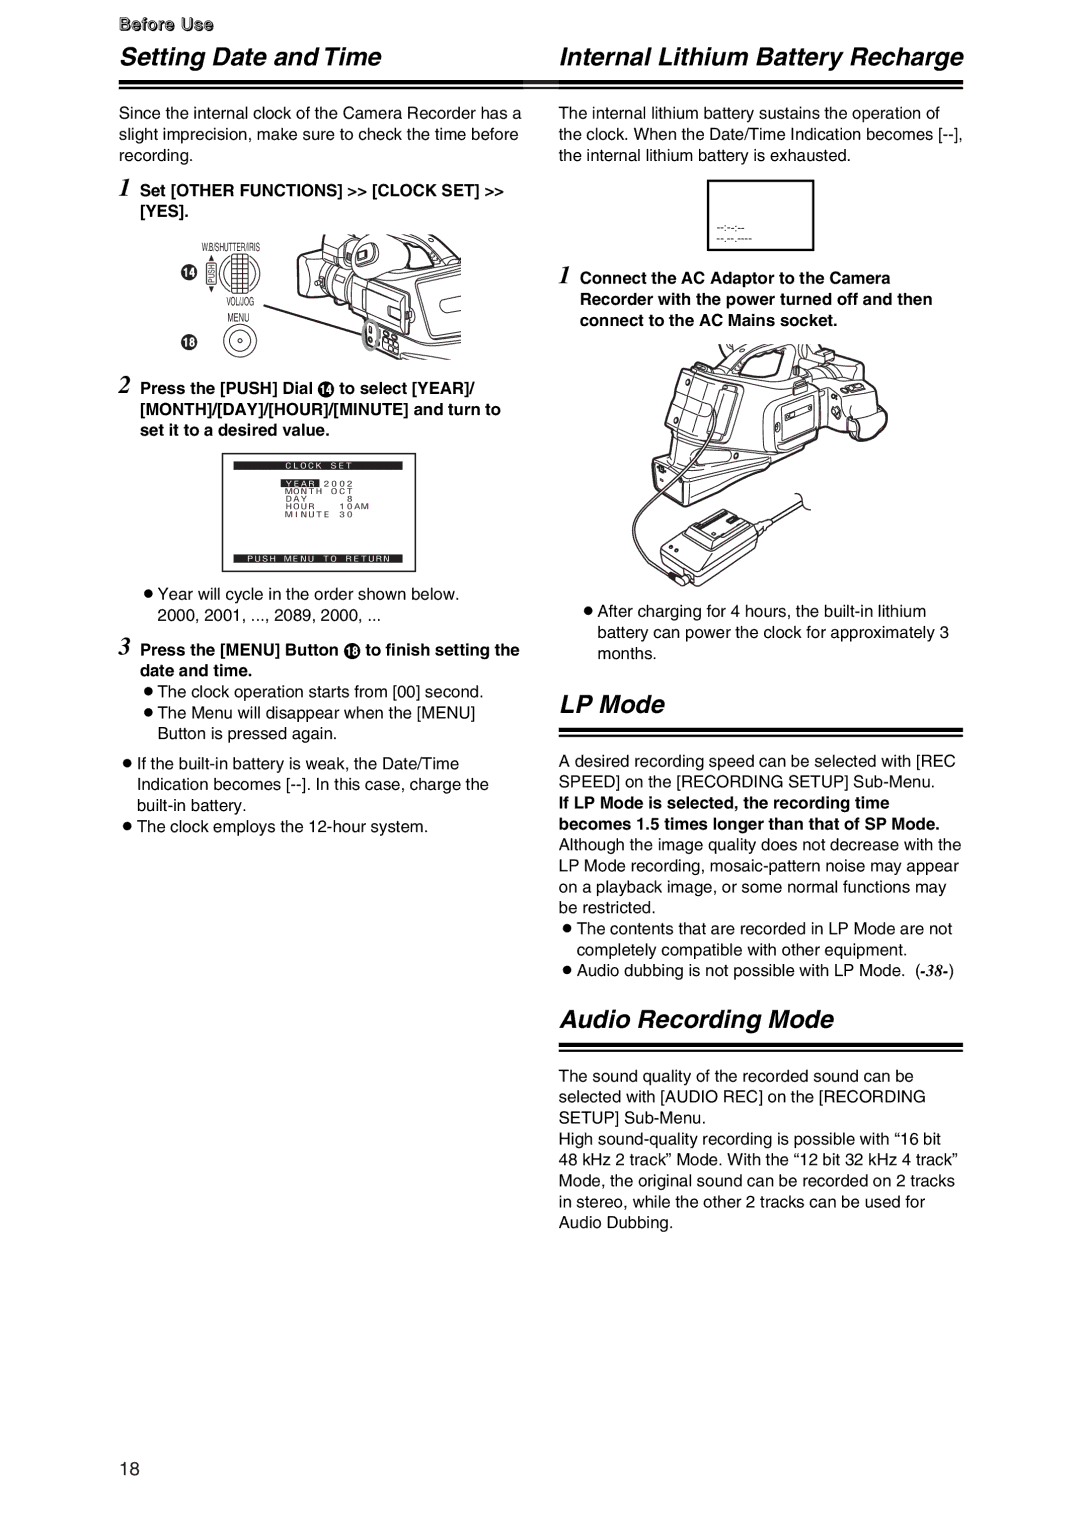
Since the internal clock of the Camera Recorder has a slight imprecision, make sure to check the time before recording.
1 Set [OTHER FUNCTIONS] >> [CLOCK SET] >> [YES].
W.B/SHUTTER/IRIS
> PUSH
VOL/JOG
MENU
B
2 Press the [PUSH] Dial > to select [YEAR]/ [MONTH]/[DAY]/[HOUR]/[MINUTE] and turn to set it to a desired value.
CLOCK SET
YEAR 2002
MONTH OCT
DAY 08
HOUR 10AM
MINUTE 30
PUSH MENU TO RETURN
OYear will cycle in the order shown below.
2000, 2001, ..., 2089, 2000, ...
3 Press the [MENU] Button B to finish setting the date and time.
OThe clock operation starts from [00] second. OThe Menu will disappear when the [MENU]
Button is pressed again.
OIf the
OThe clock employs the
The internal lithium battery sustains the operation of the clock. When the Date/Time Indication becomes
1 Connect the AC Adaptor to the Camera Recorder with the power turned off and then connect to the AC Mains socket.
OAfter charging for 4 hours, the
LP Mode
A desired recording speed can be selected with [REC SPEED] on the [RECORDING SETUP]
If LP Mode is selected, the recording time becomes 1.5 times longer than that of SP Mode.
Although the image quality does not decrease with the LP Mode recording,
OThe contents that are recorded in LP Mode are not completely compatible with other equipment.
OAudio dubbing is not possible with LP Mode.
Audio Recording Mode
The sound quality of the recorded sound can be selected with [AUDIO REC] on the [RECORDING SETUP]
High
18
