
AJ-PD950, AJ-D950 specifications
The Panasonic AJ-D950 and AJ-PD950 are professional digital video recorders that have earned a reputable position in the broadcast and production industries. These versatile devices combine advanced digital technology with user-friendly features, making them suitable for a wide range of applications, from live event coverage to high-end video production.One of the notable features of the AJ-D950 is its ability to record in both DV and DVCPRO formats. This flexibility allows users to choose the best format for their specific needs, whether they require a higher-quality broadcast standard or a more compressed format for storage efficiency. The device supports both standard definition and high definition, providing broadcasters with the versatility to adapt to changing production demands.
The AJ-PD950 complements its predecessor with additional features tailored for enhanced usability and performance. Equipped with a powerful 25 Mbps data rate in DVCPRO mode, it ensures high-quality video output while maintaining manageable file sizes. The unit's dual-speed playback capabilities allow for real-time viewing and slow-motion playback, enabling editors to capture precise moments during post-production.
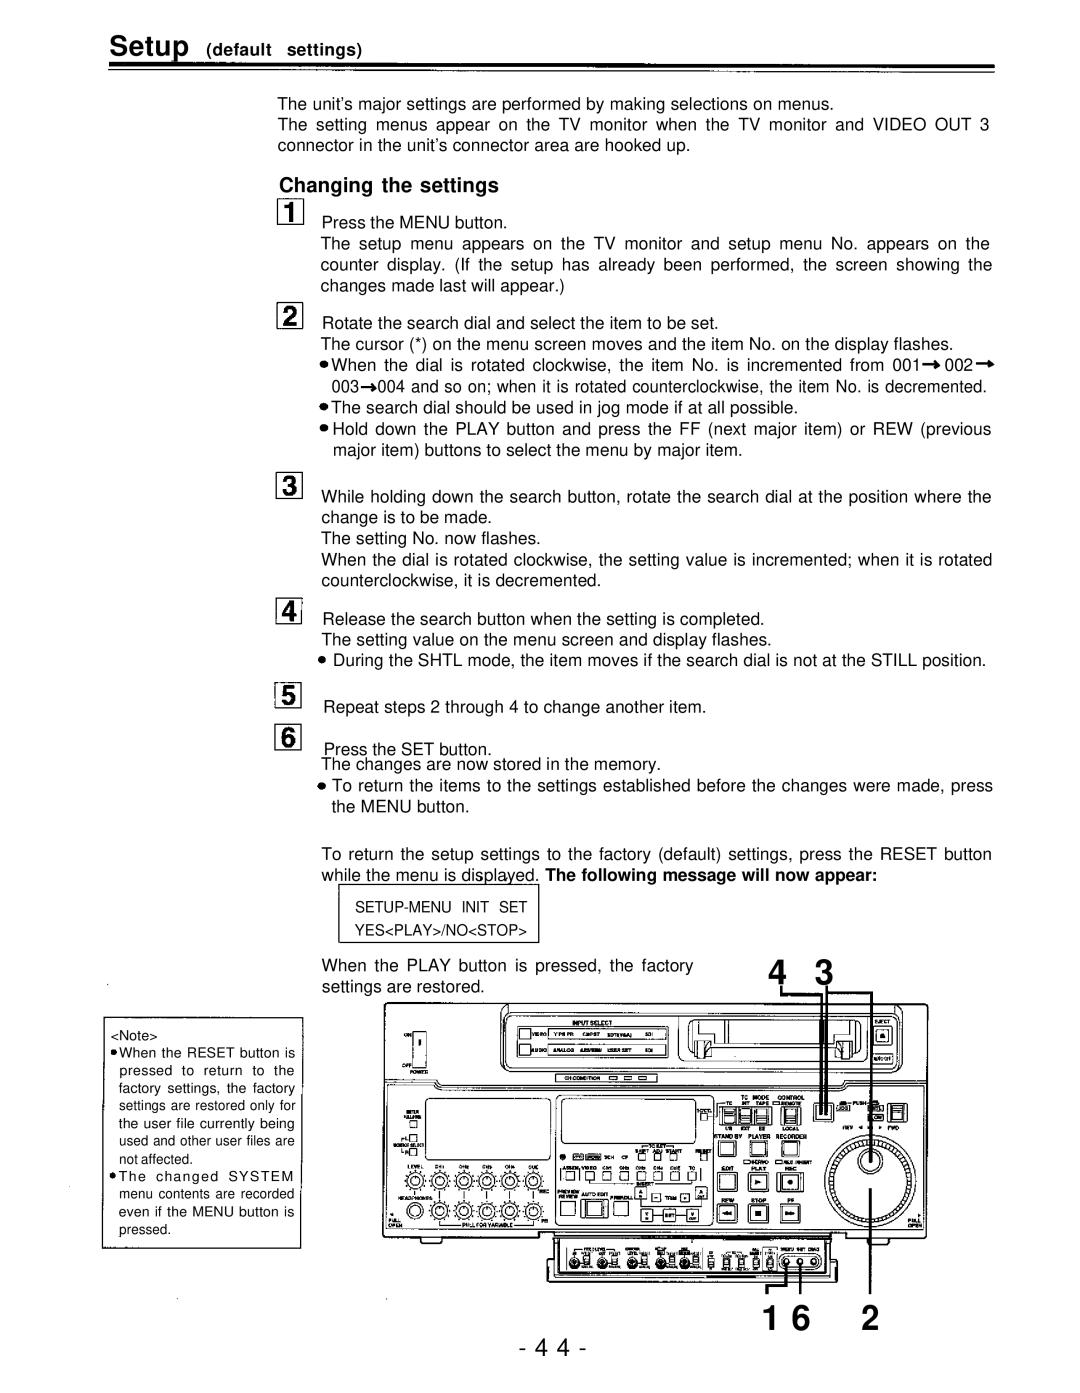
Both models feature an intuitive interface with a well-organized control layout, allowing for easy navigation through menus and settings. The LCD display offers clear visibility of vital operational information, including recording time, tape status, and battery life. Additionally, the presence of built-in speakers ensures that audio channels can be monitored without the need for external equipment.
Connectivity options are plentiful with the AJ-D950 and AJ-PD950, as they come equipped with various inputs and outputs, including SDI, HDMI, and analog connections. This wide range of interfaces facilitates integration with other production equipment, enhancing workflow and efficiency in the studio or on location.
The compact and rugged design of both models makes them ideal for field use. Their lightweight build allows for easy transport, while the robust housing provides protection against the rigors of on-location shoots. The long battery life further ensures that these recorders can operate for extended periods, accommodating even the most demanding production schedules.
In conclusion, the Panasonic AJ-D950 and AJ-PD950 are sophisticated yet user-friendly digital video recorders that offer exceptional performance and flexibility. Their advanced recording capabilities, ease of use, and extensive connectivity options make them valuable tools for professionals in the ever-evolving world of video production. Whether for broadcast, event coverage, or creative projects, these recorders stand out as reliable choices in the market.