System upgrading
1.Start up the browser.
2.Input the following address into the browser.
http://192.168.1.50/config/config.html
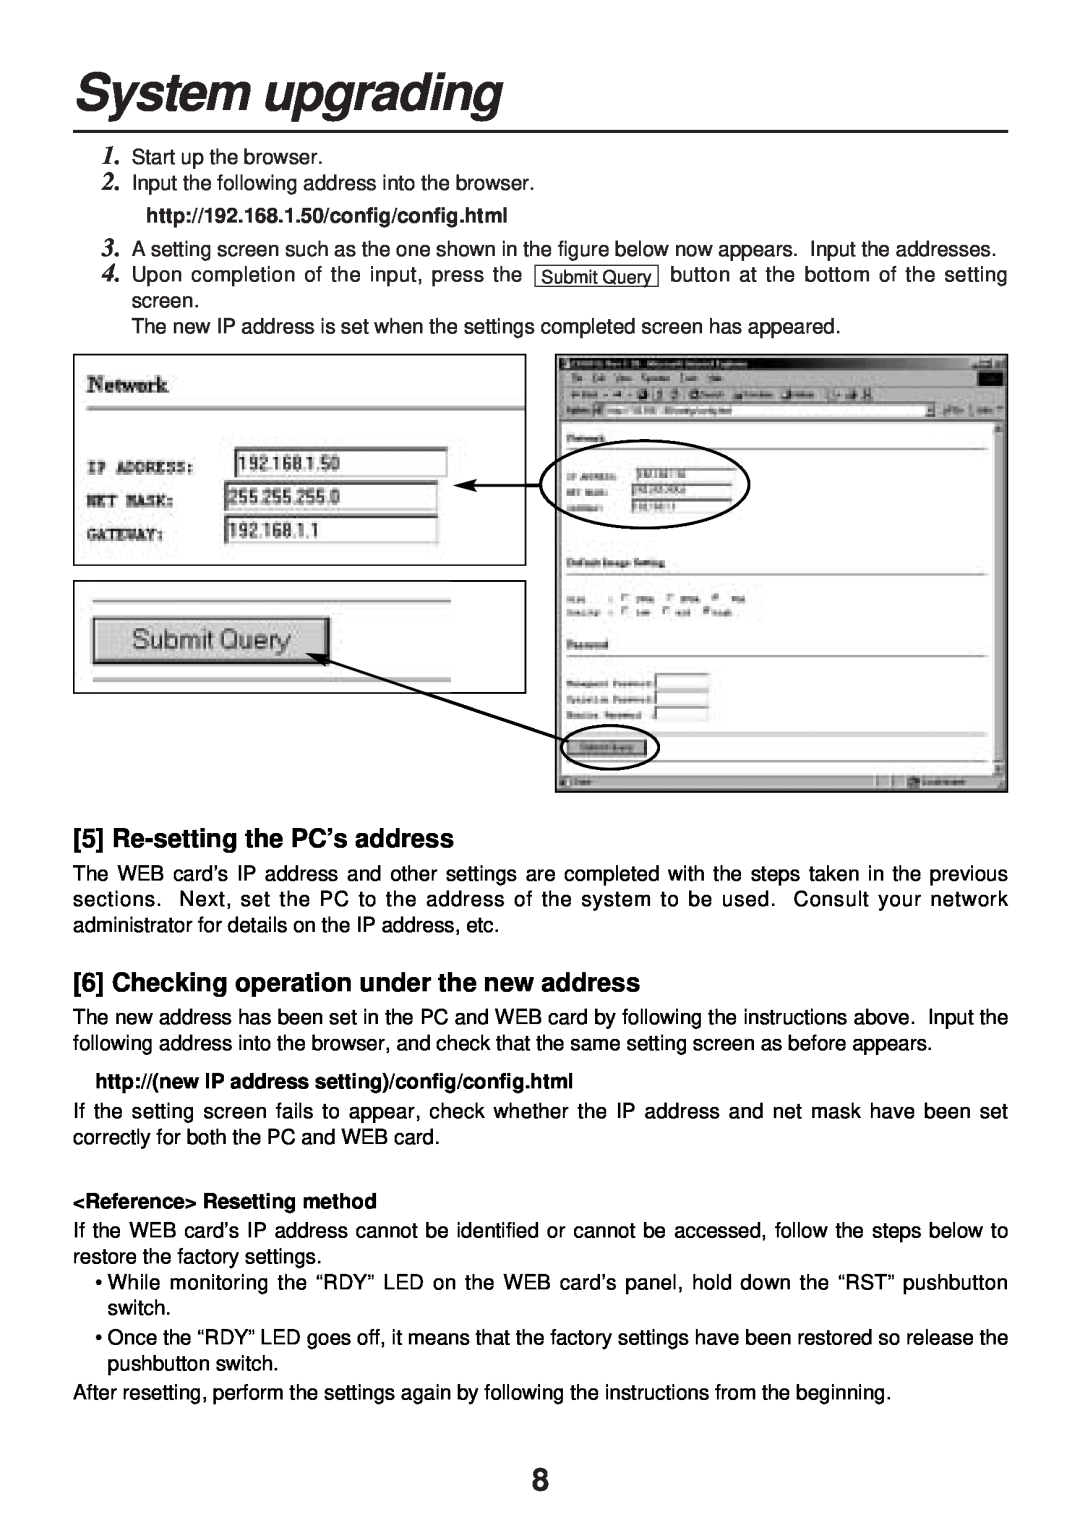
3.A setting screen such as the one shown in the figure below now appears. Input the addresses.
4. Upon completion of the input, press the Submit Query button at the bottom of the setting screen.
The new IP address is set when the settings completed screen has appeared.
[5] Re-setting the PC’s address
The WEB card’s IP address and other settings are completed with the steps taken in the previous sections. Next, set the PC to the address of the system to be used. Consult your network administrator for details on the IP address, etc.
[6] Checking operation under the new address
The new address has been set in the PC and WEB card by following the instructions above. Input the following address into the browser, and check that the same setting screen as before appears.
http://(new IP address setting)/config/config.html
If the setting screen fails to appear, check whether the IP address and net mask have been set correctly for both the PC and WEB card.
<Reference> Resetting method
If the WEB card’s IP address cannot be identified or cannot be accessed, follow the steps below to restore the factory settings.
•While monitoring the “RDY” LED on the WEB card’s panel, hold down the “RST” pushbutton switch.
•Once the “RDY” LED goes off, it means that the factory settings have been restored so release the pushbutton switch.
After resetting, perform the settings again by following the instructions from the beginning.
8